

|
||
|
|
||
|
|
||
|
|
#1 |
|
Loves to post
MG ZT+ CDTi Join Date: Sep 2013
Location: Huddersfield
Posts: 328
Thanks: 118
Thanked 105 Times in 66 Posts
|
Okay, I was looking for some thing like this this morning, but couldn't find it. So apologies if I used the search tool wrong, but this is how I installed a replacement aftermarket head unit with DAB, including how I got the cable for the DAB antenna up the A pillar - hope its of interest to anyone - I'm sure if I've made any howlers I'll be told - or at least I hope I am; it might make it easier next time : )
This is based on replacing a single DIN Pioneer with bluetooth mobile hands free already installed, CD multichanger in the boot and steering wheel controls with a Pioneer DEHx8700DAB unit with antenna purchased seperately, and USB auxilary, but I'm sure the process will be similar for other items. I have written this purely to show what I did - there may be other better ways but it was the first time I've done this so I though I'd say what I'd done. I needed: A couple of flatblade screwdrivers A couple of phillipshead screwdrivers Torx screwdrivers Tea making equipment Labels Pen File Electric drill with a bit that will go through plastic (for a specific job on this item) Insulation tape Scissors Small tie-wraps A clean cloth Torch Safety gloves and glasses..... oh okay I didn't but I should have Step one was to remove the old head unit. The tools provided in the box to do this are poor at best, so the best way was to firstly remove the whole facia panel with the head in. This give me more room to work later, and allowed the old head to be removed from its cage a lot easier - I simply used a small flatblade to spring the clips on the sides when I got to that point. To get the panel off, I needed to get a small flatblade and gently prised off the underside of the brow above the head unit. Once released, there were 2x phillips head screws visible, I removed these and the brow just pulled away. Now I could see 2 screws that hold the actual facia panel in - one in each top corner. Being very careful I undid these- the lugs they go into seem very fragile. A good quality magnetic phillipshead stopped me dropping the screws into the abyss near the ATC and having to spend five minutes recovering them. Or would have I imagine. I then carefully pull the entire assembly forward to avoid damaging anything and saw this - Clearly it was time for a brew and a quick panic. 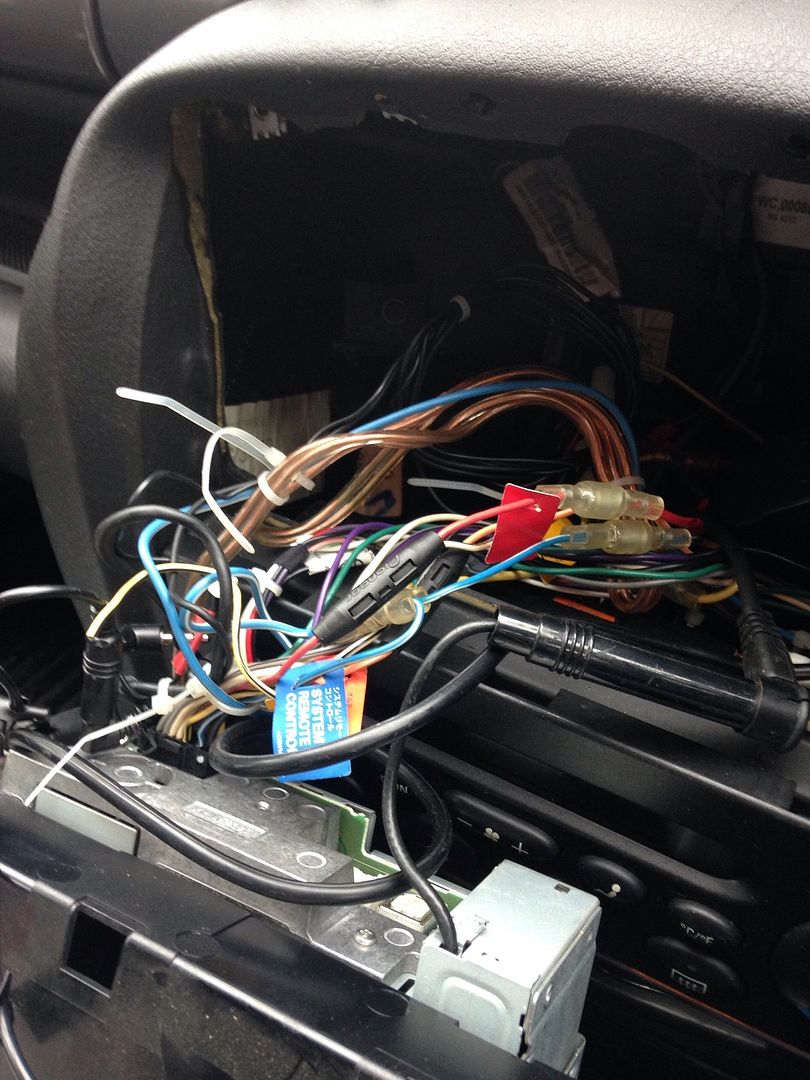 Step 2 was to identify the cables. Thankfully this had been done by someone before me, most of the important ones were labelled on mine but the pen and labels were good to make things clear. The back of the head is marked with what goes into it, so that should simplifed things. In my case, 2 sets of leads were not going to be used - at some point it must have had an amp in as there was a set of cables for this (the thick audio style ones) and something called and IP-Bus which goes to the autochanger in the boot. I won't be using that anymore as the new unit has no provision for it, and with bluetooth and USB I don't need it anyway. My microphone and speaker for the phone were already wired up into the front light binnacle above the windscreen, and there was an exiting adapter for the steering wheel controls. These are both minijack style connectors and were a straight swap, as was the ISO lead provided in the box. The car aerial went into the large black adapter visible and was also a straight swap and clearly labelled. Lazily, I've left the IP-Bus for the auto changer and leads for the amp in situ until its stopped raining - I used the insulation tape to cover the ends up once I removed the head, which I did at this point. On mine I could leave the original cage intact, as both fitted, but a new one was provided in the box. 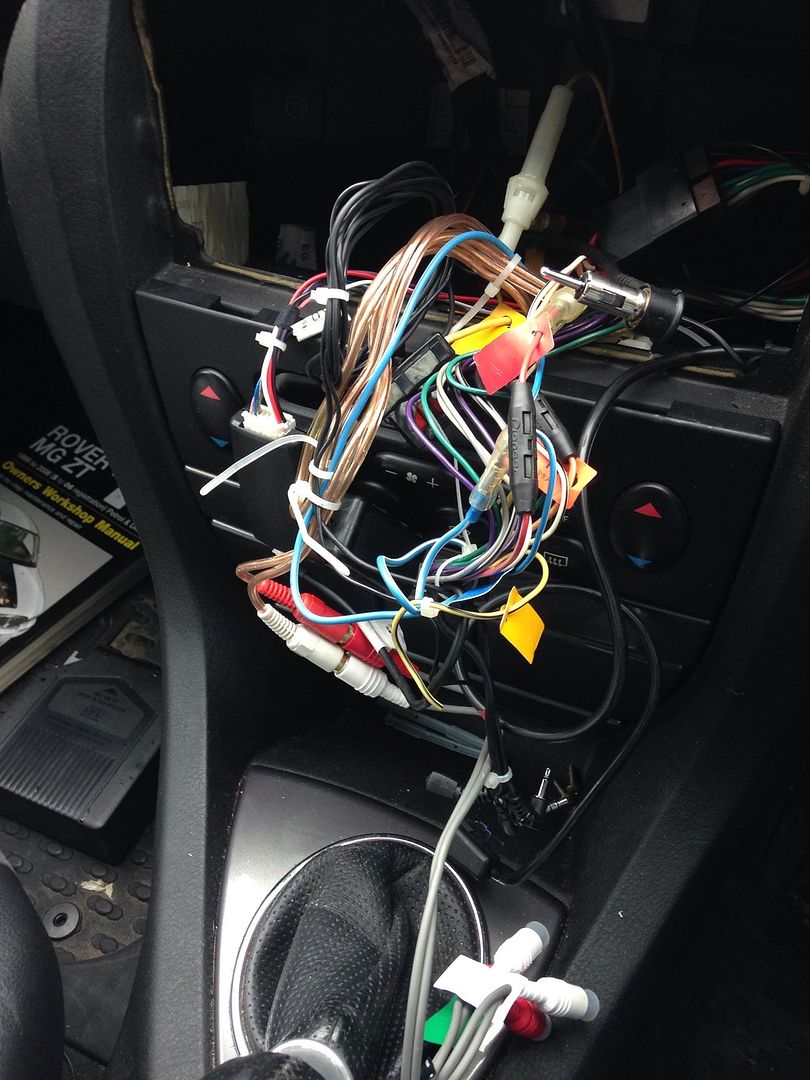 Step 3 is the one i'd been worrying about and the one i enjoyed the most.... Putting the DAB antenna into the A pillar and headlining. I put it into the passenger side, as this seems the path of least resistance. To remove the A pillar trim I used a flatblade, prised the A pillar trim away from the metal, starting from the top. it came away quite easily once started. 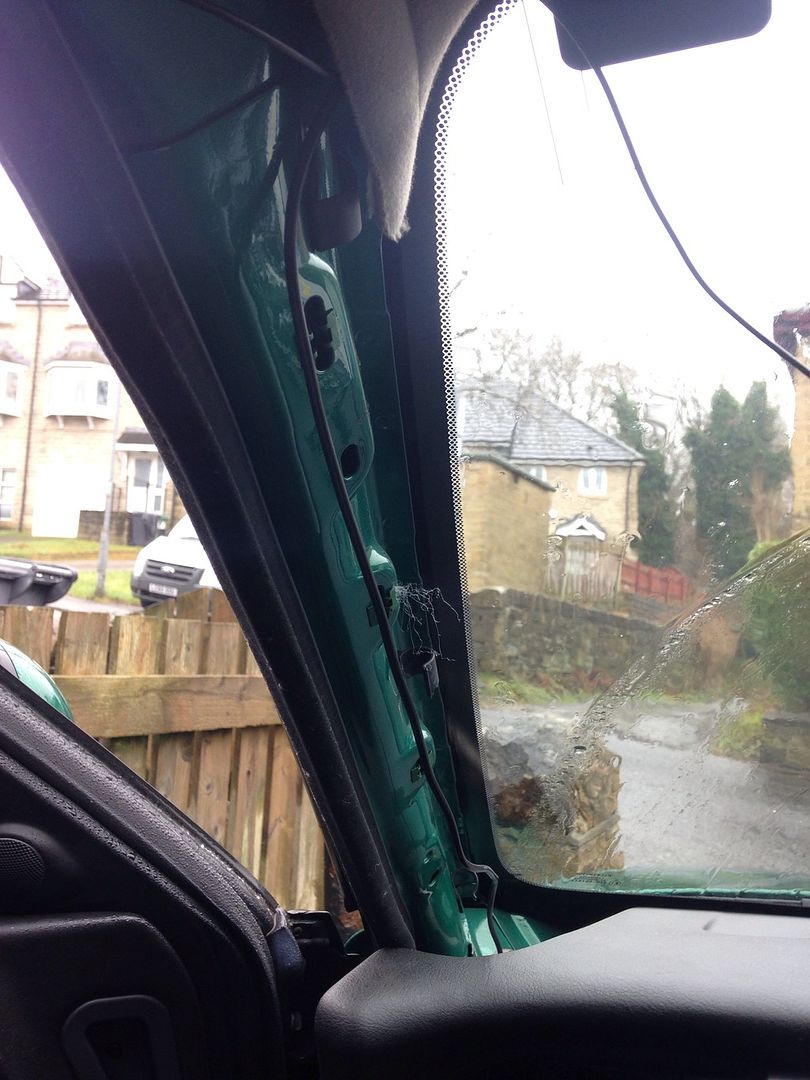 Now I removed the passanger airvent and facia. This is all one piece and removal was by prising it up from the bottom, and then when the clips released I gently pulled the assembly out of the dash. It needed pulling towards the center of the car a little to free it up. Next I removed the passenger sunvisor. This was held in with 2 philips head screws. While I was up there I also removed the plastic lens from the light binnacle by using a flatblade to carefully prise it away. Now the glovebox needed to come out. There were 4x torx screws holding this in at the edge that are clearly visible. Or at least three of them were. The fourth appears to have been previously lost - a source of cabin noise found! What I couldn't see were the three others holding the bottom. The top 4 remove very easily, but I needed a head torch to get the lower ones out as they are quite inset, and I was blocking off the natural light by working on them. They are hidden under the felt floor inside the glove box. According to the Haynes manual the way to access them is to gently work one of the front corners of the material until it starts to lift and then peel it back. This seems to be true. It does go back afterwards. Sort of. And who ever really looks in there anyway..... The glove box assembly now simply pulled forward. - there is a light in there, but there seems to be plenty of free cable not to risk pulling it out. My DAB antenna is formed of a black box that sticks to the windscreen. Below this is an elongated L shape that also sticks to the screen. Above the box there is a sticky smaller L with copper on the back that forms an earth what attached to metal. There is a long lead with a copper plug on it that goes to the back of the headunit, and another long cable that doesn't. I put the antenna in the top LHS of the windcreen. To do this I had to very carefully pull down a little bit of the headlining so I could attach the copper earth to the metal bove the screen. I used the cloth to clean the inside of the glass first, as it needed to be fully clean for the rest of the antenna to stick. Next I ran the smaller of the 2 cables from the box across the top of the screen, and fed them into the light binnacle, pulling them through from the inside. This was then tie-wrapped to secure the remaining cable and the plastic lens pushed back in place. The left the lead tucked away behind the headlining and almost invisible from inside and totally invisible from the outside. 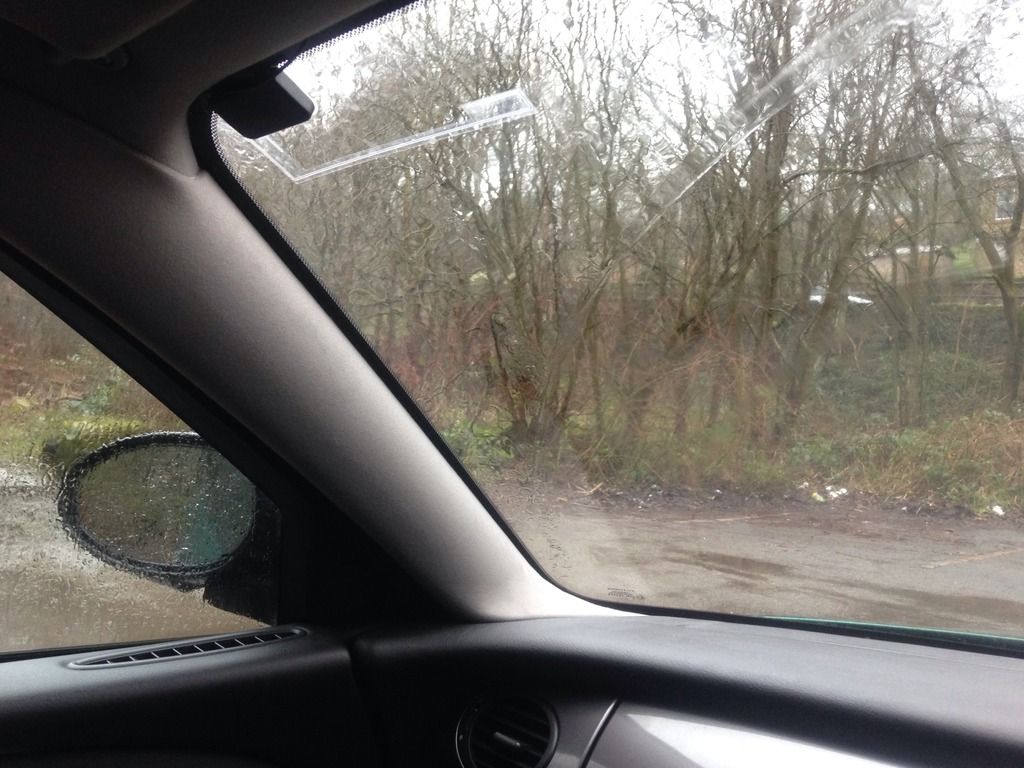 The other cable ran to the head unit, and I trailled it down the A pillar, and was able to see where it was going due to having removed the air vent facia. It dropped down quite easily then into the space that is normally behind the glove box, and I was able to run it over to the center console and up into a gap at the back, where it became accessable through the large space made by the removal of the radio facia panel. 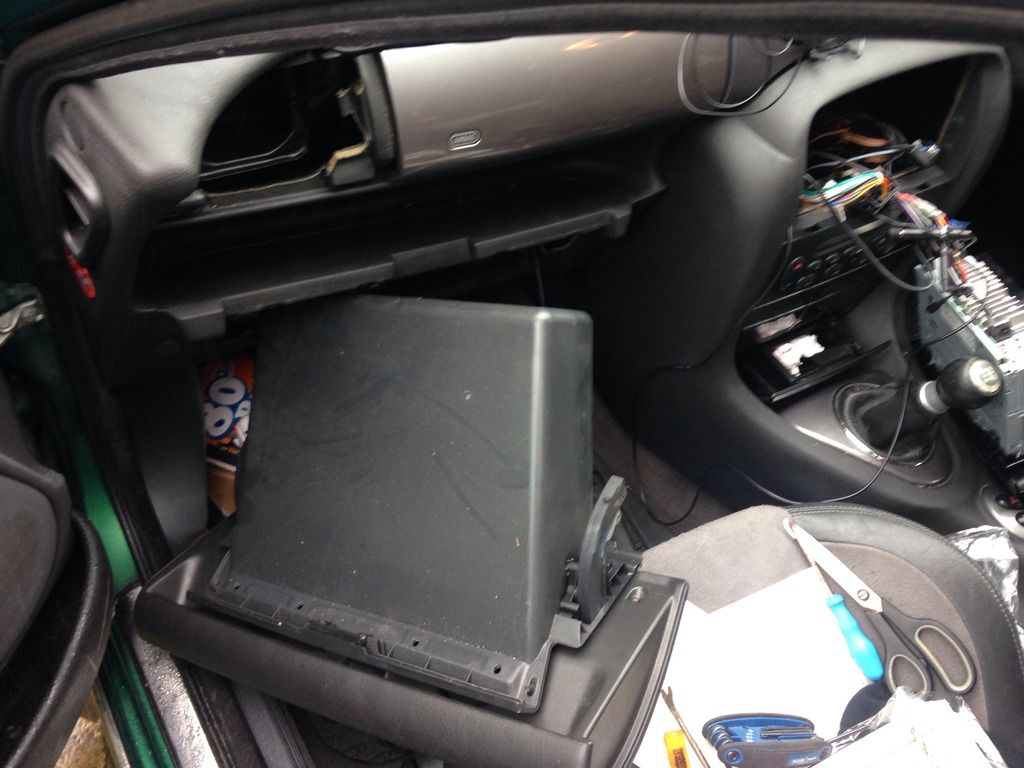 I then pulled it through the hole ready to go into the new head unit, which slotted neatly into the facia panel from the front, and locked into the existing cage. The ISO lead, remote, mic, USB lead and both antennas were connected and a quick test made to ensure it all worked before I slotted it back in and created more work for myself..... because I broke the left hand side retaining lug for the facia panel off. This appears to be a problem, and I think I might have to fabricate another somehow, as I could be wrong but I think its part of a much bigger piece that I don't want to have to replace! Fortunately, the unit is quite secure and I have put a little bit of padded material under the LHS to deaden any vibration. I will admit it's not ideal.... Step 4 was to reassemble everything else, which is a reversal of removal. Before refitting the glovebox I drilled a series of holes in the top (the white mark where I scored a bit of the pastic as a guide shows where in one of the pics) and made a knock out large enough for the female end of the USB cable to go into. I'd fed this back out of the center console the same way the DAB antenna came in, and with the cable in the glovebox I can now use USB flash drives for music and also charge my iPhone. The A pillar trim went back quite easily and just needed guiding back under the door seal again. Job done! 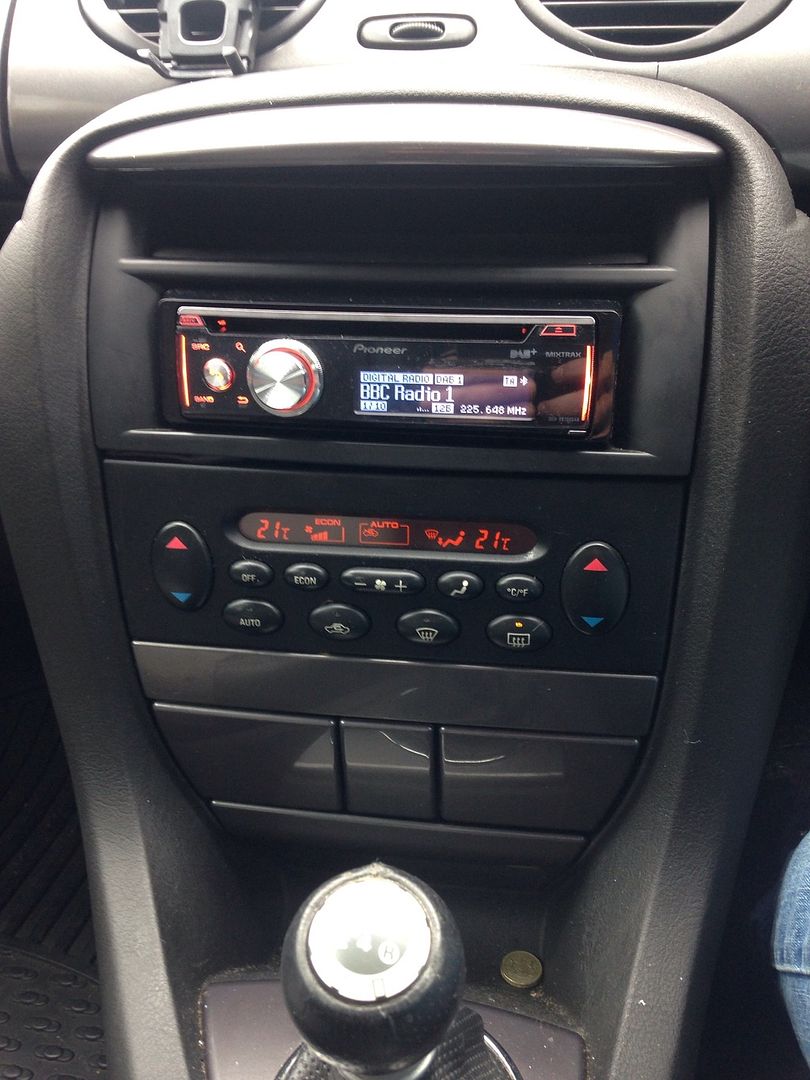 I quite like the finished result (and the pound coin I found) I'll be honest one of the main reasons bought this was the customeisable colours on the front. My old Pioneer was blue, and with the white dials and orange everything else had been a source of irratation since I bought the car..... also the bluetooth hands free phone compatatbility was important to me. Night shot - almost looks OEM!! 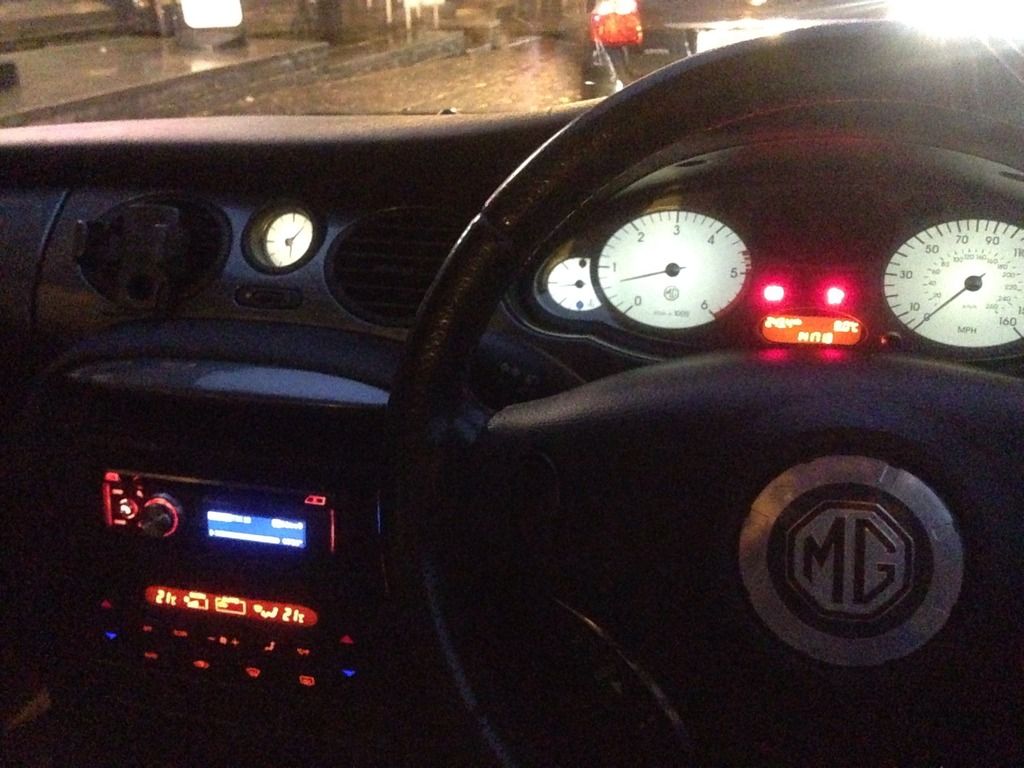 So what did I learn? Well - I nearly went back to Halfords to pay them to install it on first sight of the spaghetti behind the dash, but after leaving it five minutes and thinking logically it all became simple. I wish I'd replaced the faulty glovebox (damaged lid) at the same time, and I now think I could change the dash facia very easily if I ever want a wooded trim. I should have stripped all the useless cable and CD changer out, because I'm going to have to take it all to bits again to do this. I REALLY shouldn't have broken the retaining lug for the radio facia panel. I can only think of getting a metal right angle bracket and securing that at both ends somehow - in the pics the panel is slightly higher on the left as I've padded the base to reduce stress on the other lug/ screw. Also assemble all the tools before hand - I kept having to break off to get things that suddenly I needed. The steering wheel controls don't function correctly - the Mode selector now activates the 'attenuate' - quite useful but unexpected, and the rest do nothing? And finally, when the car is in a million pieces and I'm stood in the cold pouring rain, juggling tools and bits of windscreen trim, if the neighbour asks me what I am doing, I'll think of something better than "Just fitting a radio" because they clearly didn't believe me! Oh - and I'd fix the airbag light again before taking pics....  Any feedback on what I might do better is welcome as it was very much making up as I went along 
__________________
You never miss it 'till its gone Last edited by MGBJM; 31st January 2016 at 20:24.. Reason: missed a pic... |
|
|

|
 |
|
|