I know there's many methods of doing this - from the 'quick as possible with minimal tools' to the 'remove everything!' approach.
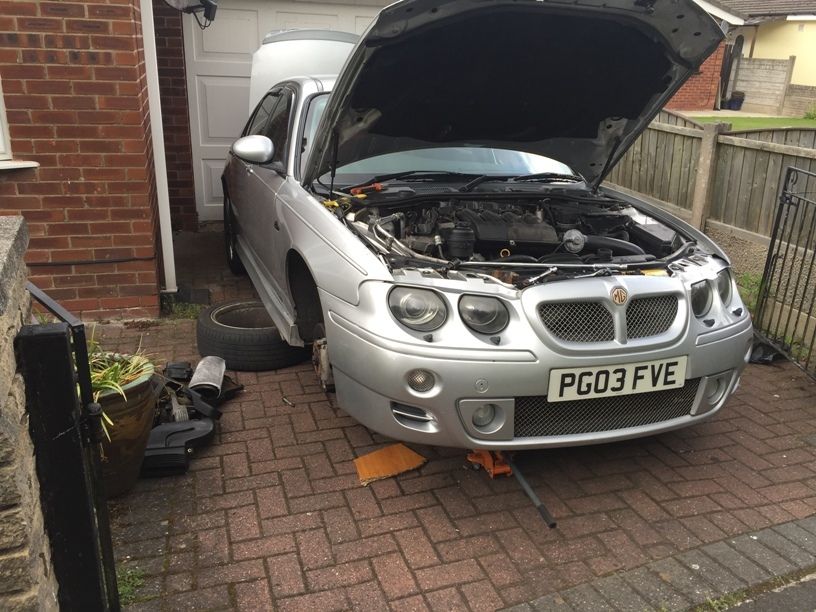
I did my first today, going for a quick approach, on my newly acquired ZT CDTi. This is how I did it...
1. Remove parts around thermostat needed for access (I removed engine cover, airbox cover, rear upper engine mount / tie bar, swung black bracket attached to this out of the way, air conditioning pipe 'P' clip near waterpump (allows pipes to move a little, handy for later). Undo the nut holding the hydramount (acorn mount) to the main engine mounting bracket.
2. Remove the lower engine mount (inspect it while you're there) and jack the engine up - using wood or a large area jacking pad between the sump and jack. The CDTi sump is NOT strong, and needs the load spreading out to as much of the surface area as possible.
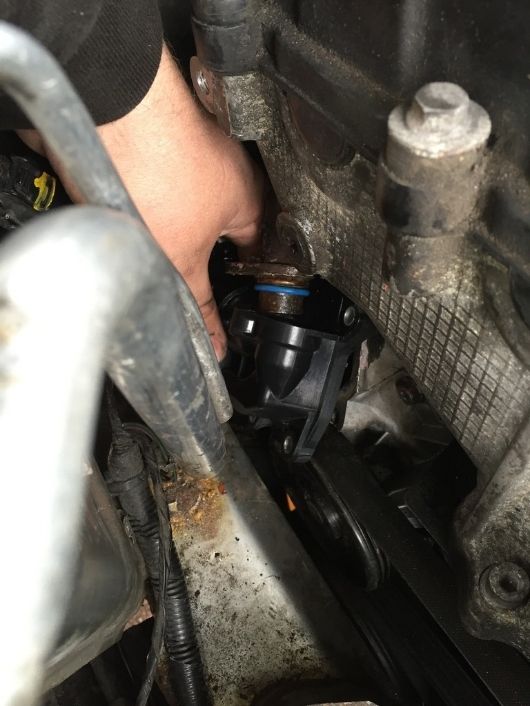
You'll want to jack the engine up to the point where you can access all thermostat mounting bolts easily (I used a standard 1/4 drive ratchet and socket set) and also to a point where you can get a pair of decent pliers on the spring clip holding the coolant hose to the thermostat.
3. Remove the coolant hose from the bottom of the thermostat, unbolt the metal coolant rail, and remove the thermostat mounting bolts.
You'll need to remove the coolant rail mounting bolt nearest the thermostat (follow it around the back, and you'll see it) so you'll have some flex to work with - I bent mine back ever so slightly to allow room for the thermostat to be slipped out around it.
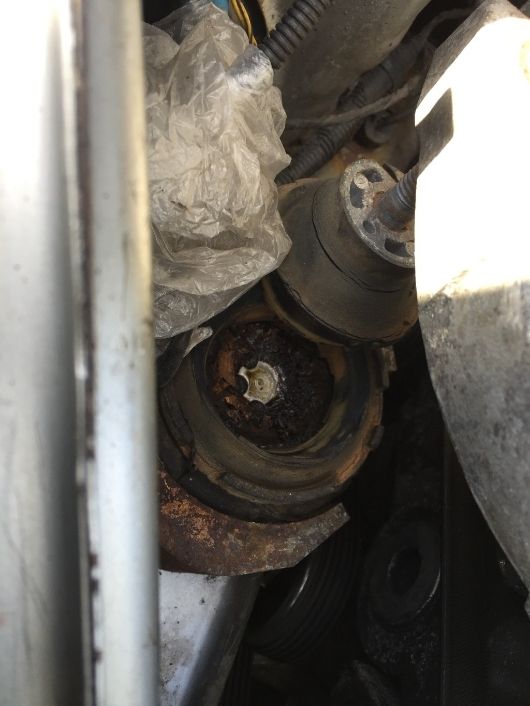
4. Throw old thermostat in the bin, and celebrate being half way to victory!
5. Fit new O Ring (STC4540, we have them here -
STC4540 @ DMGRS) to the coolant rail, making sure the old one has been removed first - and that the metal of the rail is relatively clean. Use a bit of wet and dry to perfect the surface if needed.
6. Reverse the above procedure - the hardest bit is fiddling around with the coolant rail to get everything lined back up.
To be honest, I was quite happy with how easy this job was in the grand scheme of things. It could have been much worse!
I managed it with a basic tool kit (1/2 and 1/4 inch drive sockets, pliers etc).
Shopping List
Quite a short list - just the thermostat and O Ring. Links below are clickable, through to the items on our Shop:
STC4540 O Ring
CDTi Thermostat - V3
A bit more reading on the CDTi thermostat, and options out there:
http://www.the75andztclub.co.uk/foru...d.php?t=164968
A few pictures of the 'adventure' -