so what do you do on Easter Sunday once the family have had their time

Change the sagging headlining

So Sonic game up with a really good example from a low mileage so I thought I would swap out today

I have done this a couple of times in the past but its still a fair amount of work

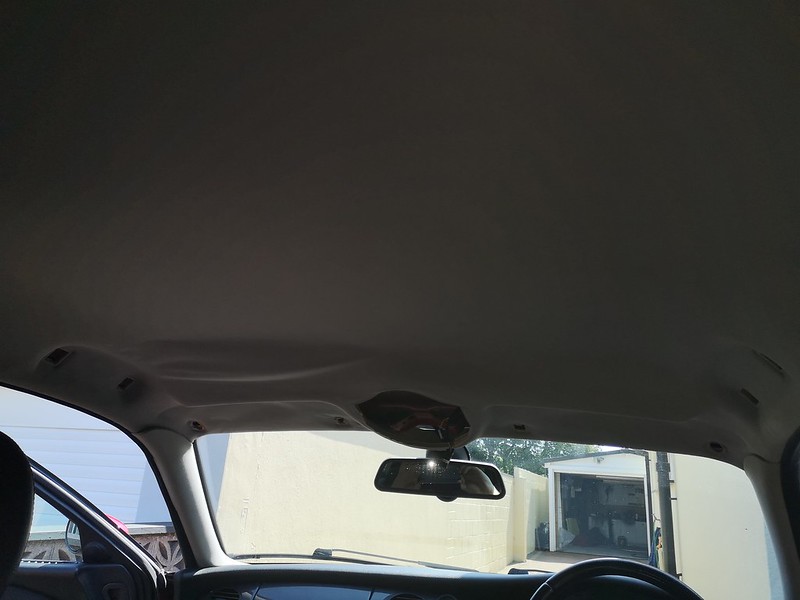
the sagging and you can see where I glued it up as a temp repair.
[IMG]
 IMG_20190421_120025
 by
Jon Christie, on Flickr[/IMG]
[IMG]
 IMG_20190421_122856
 by
Jon Christie, on Flickr[/IMG]
 IMG_20190421_122921
 by
Jon Christie, on Flickr
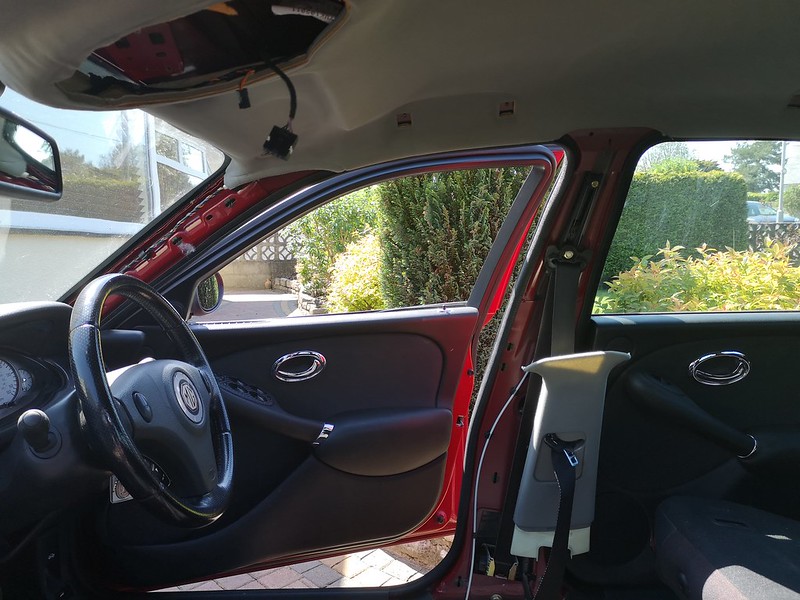
I always do this job on the drive in the sun so the doors can be opened wide
[IMG]
 IMG_20190421_120010
 by
Jon Christie, on Flickr[/IMG]
ready to start
[IMG]
 IMG_20190421_115955
 by
Jon Christie, on Flickr[/IMG]
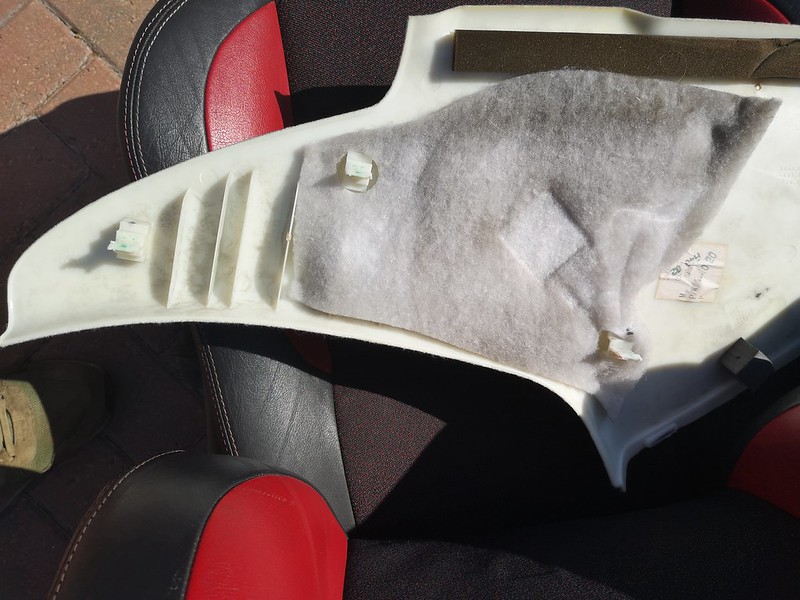
first I take out the seats and the furniture attached to the headlining.
I will go through the fastenings etc on the refit

[IMG]
 IMG_20190421_122949
 by
Jon Christie, on Flickr[/IMG]
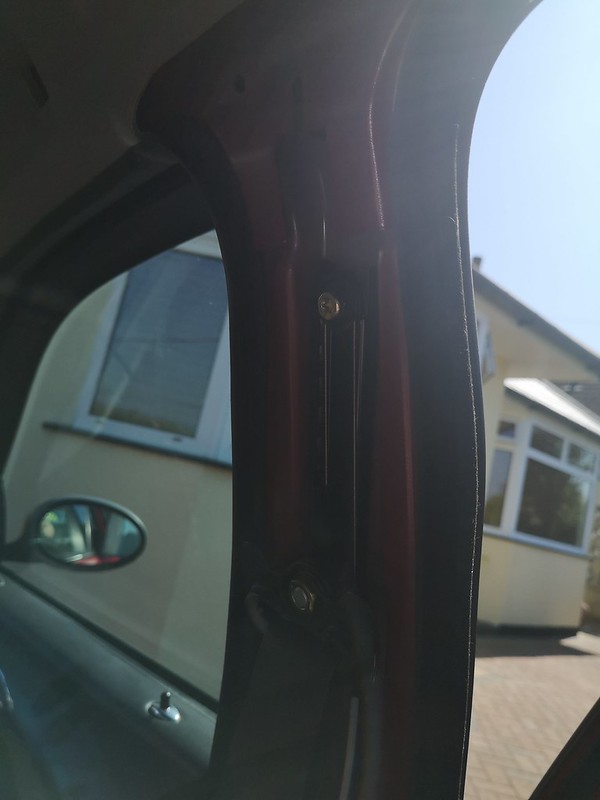
and then the trims on the posts. I leave the top B post trim hanging. When removing these I always get my hands behind and pull where the trim clips are so as not to force anything. the plastics on these cars is getting brittle
[IMG]
 IMG_20190421_140046
 by
Jon Christie, on Flickr[/IMG]
[IMG]
 IMG_20190421_140223
 by
Jon Christie, on Flickr[/IMG]
All stacked on the drive removed
[IMG]
 IMG_20190421_152613
 by
Jon Christie, on Flickr[/IMG]
[IMG]
 IMG_20190421_152621
 by
Jon Christie, on Flickr[/IMG]
I unclipped the headlining on the rear clips moved the rubber seals from the door seals then dropped the headlining. Now I have always done it through the passenger front door but sonic said he took the unit am fitting out the drivers rear so did the same. it worked really well for removal.
you can see how much sagging was evident
[IMG]
 IMG_20190421_141517
 by
Jon Christie, on Flickr[/IMG]
and new against old
[IMG]
 IMG_20190421_141910
 by
Jon Christie, on Flickr[/IMG]
and the roof still looking good inside
[IMG]
 IMG_20190421_141555
 by
Jon Christie, on Flickr[/IMG]
The next issue was the loom in the headlining. The one Sonic sold to me had the updated loom for the auto mirror and rain sensor. Mine is the older style with the black plug.
[IMG]
 IMG_20190421_143801
 by
Jon Christie, on Flickr[/IMG]
I had two options. Splice the looms or change the looms. I went for a complete change
my original loom removed form old headlining and laid next to the one on the new lining
[IMG]
 IMG_20190421_143909
 by
Jon Christie, on Flickr[/IMG]
I VERY carefully removed the loom from the new headlining
[IMG]
 IMG_20190421_144828
 by
Jon Christie, on Flickr[/IMG]
Then glued on my original loom. I used 3M tape to stick it in place rather than the glue.
[IMG]
 IMG_20190421_150129
 by
Jon Christie, on Flickr[/IMG]
I bought the new units in through the passenger door across corners. With care AND VERY CLEAN HANDS !! you dont have to removed the centre console and the biscuit can be manoeuvred around the console, gear knob and steering wheel. I then hold it in place and rest it on the 4 x door top rubber inner lips which is enough to hold it in place
[IMG]
 IMG_20190421_151949
 by
Jon Christie, on Flickr[/IMG]
[IMG]
 IMG_20190421_152009
 by
Jon Christie, on Flickr[/IMG]
next up to build everything up.
first I fit the B post trims. the top clip slides up and then 2 plastic lugs fit into spring clips. Be careful to line the plastic lugs with the spring clip before pushing home or you can bend or break the plastic lugs (same for both sides)
[IMG]
 IMG_20190421_152112
 by
Jon Christie, on Flickr[/IMG]
[IMG]
 IMG_20190421_152118
 by
Jon Christie, on Flickr[/IMG]
[IMG]
 IMG_20190421_152123
 by
Jon Christie, on Flickr[/IMG]
[IMG]
 IMG_20190421_152542
 by
Jon Christie, on Flickr[/IMG]
Next up I fit the A post trims.
Again 3 x lugs and 3 spring clips. Again the alignment is key to make sure they dont break.
[IMG]
 IMG_20190421_153333
 by
Jon Christie, on Flickr[/IMG]
[IMG]
 IMG_20190421_153338
 by
Jon Christie, on Flickr[/IMG]
and fitted
[IMG]
 IMG_20190421_153434
 by
Jon Christie, on Flickr[/IMG]
Now to the wiring. Firstly the loom connector for the headlining is inside the drivers a post. As you can see mine is the older black style hence the loom change
[IMG]
 IMG_20190421_153500
 by
Jon Christie, on Flickr[/IMG]
[IMG]
 IMG_20190421_153633
 by
Jon Christie, on Flickr[/IMG]
The earth on the rear
[IMG]
 IMG_20190421_153802
 by
Jon Christie, on Flickr[/IMG]
The connectors for the rain sensor and auto mirror. I alwasy struugle to get the wiring in the correct position (probably my fat fingers
). There is a channel for the sensor wiring to sit in and the plug for the mirror sits over the top. One fitted the plastic cover clips over.
[IMG]
 IMG_20190421_154020
 by
Jon Christie, on Flickr[/IMG]
[IMG]
 IMG_20190421_185104
 by
Jon Christie, on Flickr[/IMG]
The front interior lights. These clip on the rear and two screws screw into the frame
[IMG]
 IMG_20190421_162442
 by
Jon Christie, on Flickr[/IMG]
[IMG]
 IMG_20190421_162642
 by
Jon Christie, on Flickr[/IMG]
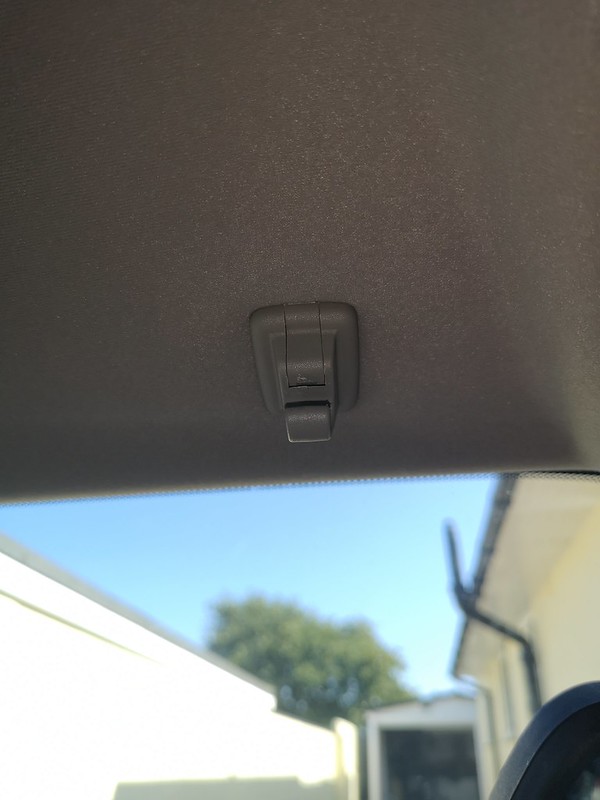
Then the sun visors. These are relatively easy with 2 x screws for the bar and the clip is clipped through closure which expands the clip making it sit solid.
[IMG]
 IMG_20190421_160716
 by
Jon Christie, on Flickr[/IMG]
[IMG]
 IMG_20190421_160731
 by
Jon Christie, on Flickr[/IMG]
[IMG]
 IMG_20190421_160809
 by
Jon Christie, on Flickr[/IMG]
[IMG]
 IMG_20190421_160908
 by
Jon Christie, on Flickr[/IMG]
All the front furniture fitted
[IMG]
 IMG_20190421_162702
 by
Jon Christie, on Flickr[/IMG]
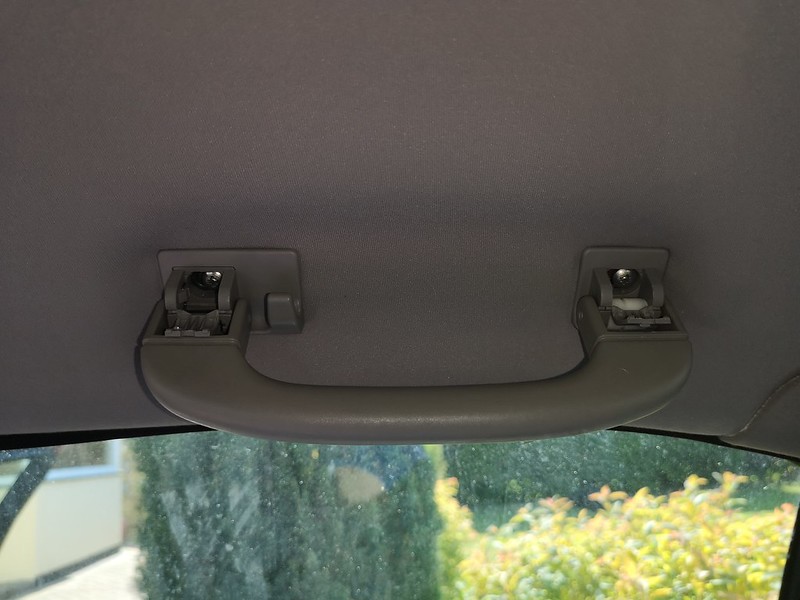
Working back the handles are fitted. You can hold them open by opening the covers on their little hinges and clipping against the handle. This holds the handle open against its spring. 2 x screws each handle into the frame ont he roof.
[IMG]
 IMG_20190421_160259
 by
Jon Christie, on Flickr[/IMG]
Caps closed
[IMG]
 IMG_20190421_160311
 by
Jon Christie, on Flickr[/IMG]
and fitted
[IMG]
 IMG_20190421_160318
 by
Jon Christie, on Flickr[/IMG]
[IMG]
 IMG_20190421_162714
 by
Jon Christie, on Flickr[/IMG]
Next up the B post lower trims.
These have 6 plastic lugs into spring clips. again alignment is key. I also eased the door seals away so the trims can be pushed in place, There is a tab at the top which clips into the upper trim as well.
[IMG]
 IMG_20190421_162746
 by
Jon Christie, on Flickr[/IMG]
[IMG]
 IMG_20190421_162806
 by
Jon Christie, on Flickr[/IMG]
and all fitted both sides.
[IMG]
 IMG_20190421_162923
 by
Jon Christie, on Flickr[/IMG]
[IMG]
 IMG_20190421_163210
 by
Jon Christie, on Flickr[/IMG]
Next the rear interior light and high level break light. be careful when removing these as the plastic is getting very brittle
The interior light has 2 lugs which fit over the lining and then clip in the front.
[IMG]
 IMG_20190421_164358
 by
Jon Christie, on Flickr[/IMG]
High level brake light
[IMG]
 IMG_20190421_182216
 by
Jon Christie, on Flickr[/IMG]
The plastic cover over the wiring clips into place then 2 x screws expand the clip. At this point I push the 2 x clips that are attached to the rear of the lining into the roof. You can feel them clip in.
[IMG]
 IMG_20190421_154059
 by
Jon Christie, on Flickr[/IMG]
Lastly the rear trims go back. These slide in over the parcel shelf and have 3 lugs and spring clips.
[IMG]
 IMG_20190421_182505
 by
Jon Christie, on Flickr[/IMG]
[IMG]
 IMG_20190421_154119
 by
Jon Christie, on Flickr[/IMG]
[IMG]
 IMG_20190421_154246
 by
Jon Christie, on Flickr[/IMG]
Thats the headlining all in and boy it looks better. Thanks Paul

[IMG]
 IMG_20190421_185646
 by
Jon Christie, on Flickr[/IMG]
[IMG]
 IMG_20190421_185721
 by
Jon Christie, on Flickr[/IMG]
so finally a good hoover out before putting the seats back.
[IMG]
 IMG_20190421_181258
 by
Jon Christie, on Flickr[/IMG]
and the job all done
[IMG]
 IMG_20190421_185733
 by
Jon Christie, on Flickr[/IMG]
[IMG]
 IMG_20190421_185743
 by
Jon Christie, on Flickr[/IMG]
[IMG]
 IMG_20190421_185724
 by
Jon Christie, on Flickr[/IMG]
5 hours all in with a couple of drink stops because it was baking on the drive but well worth the effort
.
Again shout out to Paul who had a top quality headlining he was willing to pass on.