all orders to Simon at
[email protected]
Please note that I have absolutely no business connection with Simon who is located in Bullgaria. I approached him initially to ask if he could make a close match to our Rover 75 walnut OEM trim which became very popular and since then have made myself available as a go between when members ask for new pieces to be made sending him measurements, templates, ideas for him to consider and actual OEM trim where necessary to help him match the colours.
Simon is very accomodating and has made a few bespoke items for members, he will supply single pieces from the main kit if you dont need all the items, please e mail him with your requirements and to get a price.
Complete kit £53 plus £10 delivery ( available in Walnut, Light Oak, Black Oak, Piano Black, Rhodium)
Schematic below last updated 13/09/2019

The schematic contains most but not all of what Simon produces and details of the additional items are below

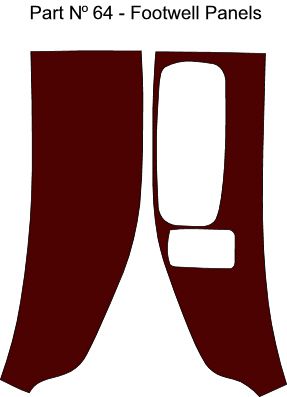
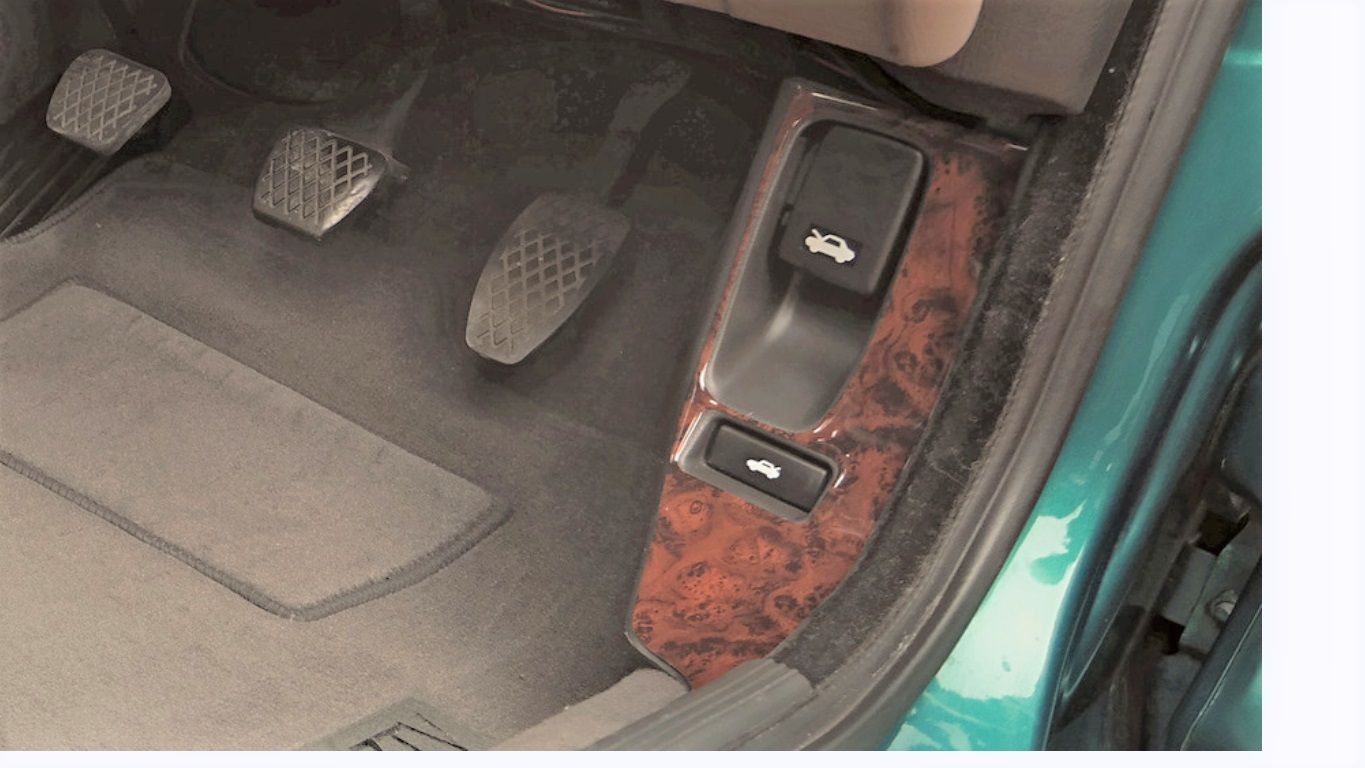
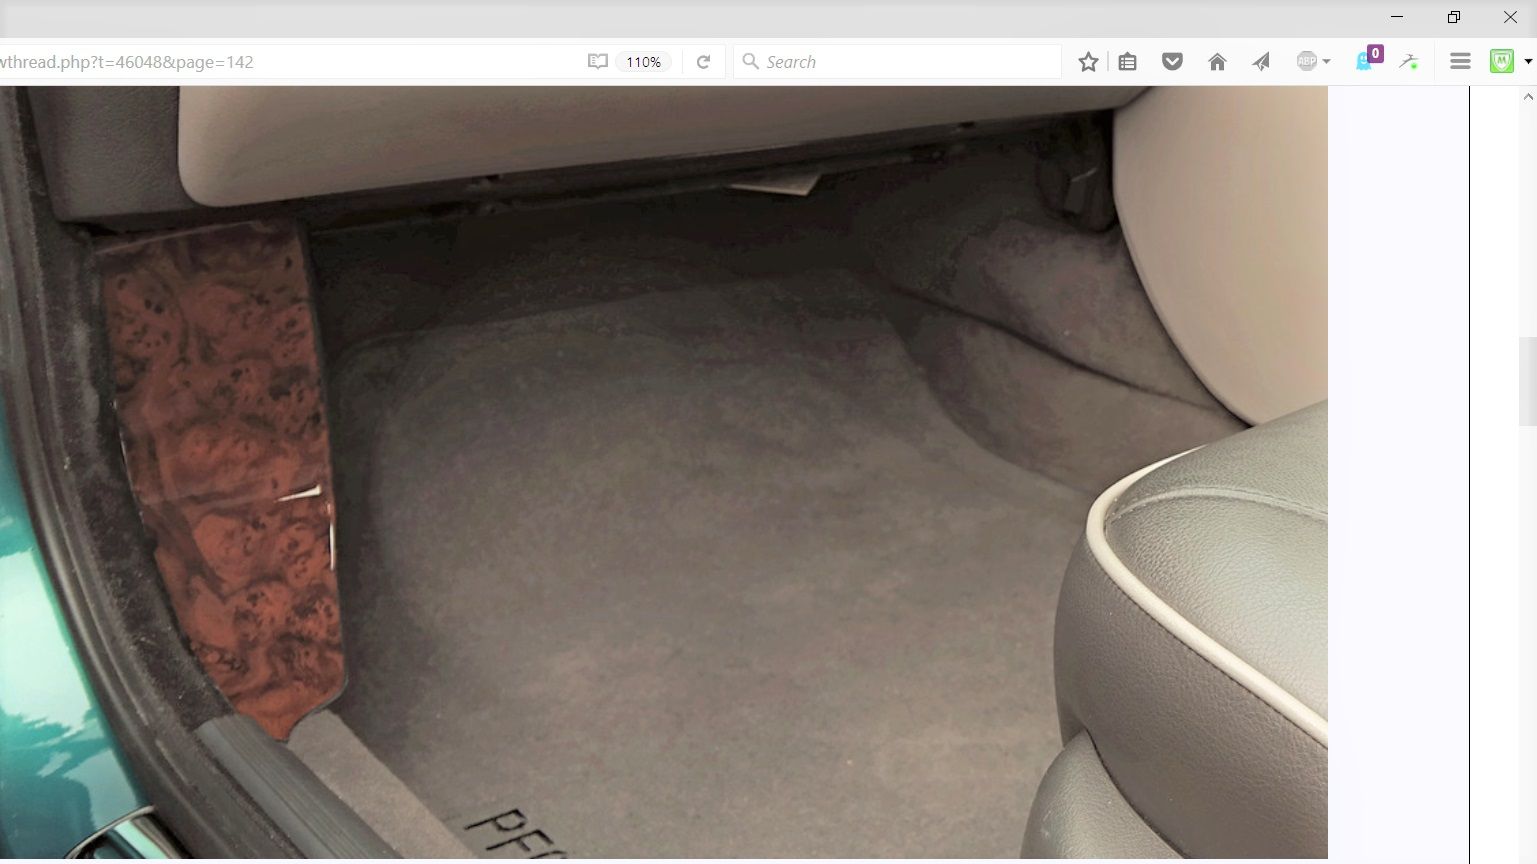
NEW Also available Footwell trims, number 64, cost £25 per pair plus £4 delivery.
 Fitting Instructions for all items:
The temperature in your vehicle must be above 21C. Leave the panels in the vehicle to acclimatise.
Thoroughly clean the surface of the dashboard or parts onto which the styling panels are to be fitted. Use a grease remover like T-Cut. Do NOT use any solvents.
The preparation is very important . All silicone, wax or other polish previoulsy applied MUST be removed.
Carefully remove one of the panels from the backing sheet, without touching the adhesive, using a hair dryer warm the adhesive.
Gently position the panel into place. ( moistening the adhesive in one corner helps with positioning ) Press firmly onto the surface especially at the edges and corners.
Warm the panel with a hair dryer. DO NOT OVERHEAT and continue to apply pressure using a soft clean cloth.
Leave the panels for 24 hours. They can the be cleaned and polished using a proprietary wax furniture polish.
Door trims
Doortrims No 61 and 62 - these are placed on the velour part of the doorcard. The standard adhesive on the back of the trim is not good good enough to permanently adhere so they either have to be further adhesed using a contact adhesive and/or screwed to the doorcard. If you want to use screws let Simon know and he will add screwholes, supply the screws, and hole covers to hide the screws.
Light Oak
Please be aware that the light oak is not an exact match. The colour is very close, but the grain is not the same. The colour has been approved by club members
If you are not sure about the colour, please ask Simon for actual sample for you to approve prior to ordering. If you want a sample please let him have your full postal details.
Gallery:
Below are pictures of most of the items actually fitted to the car and for the most part will be the walnut finish. If you have other items and are willing to share your pictures please add them to the thread and I will udate the gallery as and when.
Pictures of items in schematic:
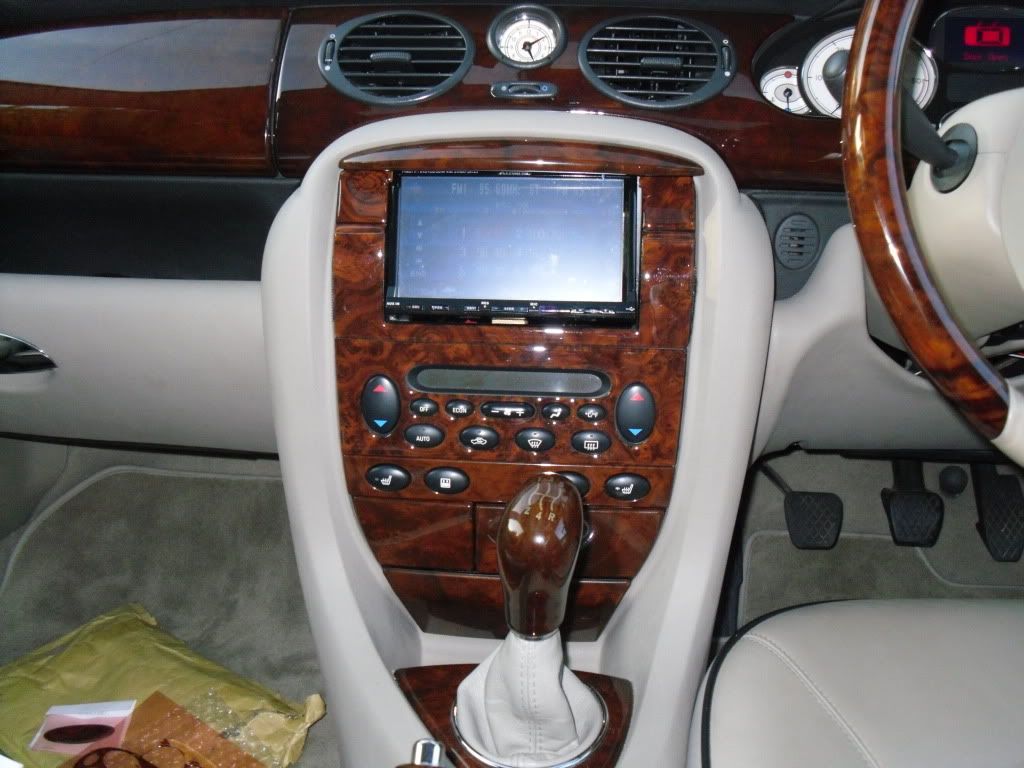
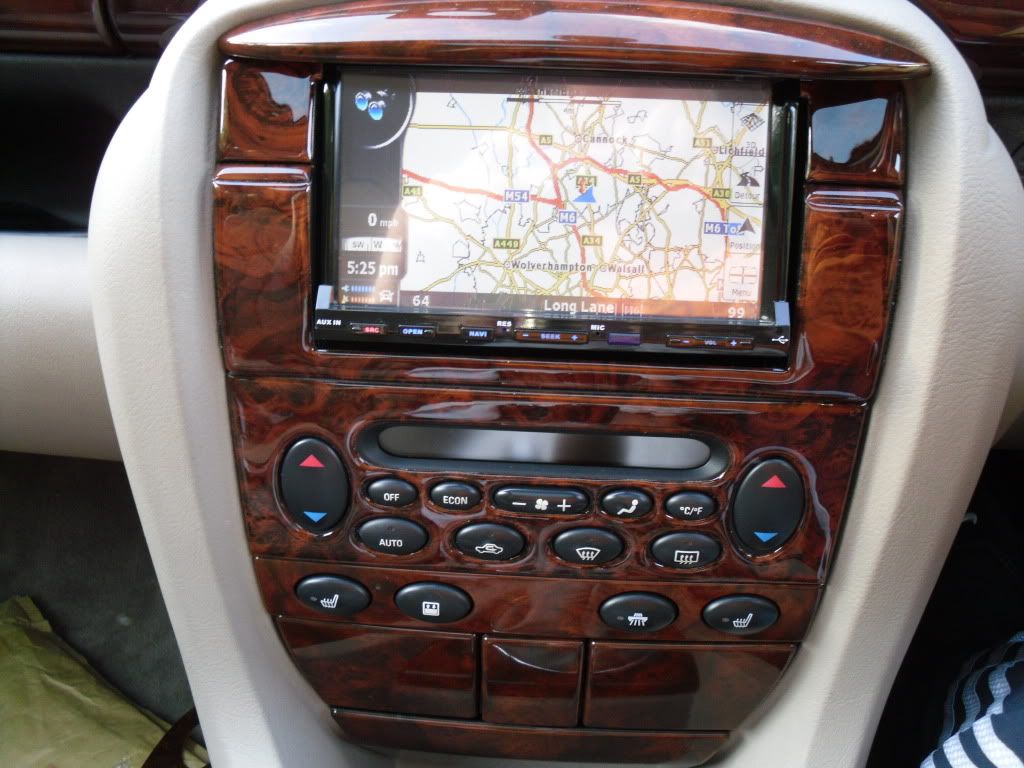
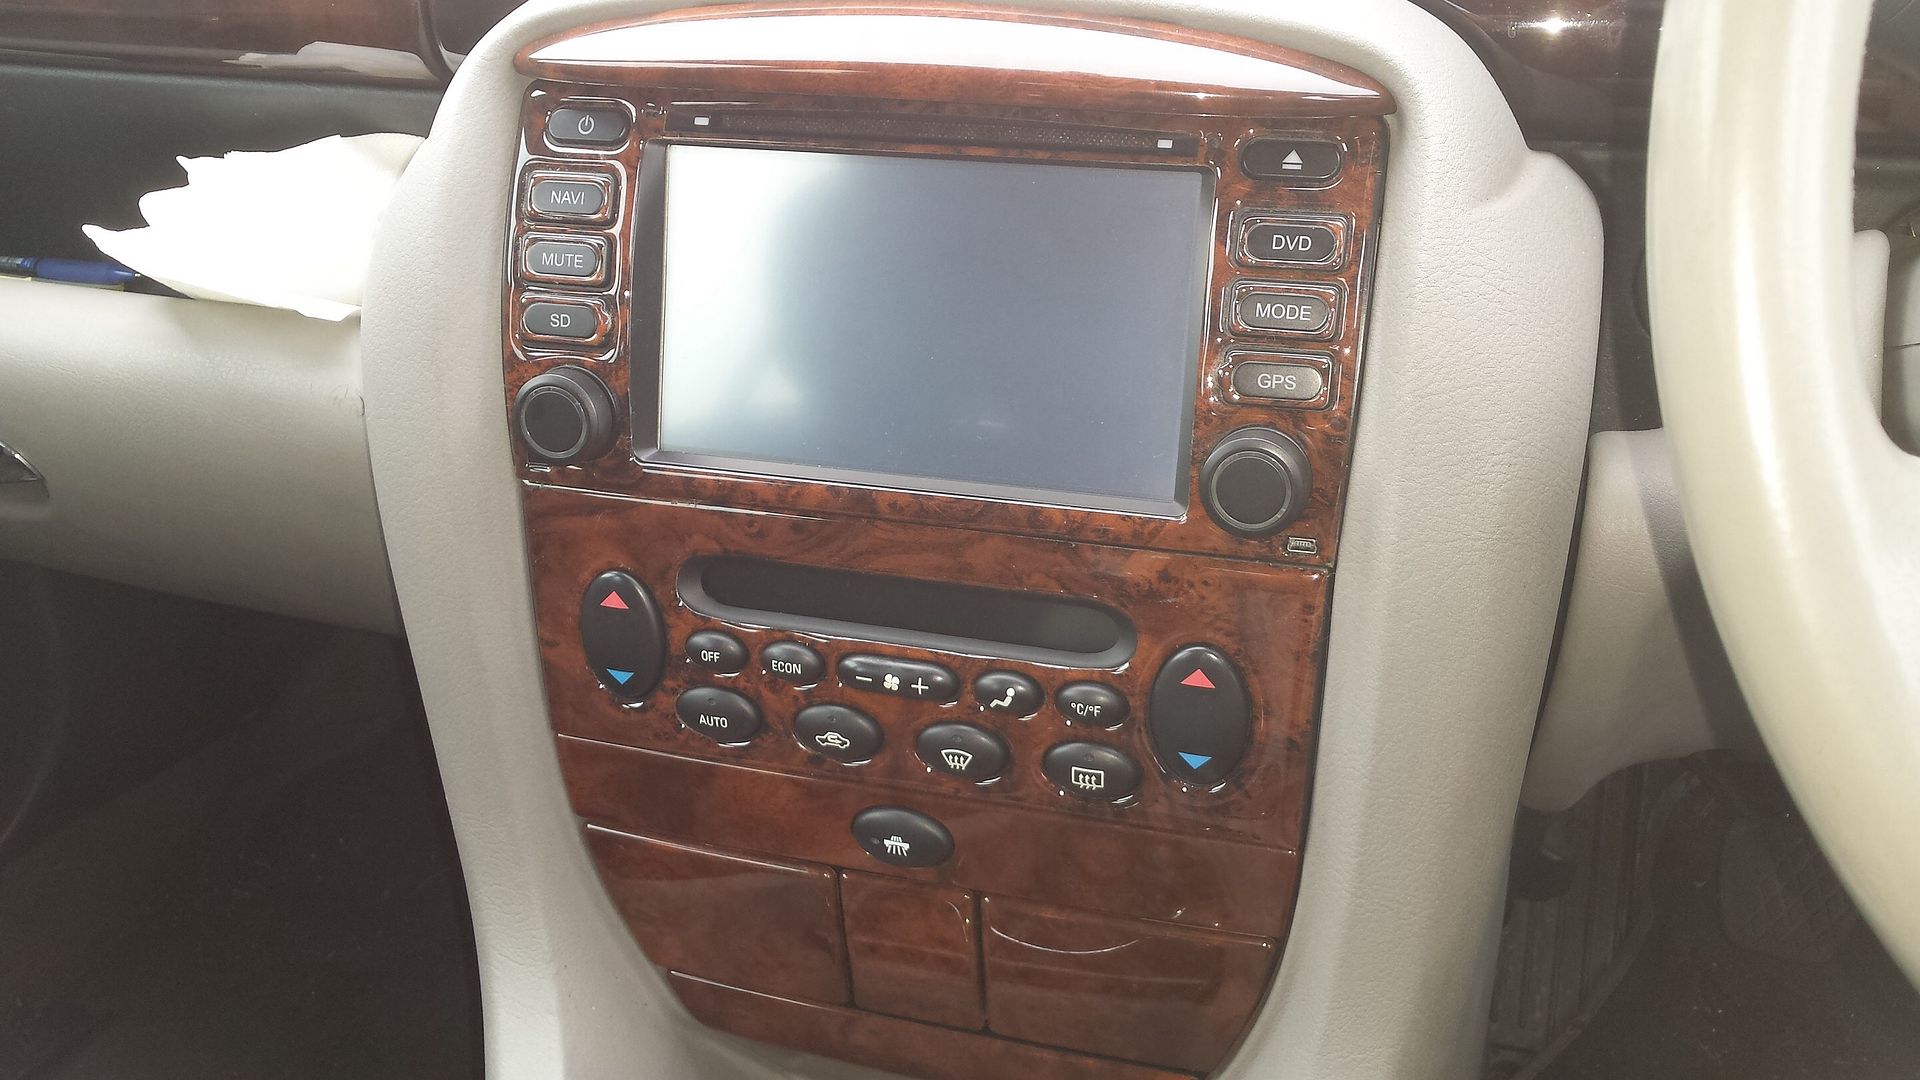
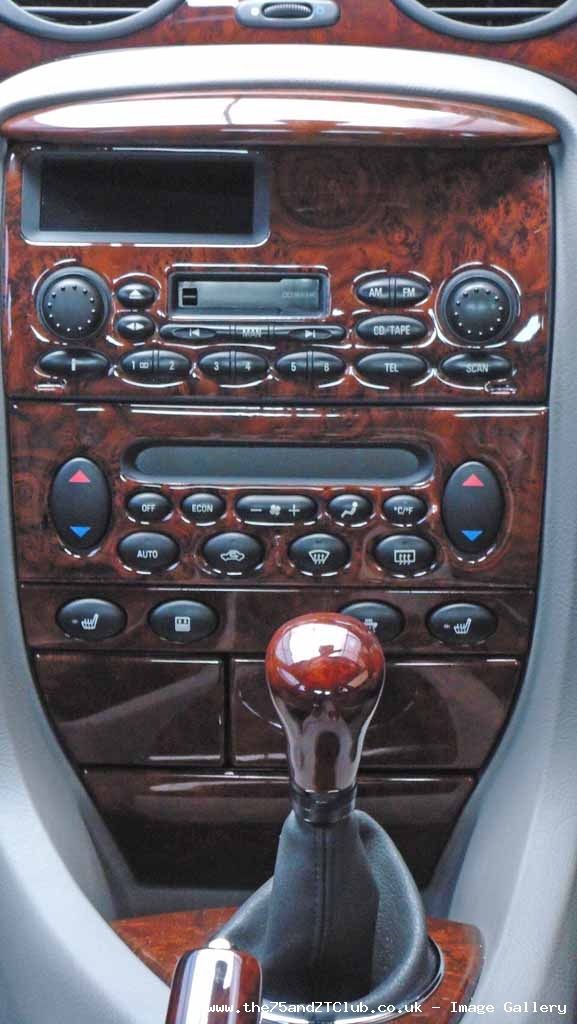
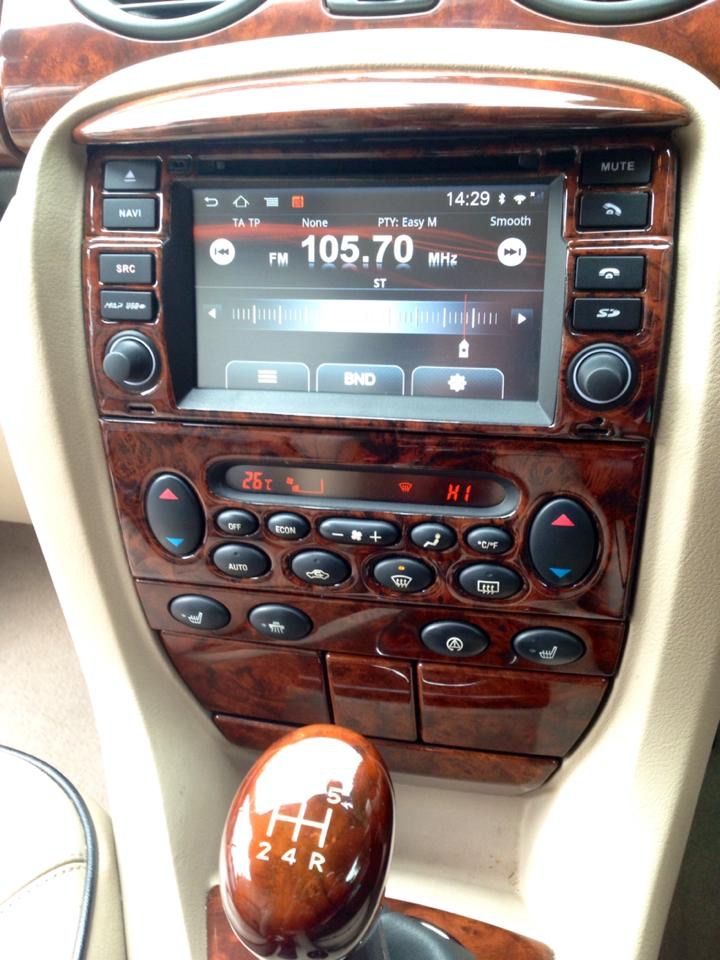
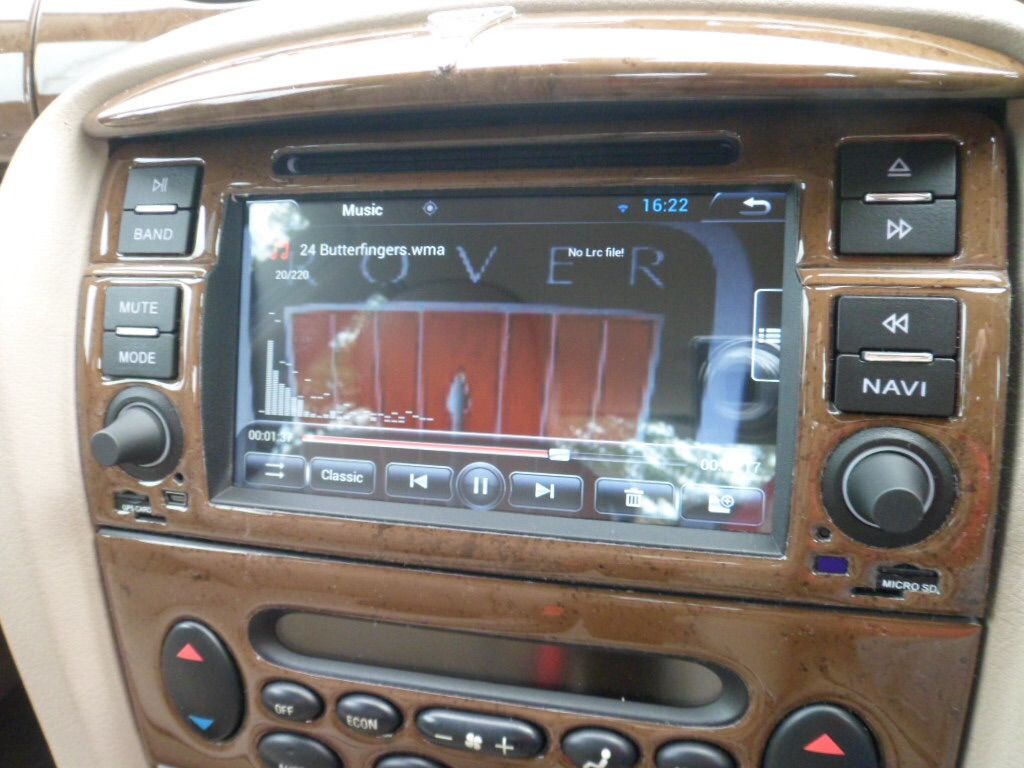
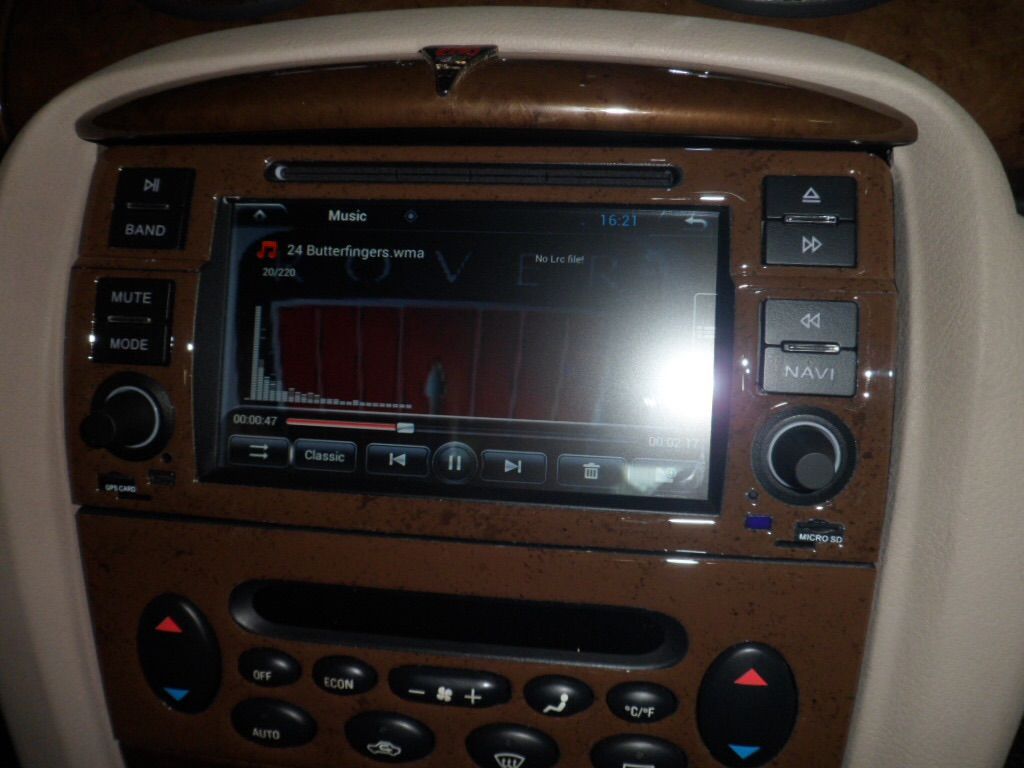
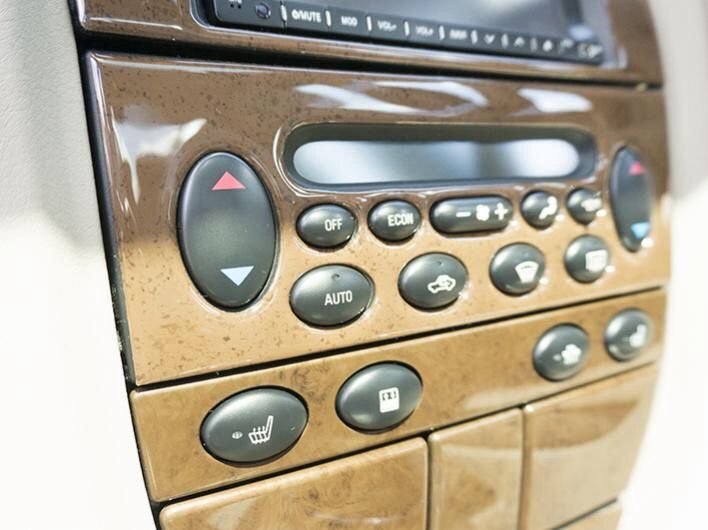
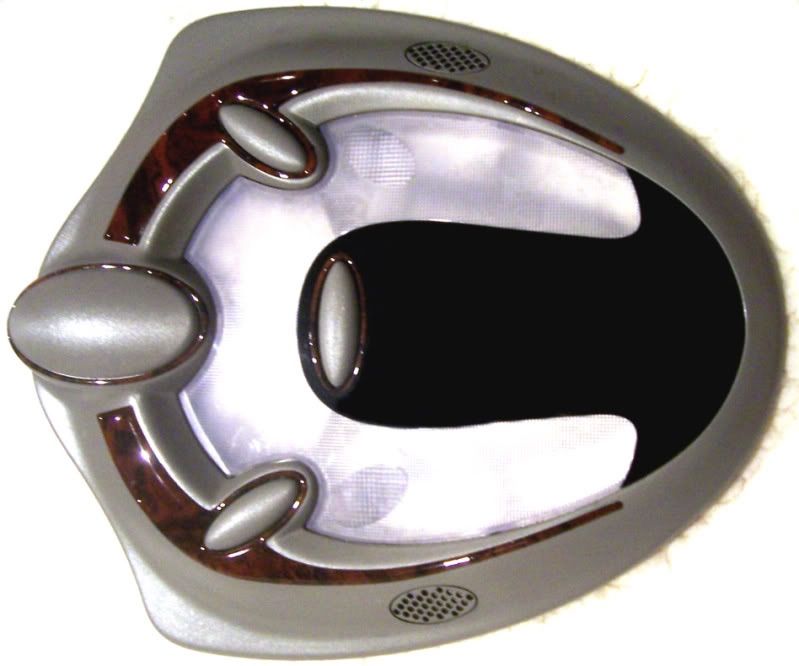
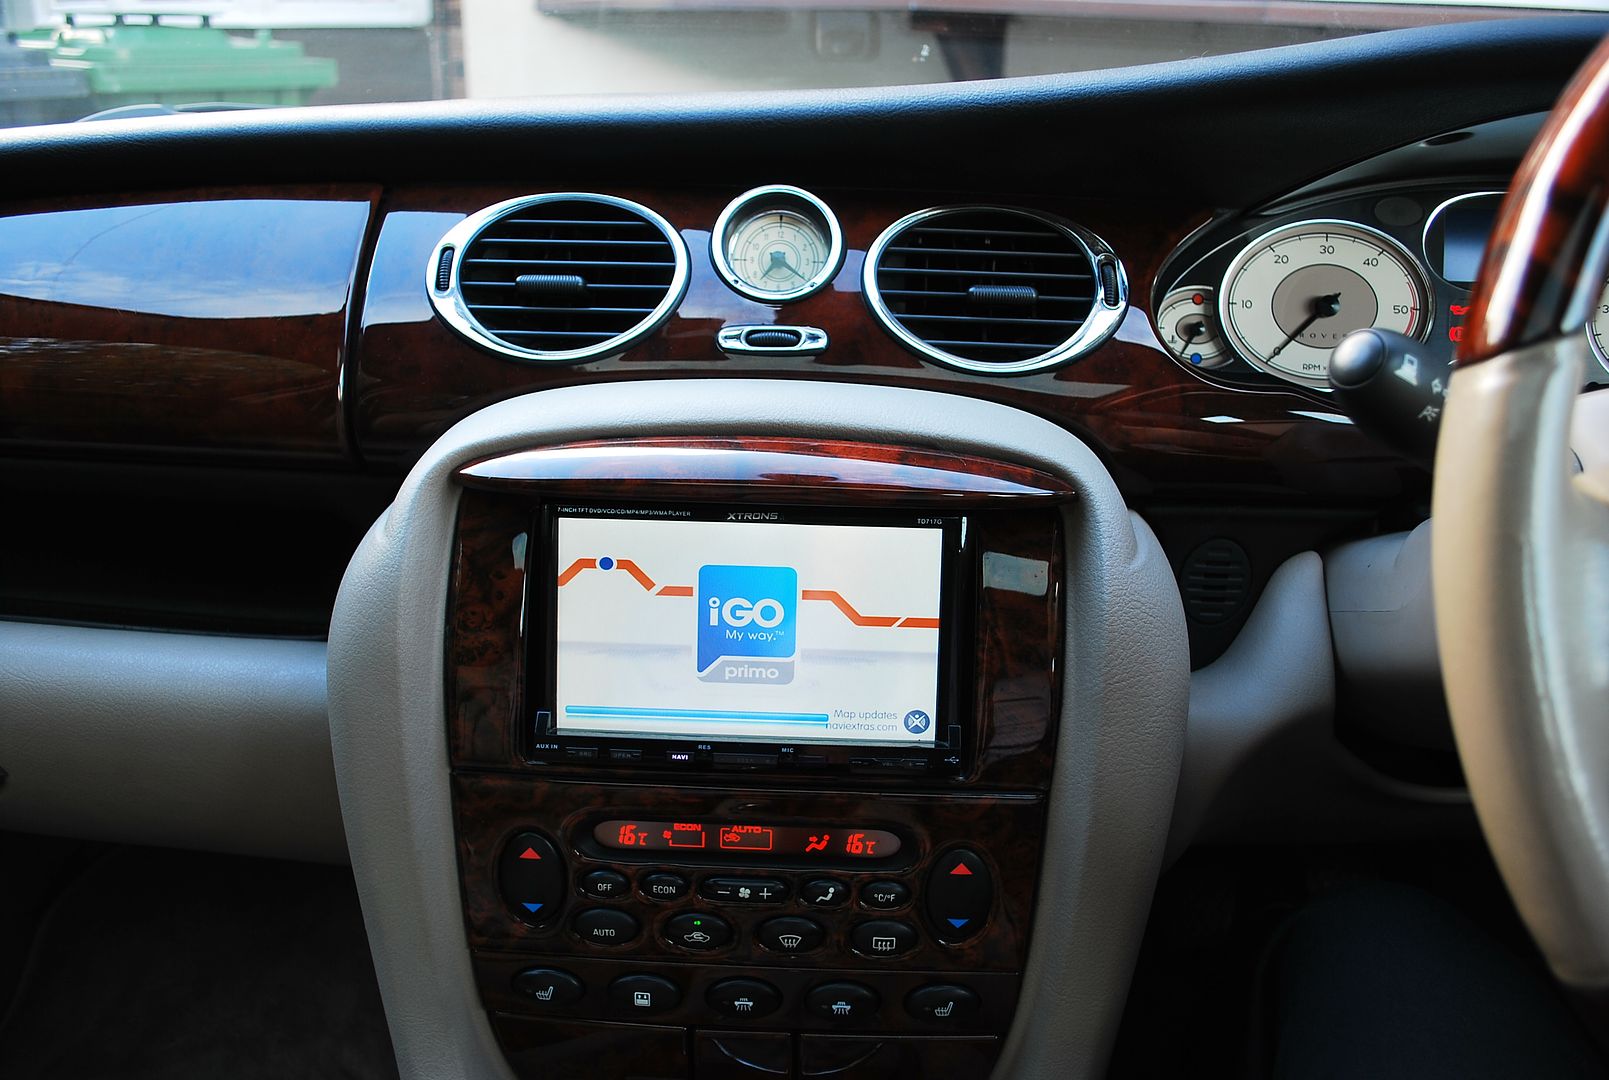
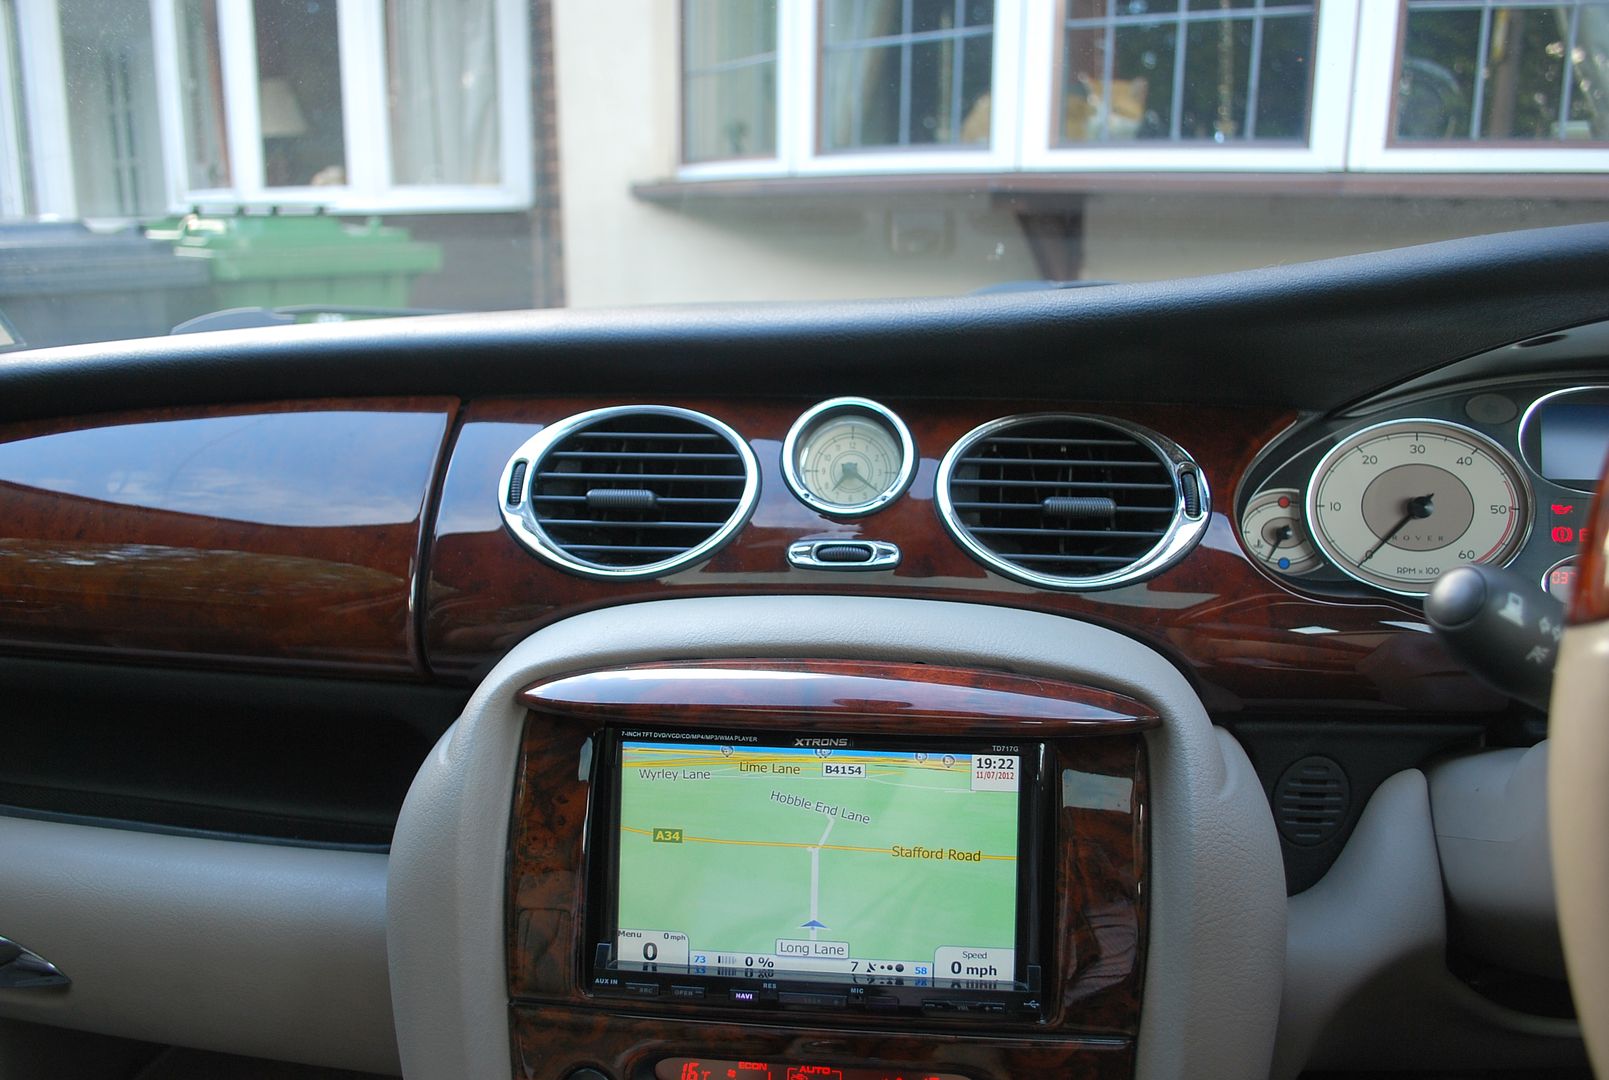
ATC and media centre trim
In Walnut
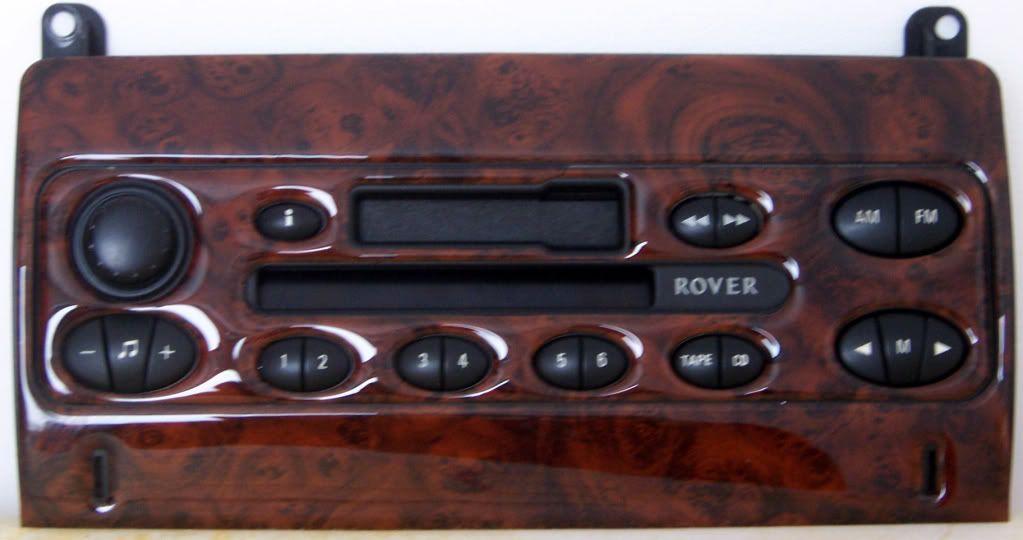
Harmony centre piece £8 including delivery available now ( Harmony outer surround is still part of the full kit at number 14 - see schematic above, if ordered with the full kit the piece is reduced to £6 )
centre piece

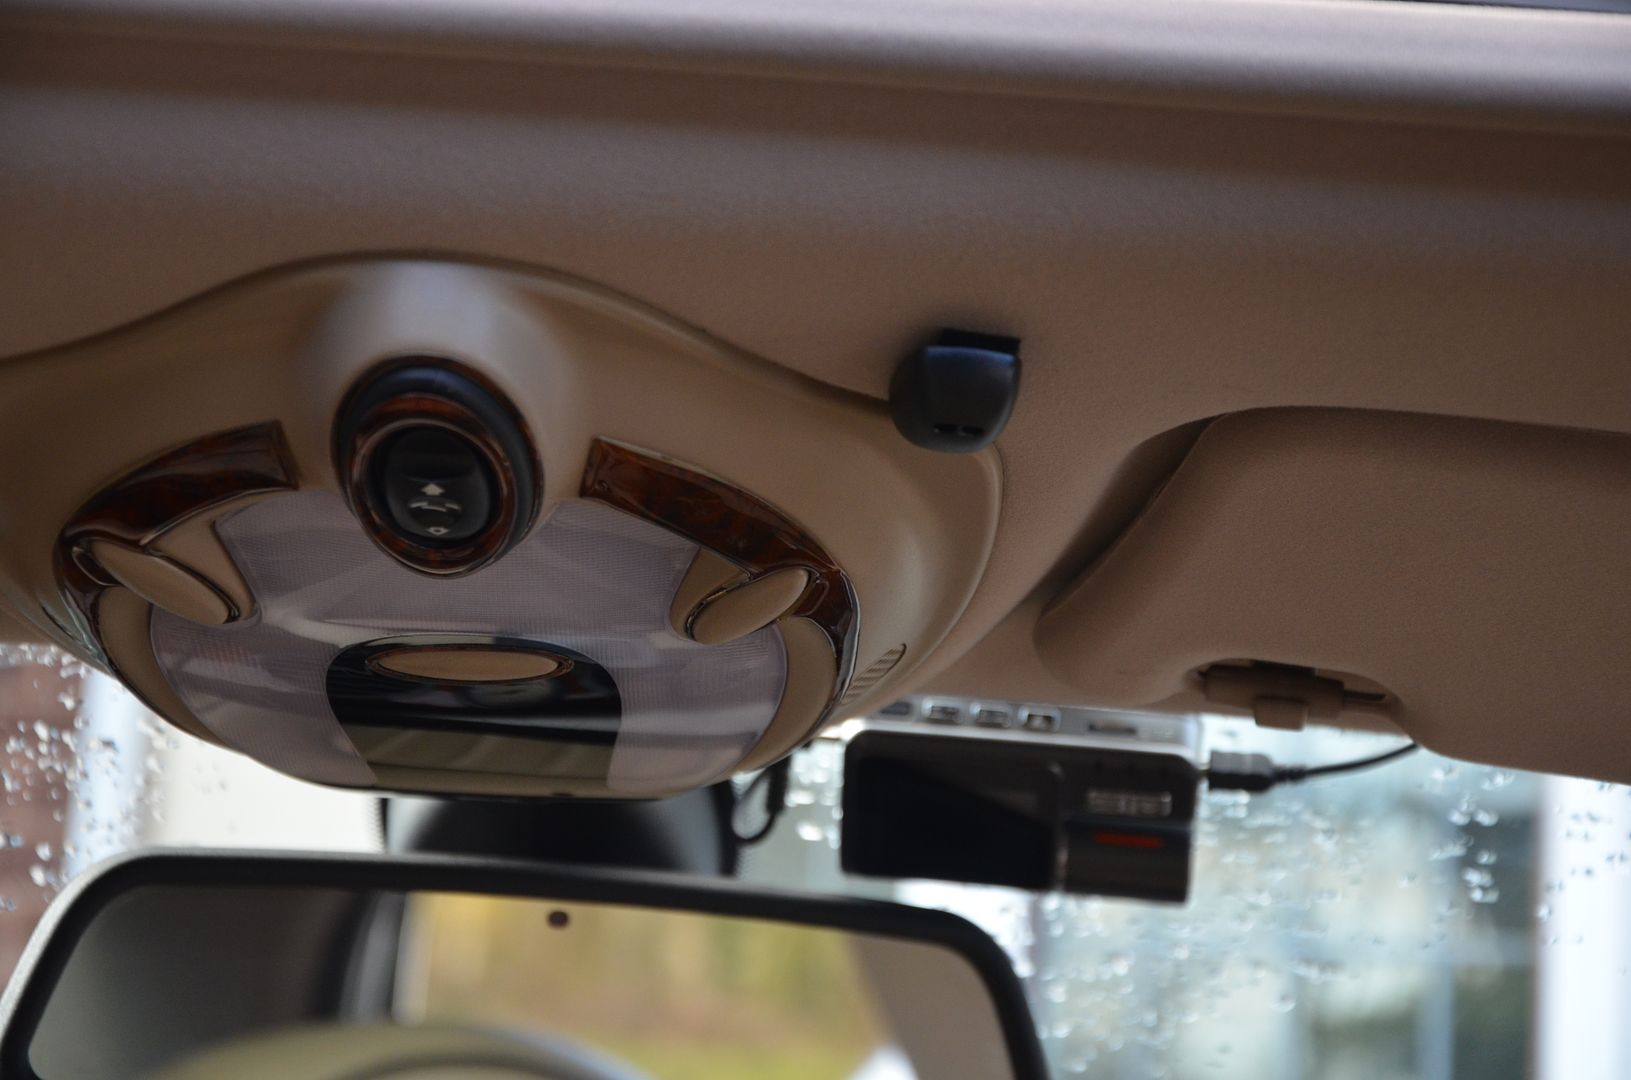
picture of both together
and without centre piece
 In Black Oak

 In Light Oak
In Rhodium:
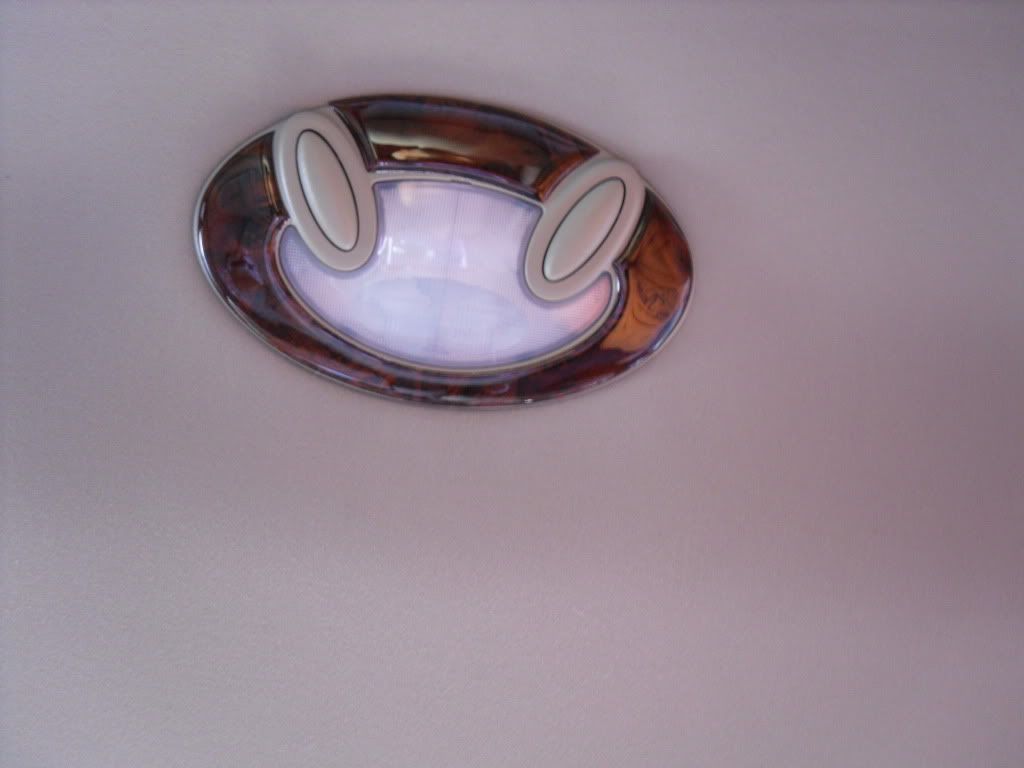
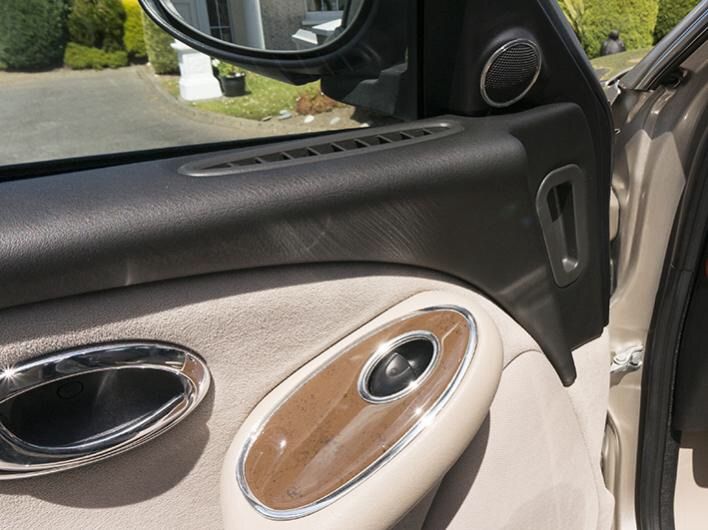
 Front light surround
In Walnut
Front light surround
In Walnut
 Rear light surround
In Walnut
Rear light surround
In Walnut
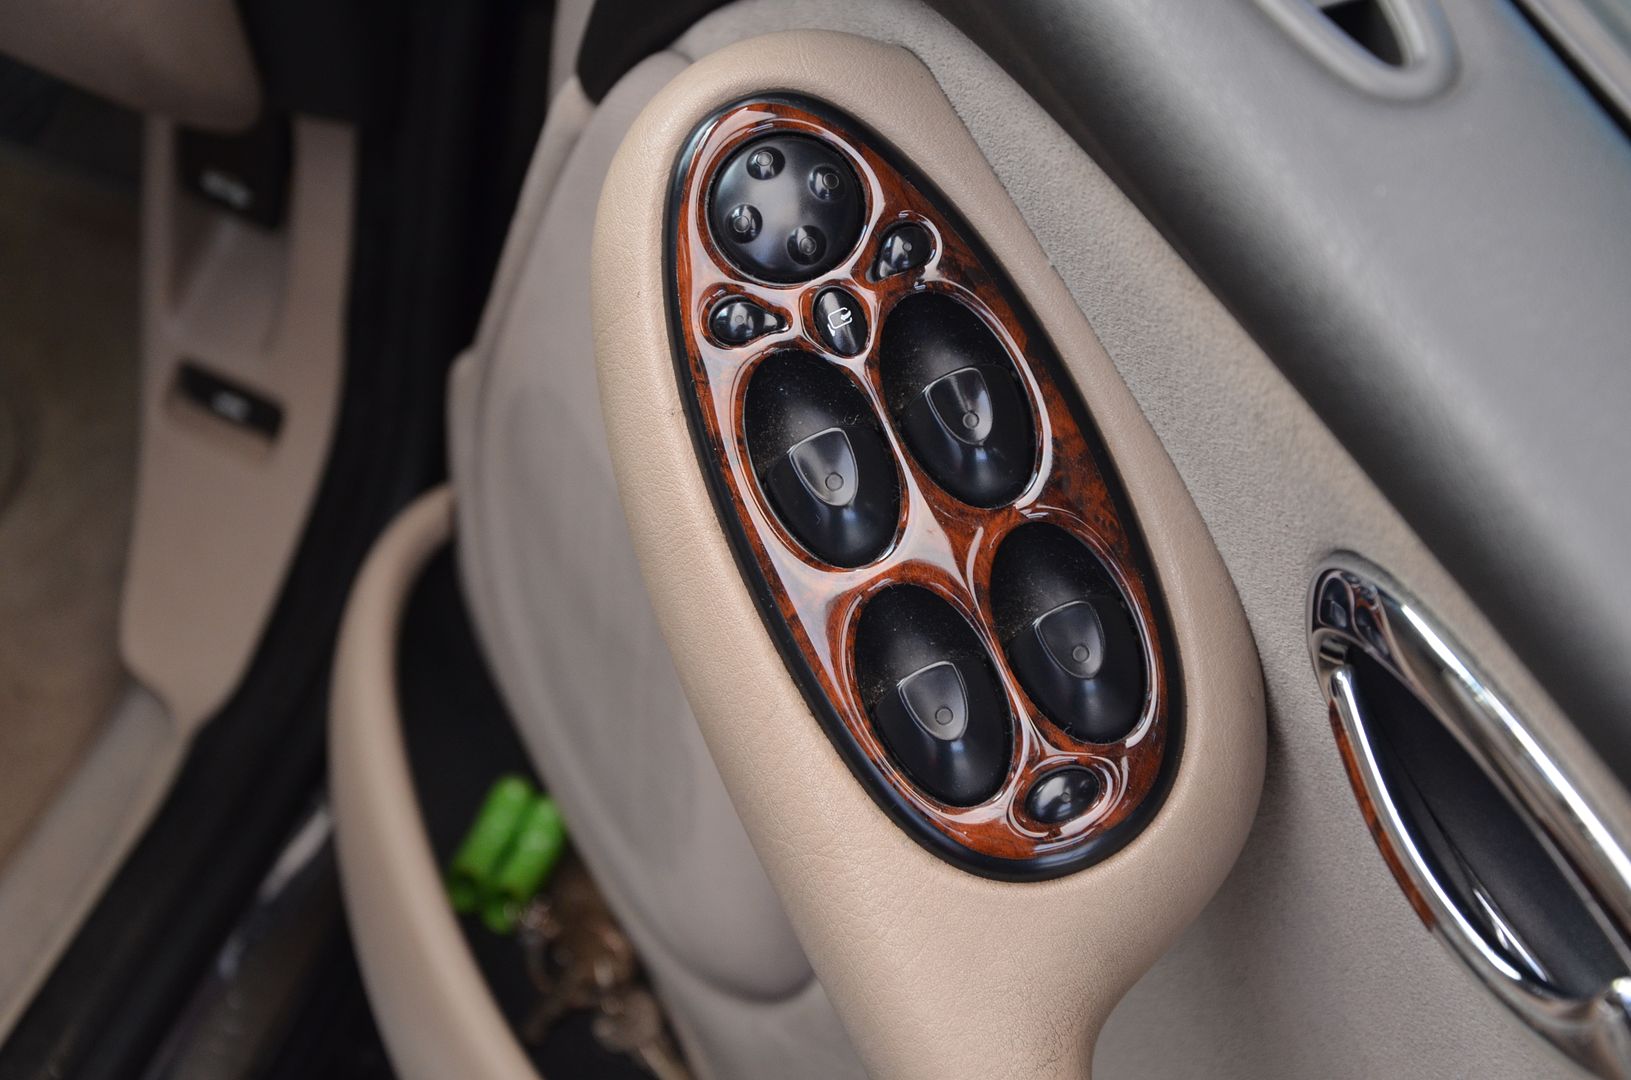
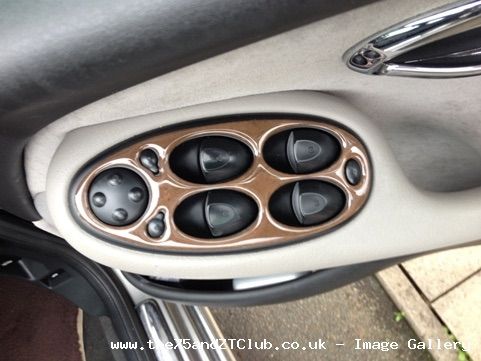
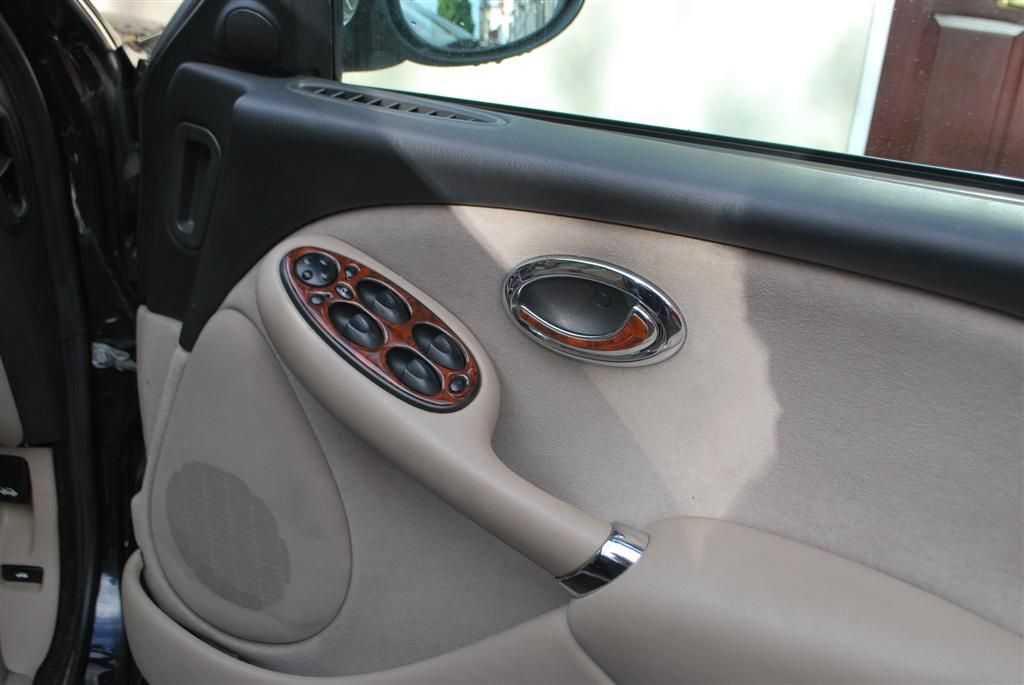
 Door switches
In Walnut
Door switches
In Walnut
 In Light Oak
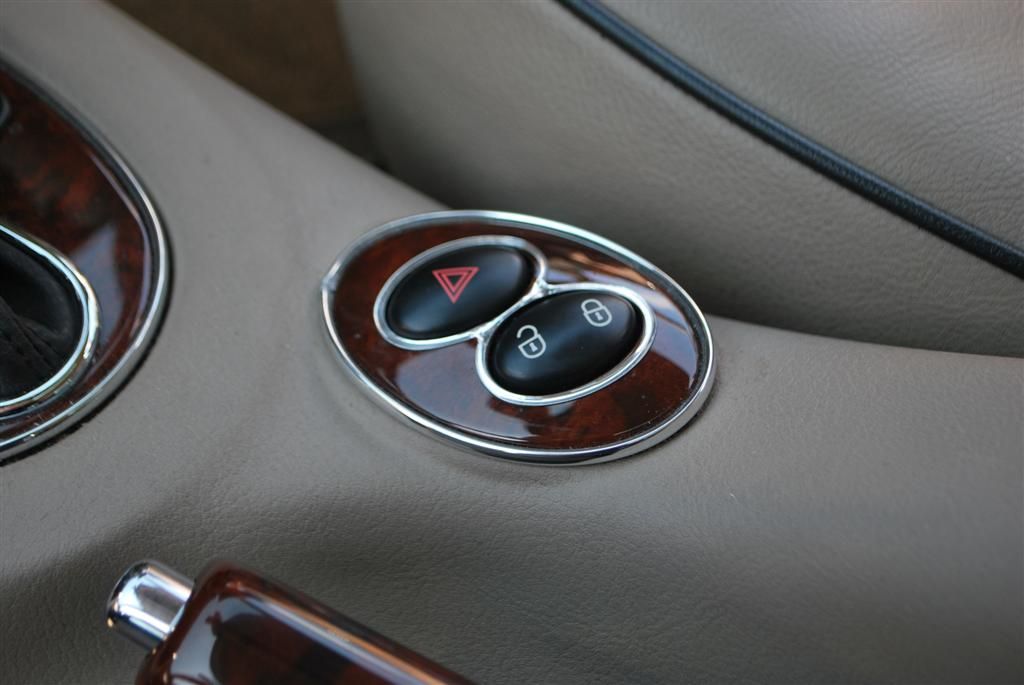
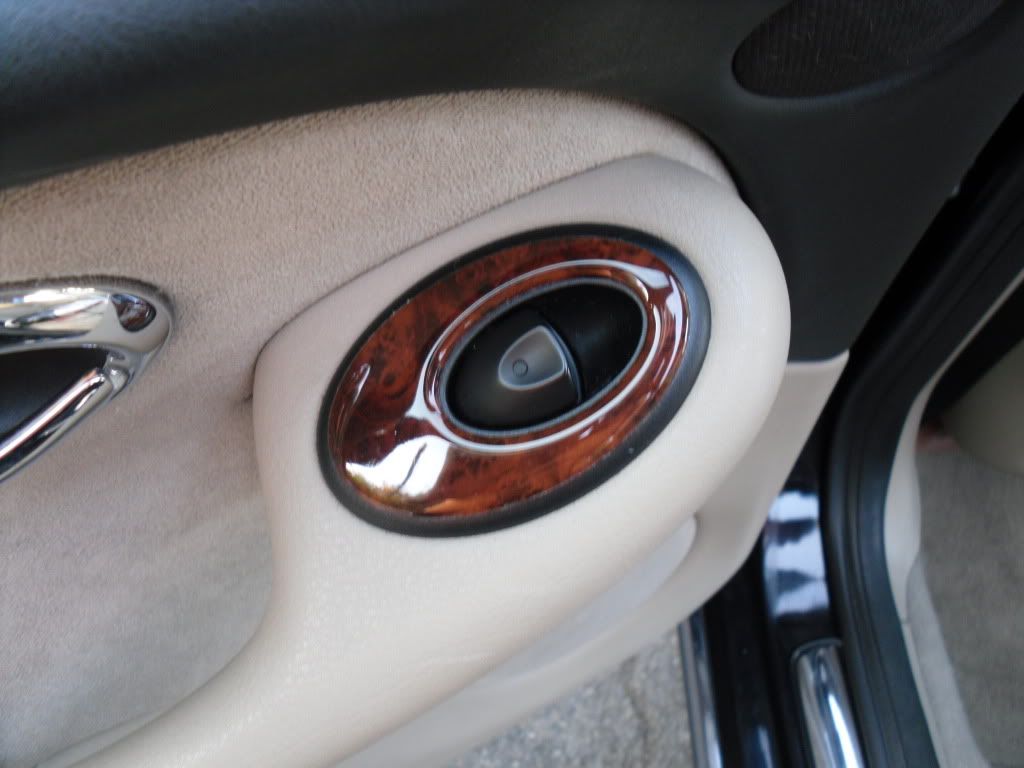
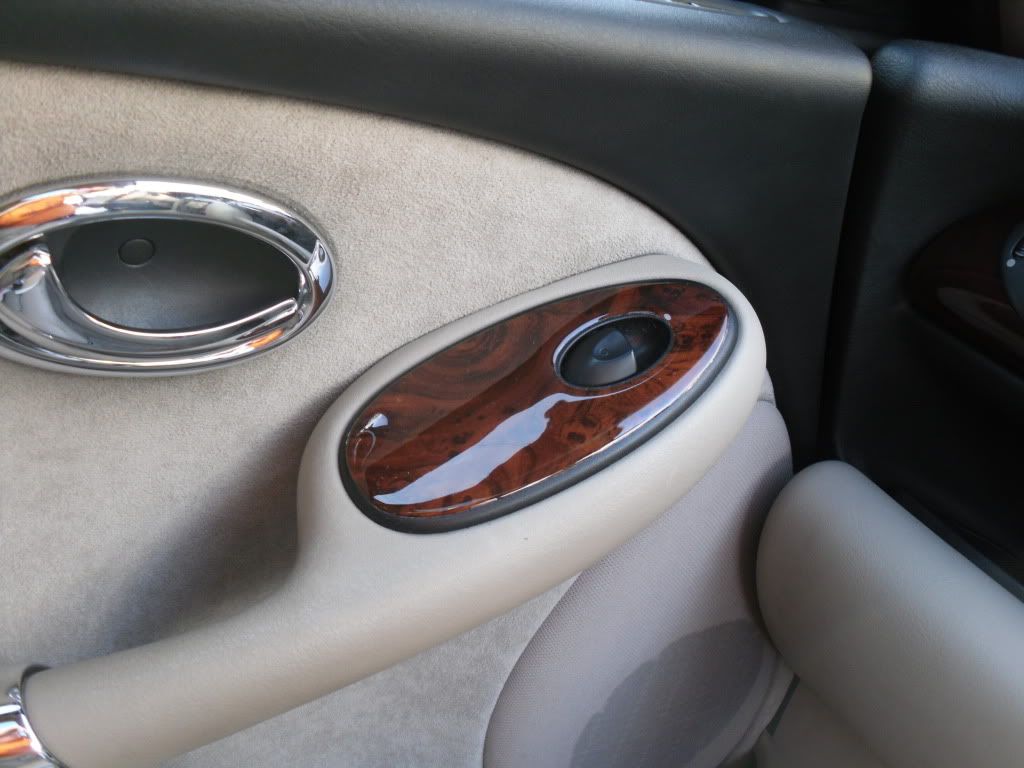
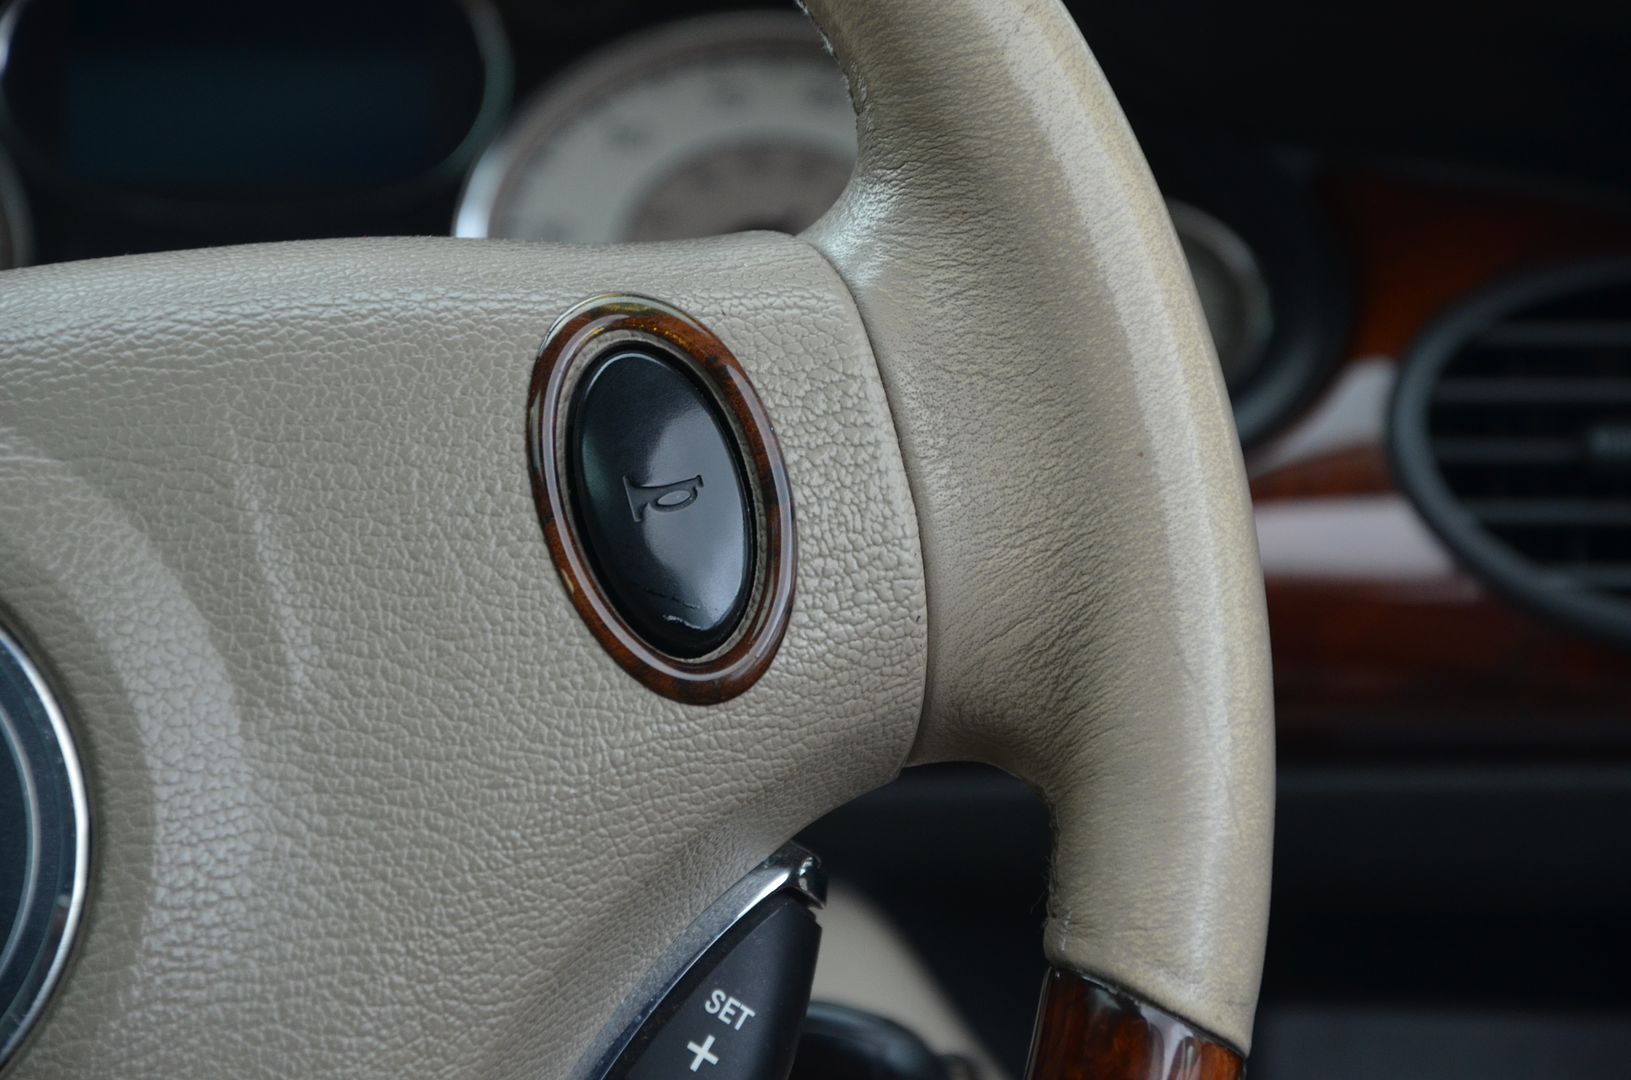
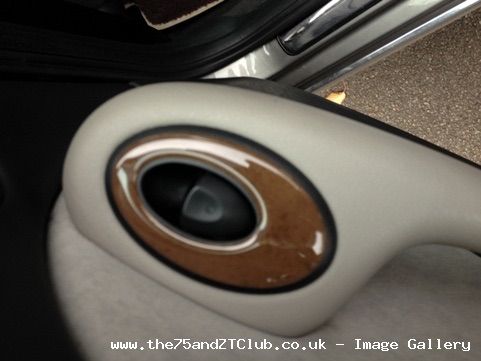 Horn surrounds
In Walnut
Horn surrounds
In Walnut
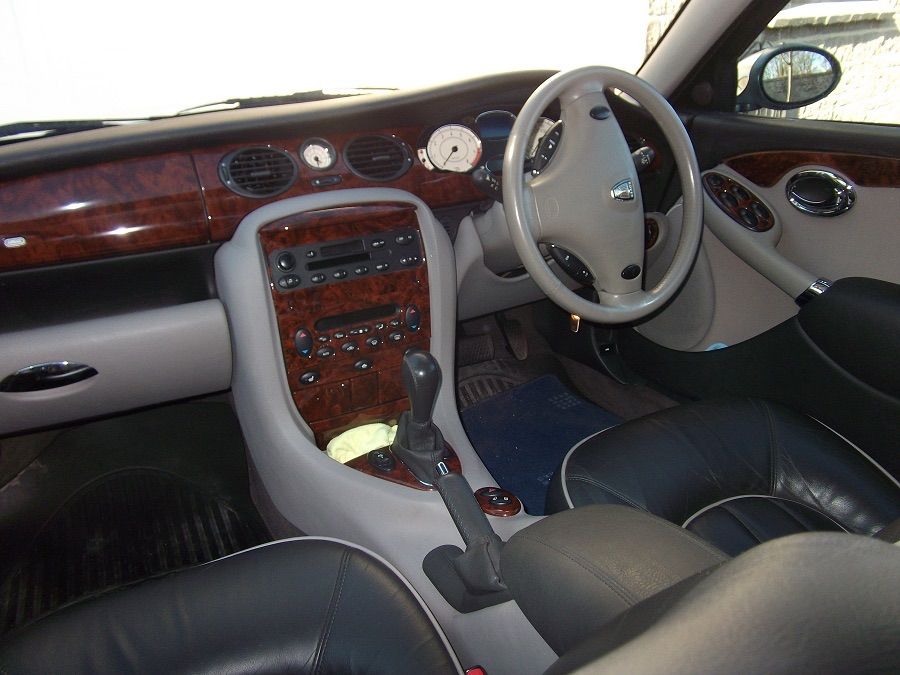
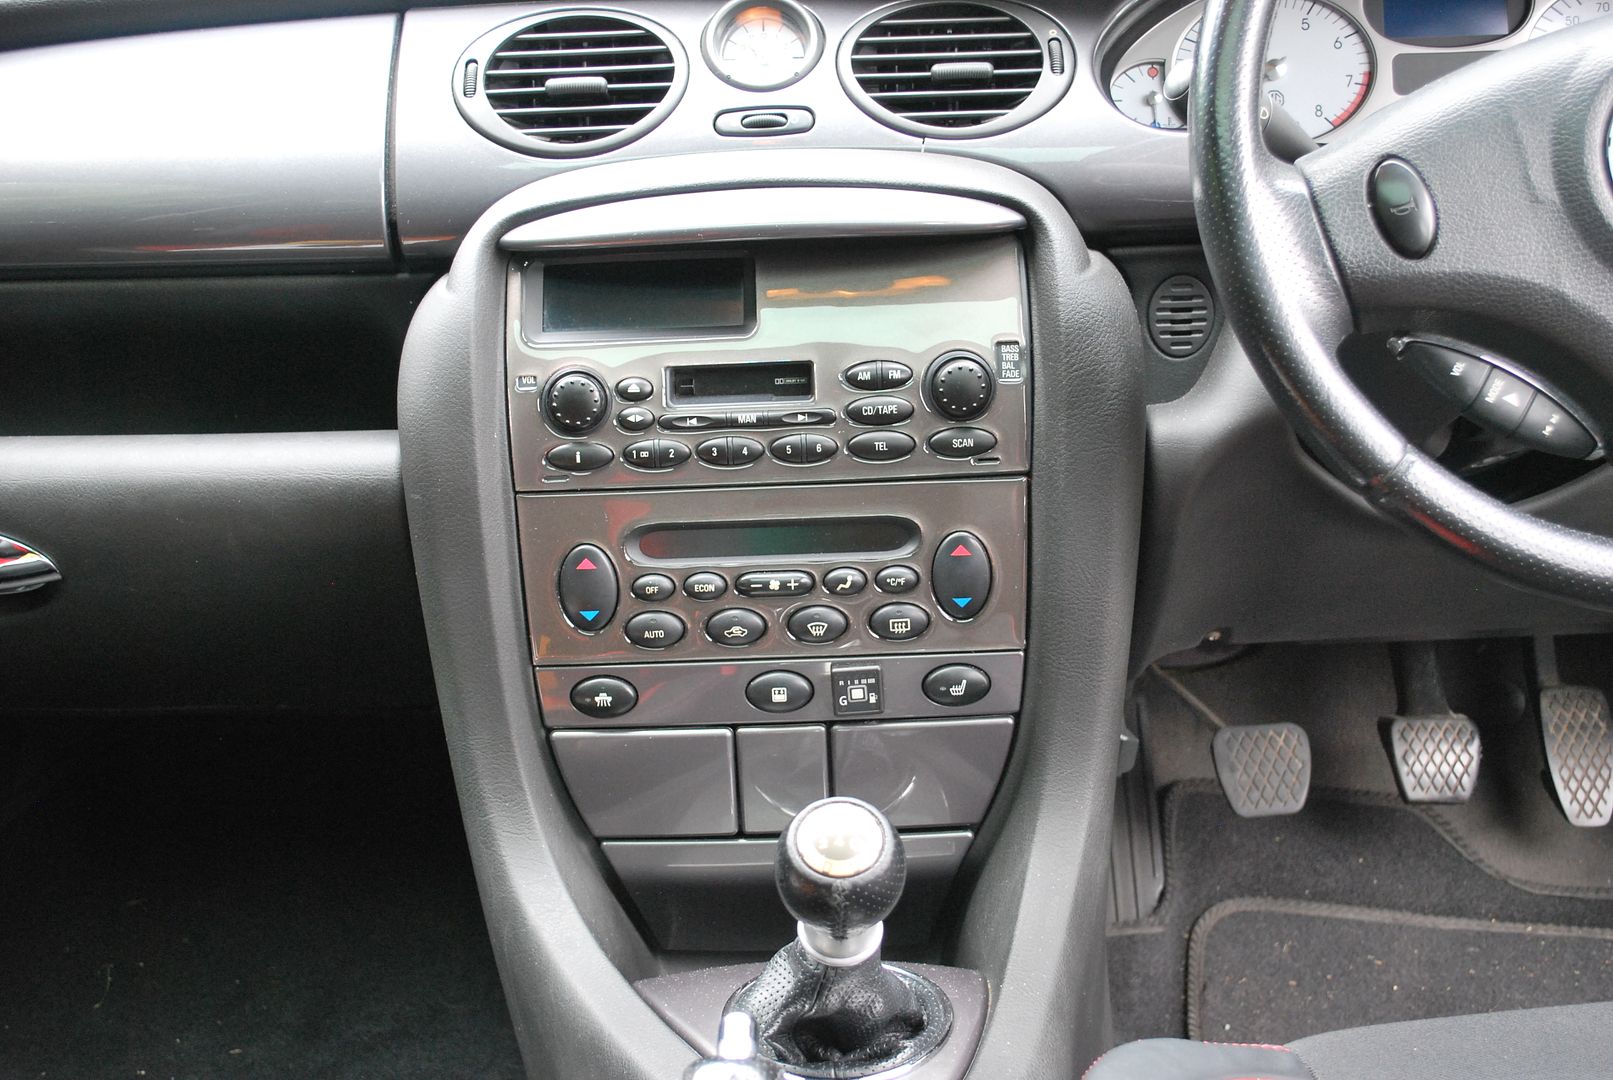
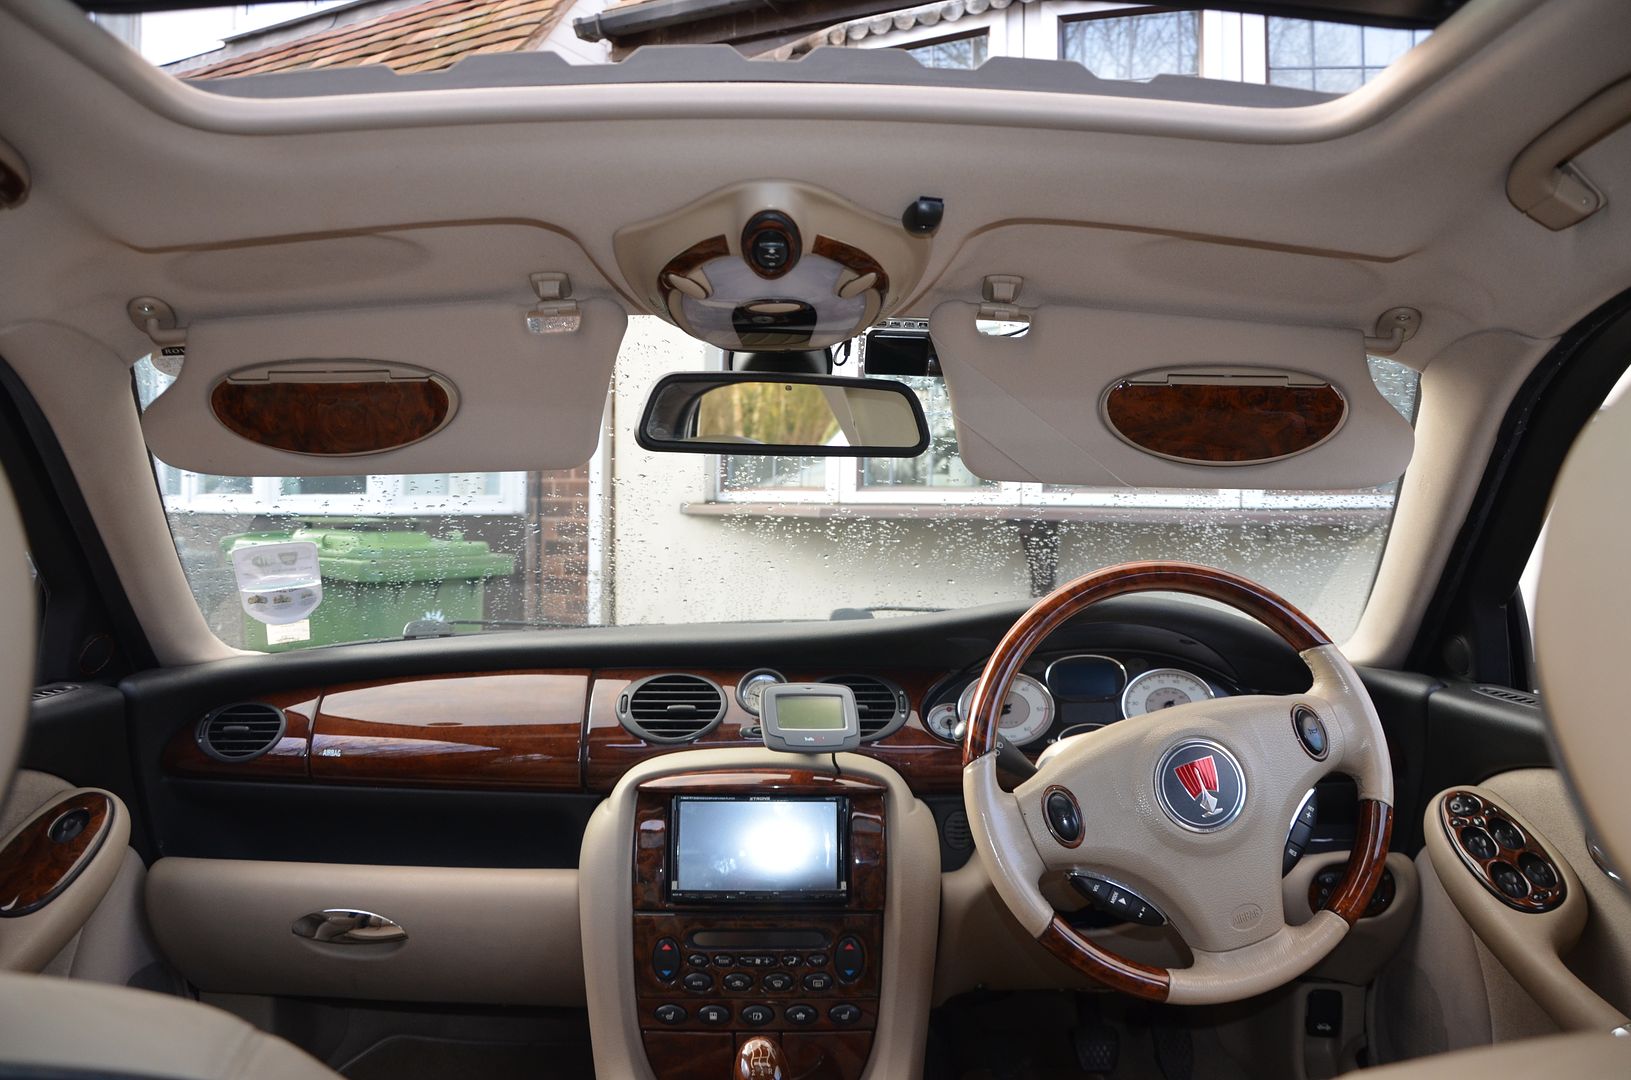
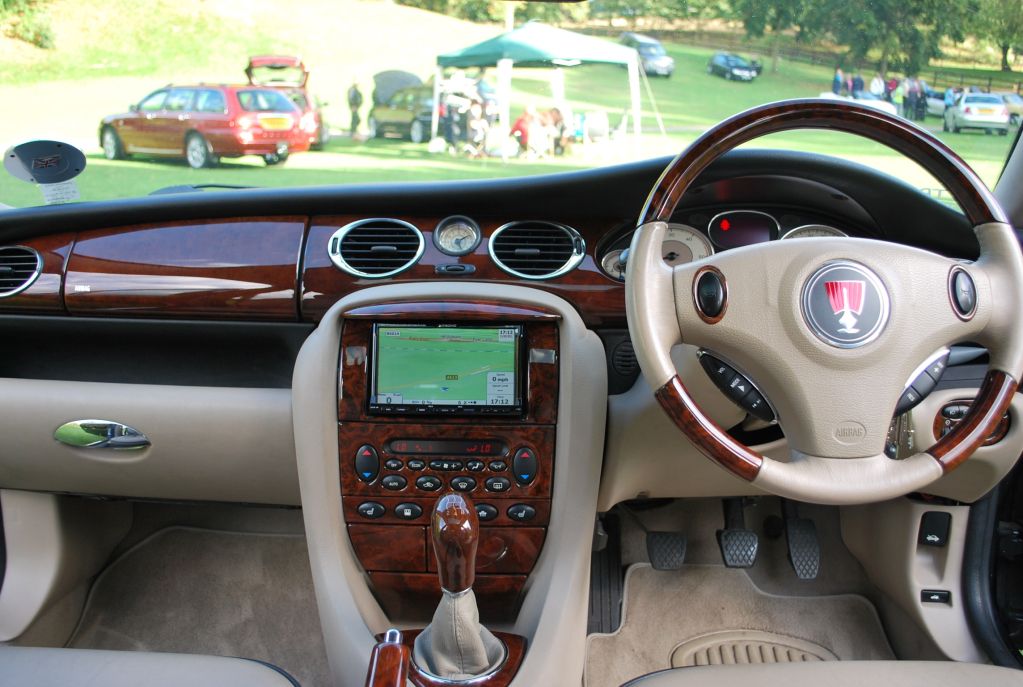
 Front overview
In Walnut
Front overview
In Walnut
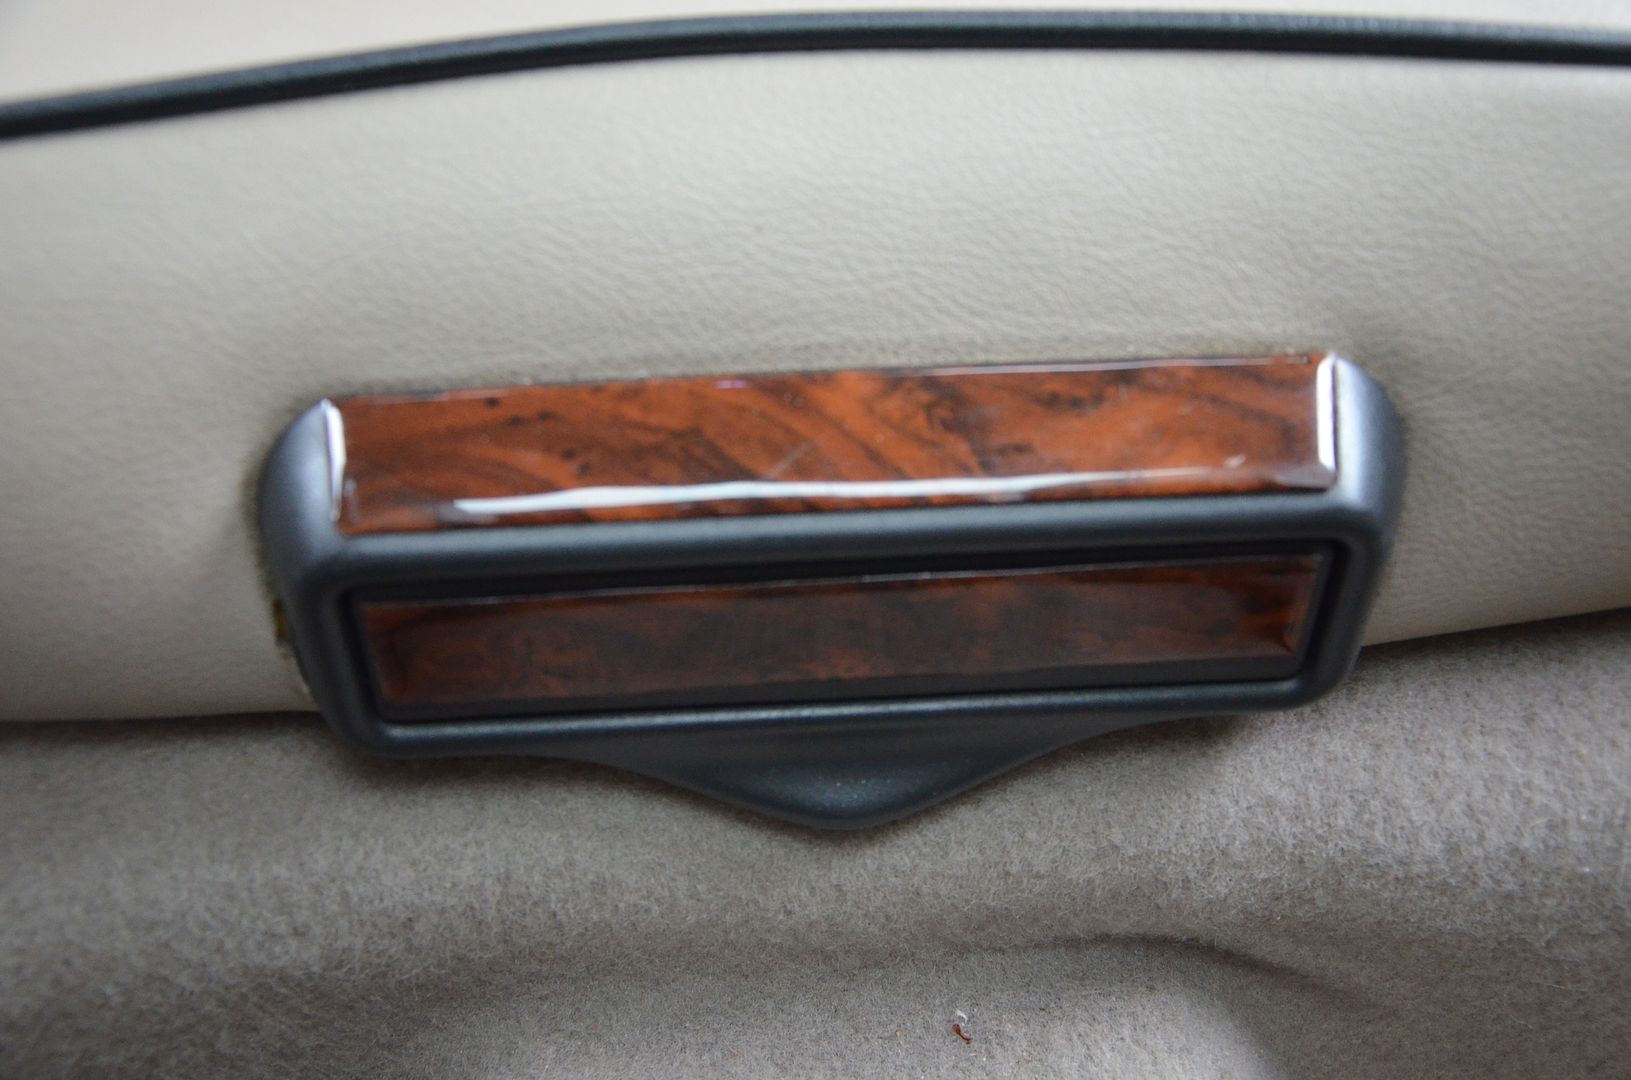
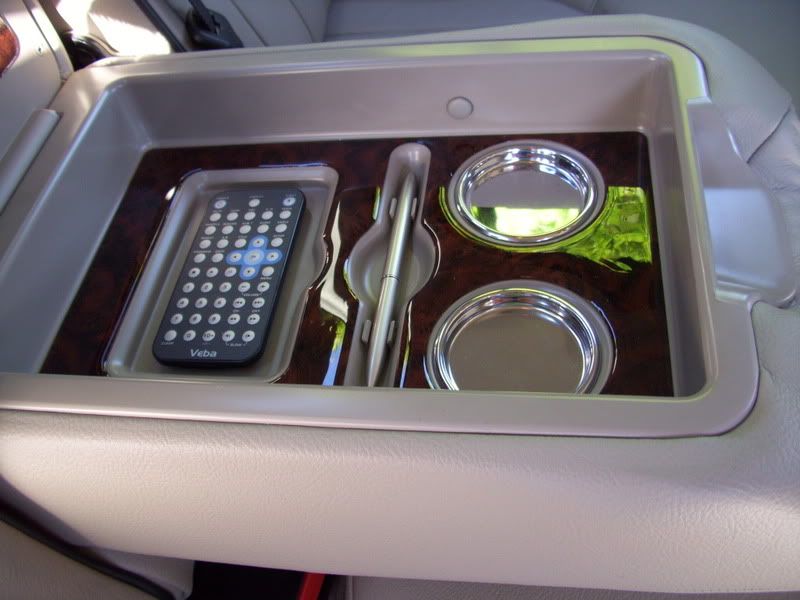
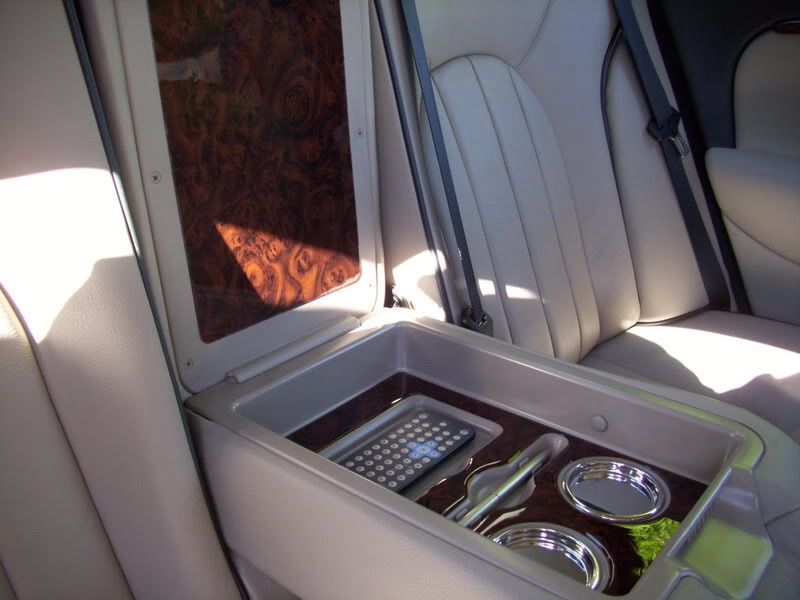
 Rear cupholder
In Walnut
Rear cupholder
In Walnut
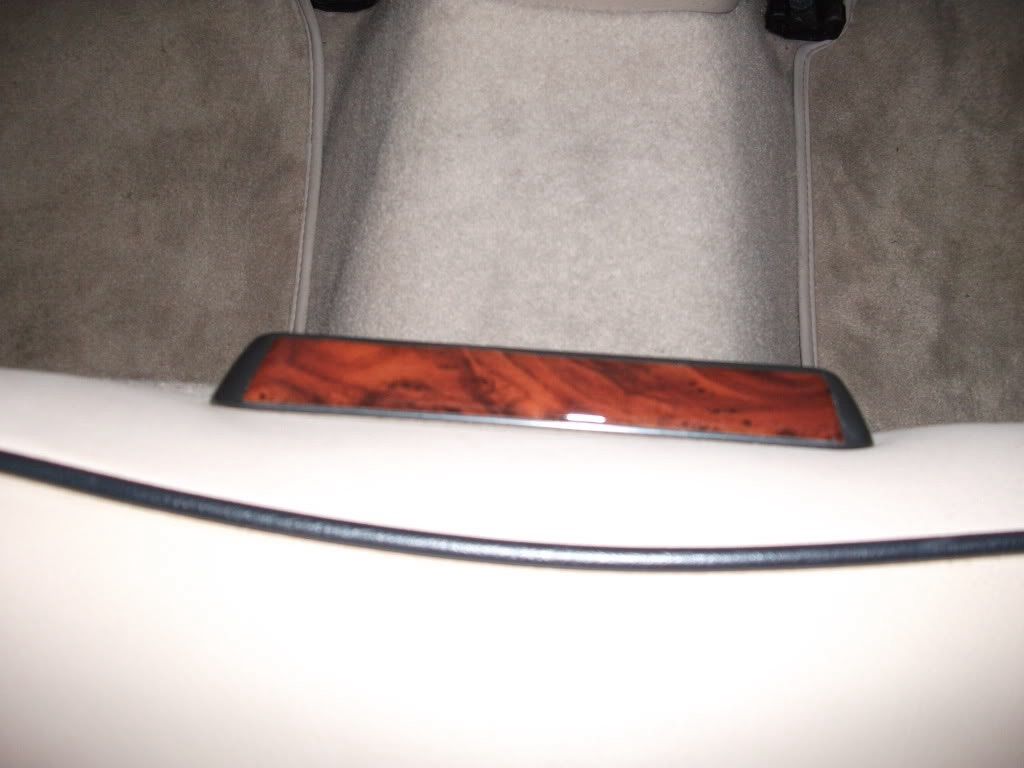 Options include rear ashtray ( badge not included )
In Walnut
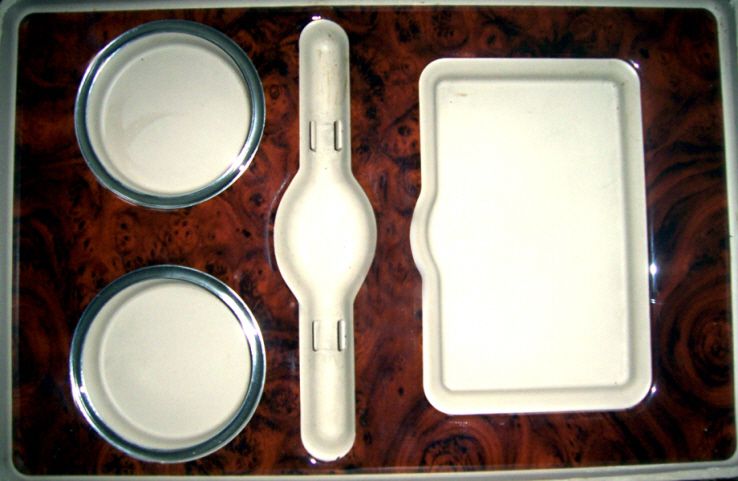
 Or you can have the storage box cover
In Walnut
Or you can have the storage box cover
In Walnut
 Additional items available:
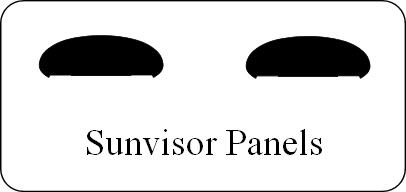
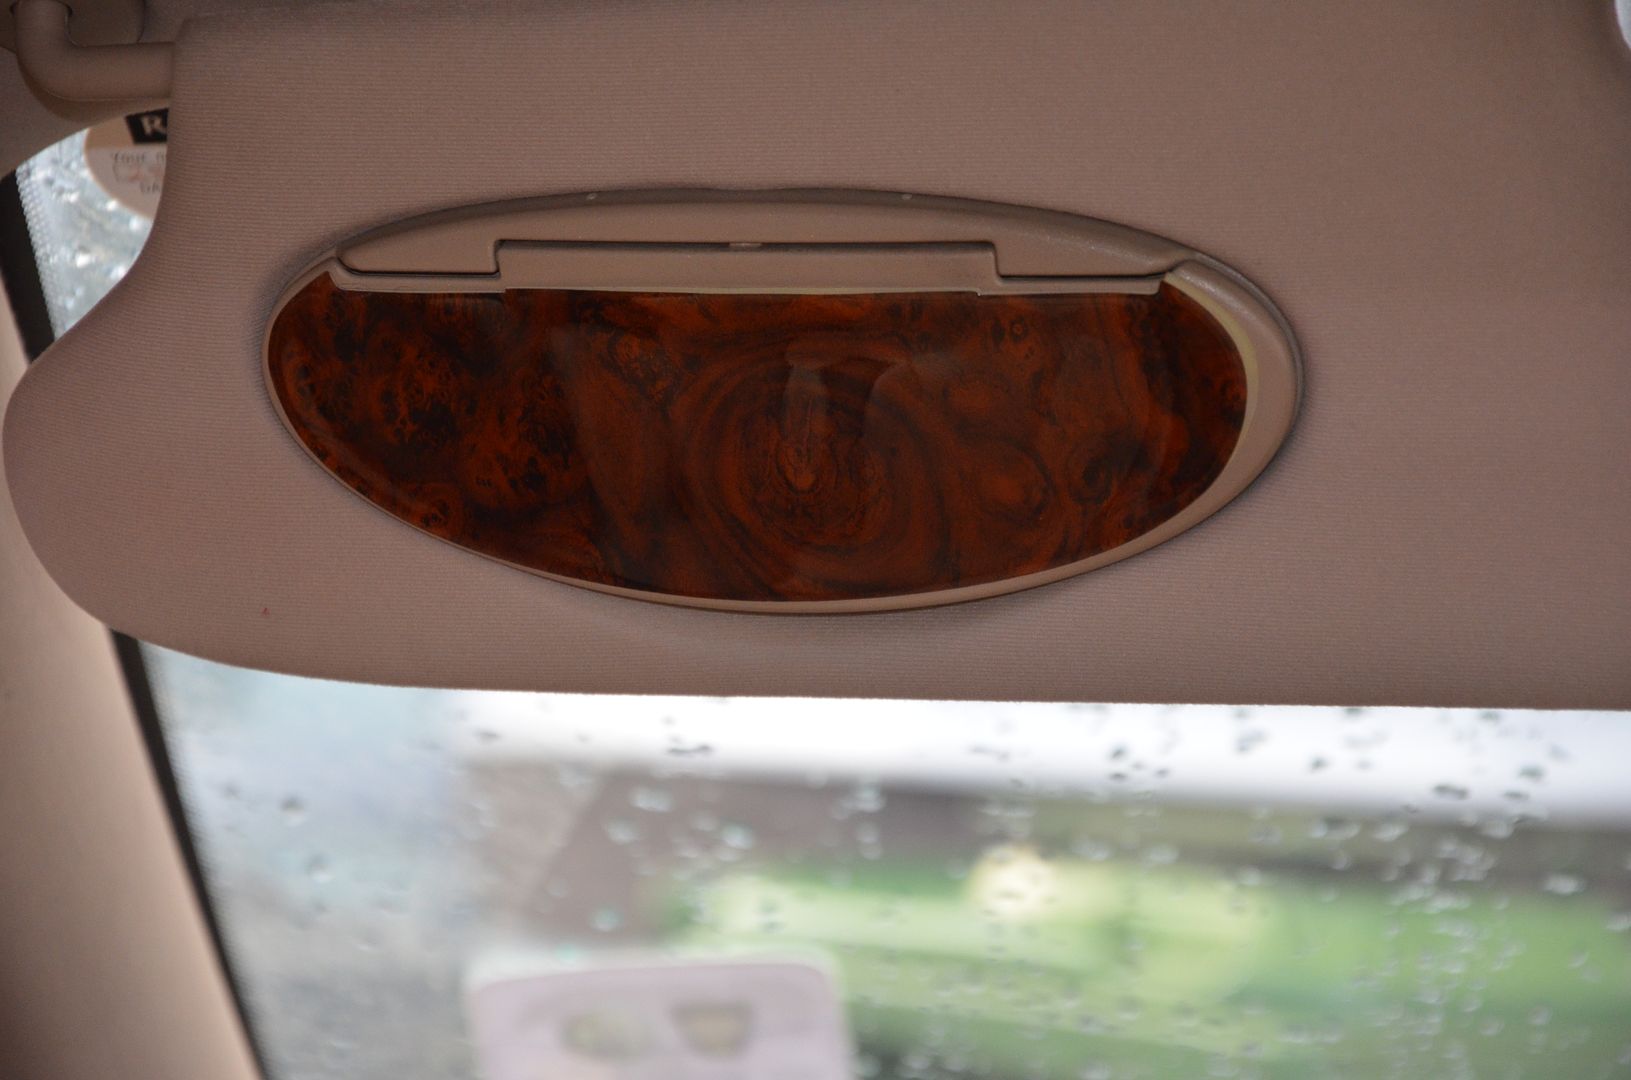
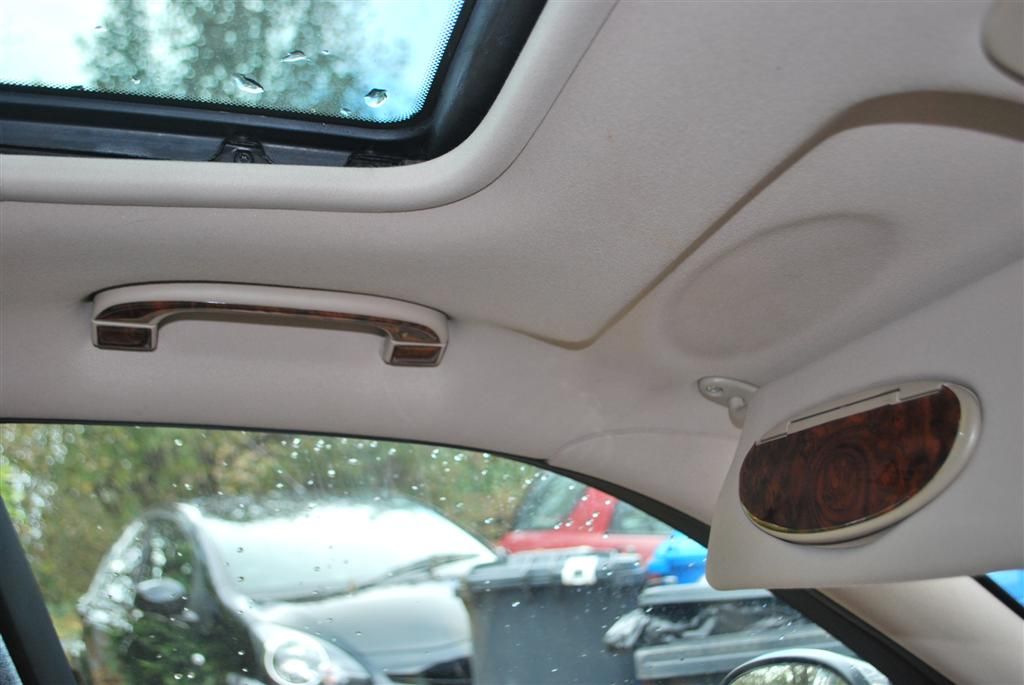
Sunvisors ( free delivery if ordered with kit above )
In Walnut
Additional items available:
Sunvisors ( free delivery if ordered with kit above )
In Walnut
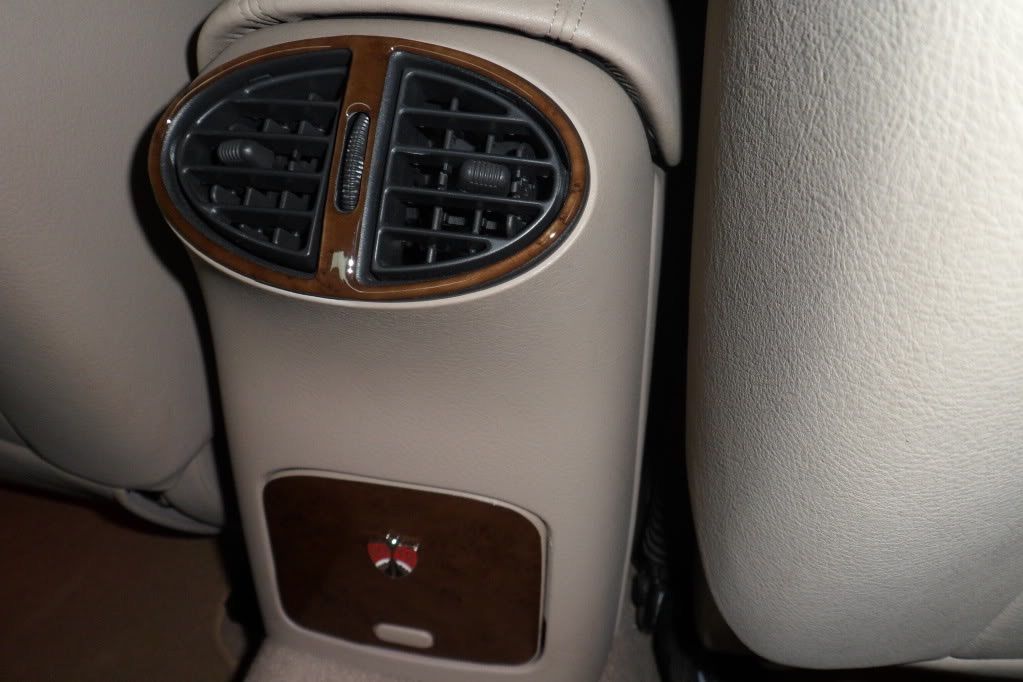
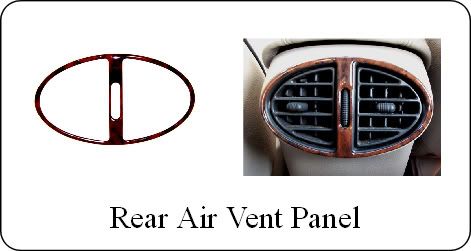
 Rear Air Vent ( free delivery if ordered with kit above )
In Walnut
Rear Air Vent ( free delivery if ordered with kit above )
In Walnut
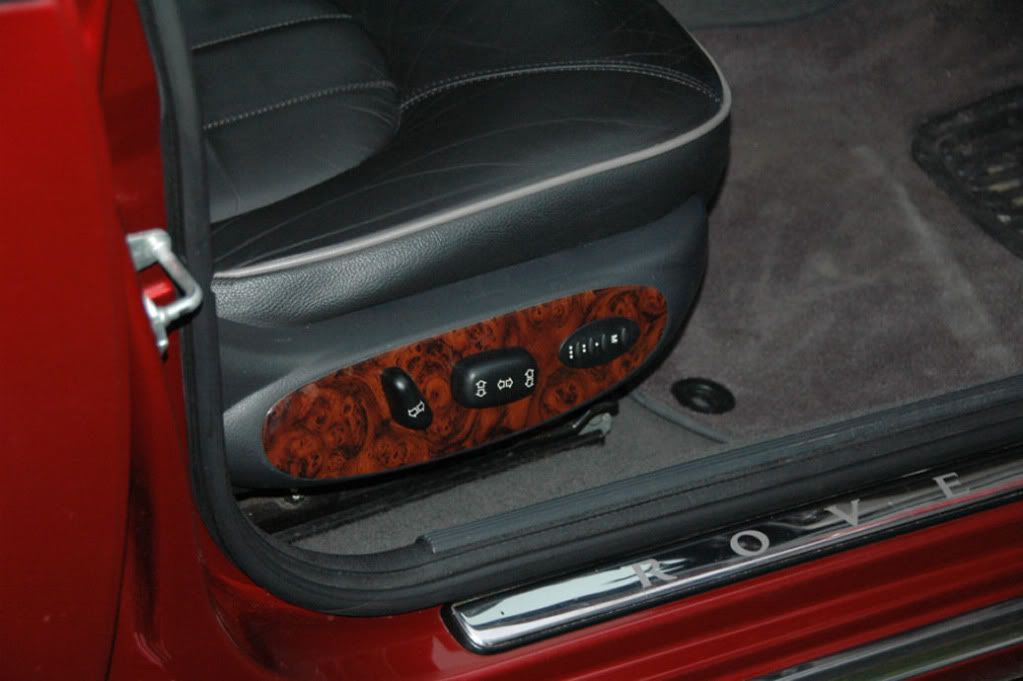
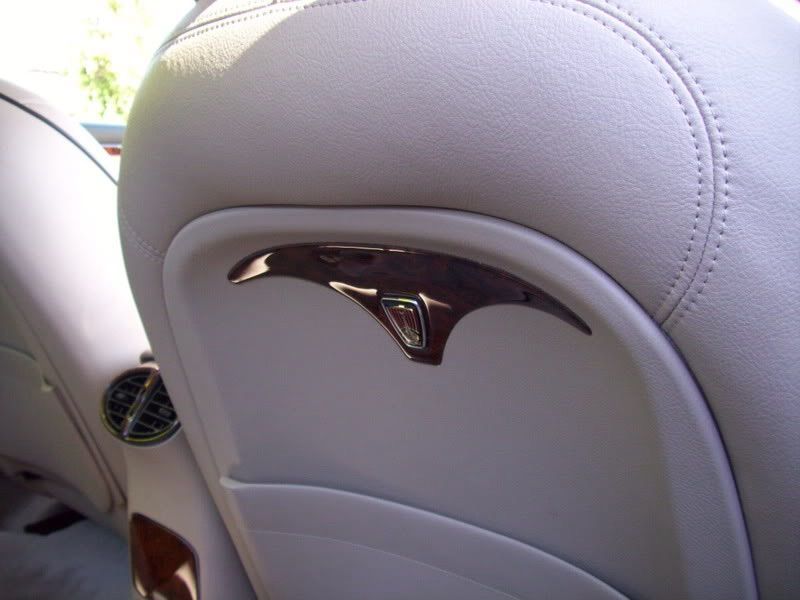
 Seat Sides
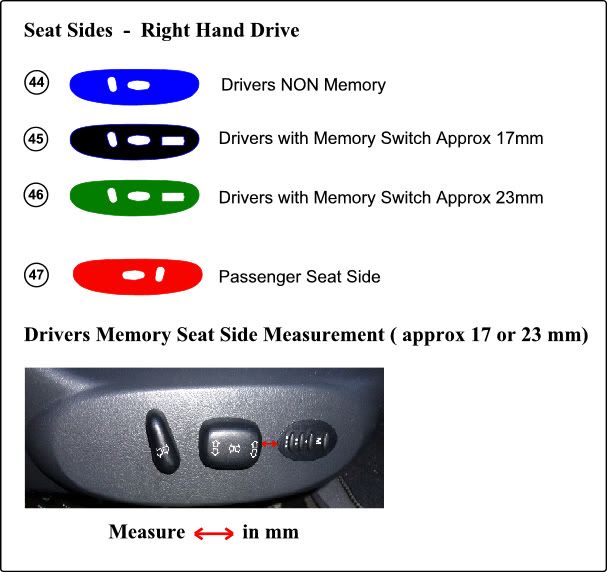 In Walnut
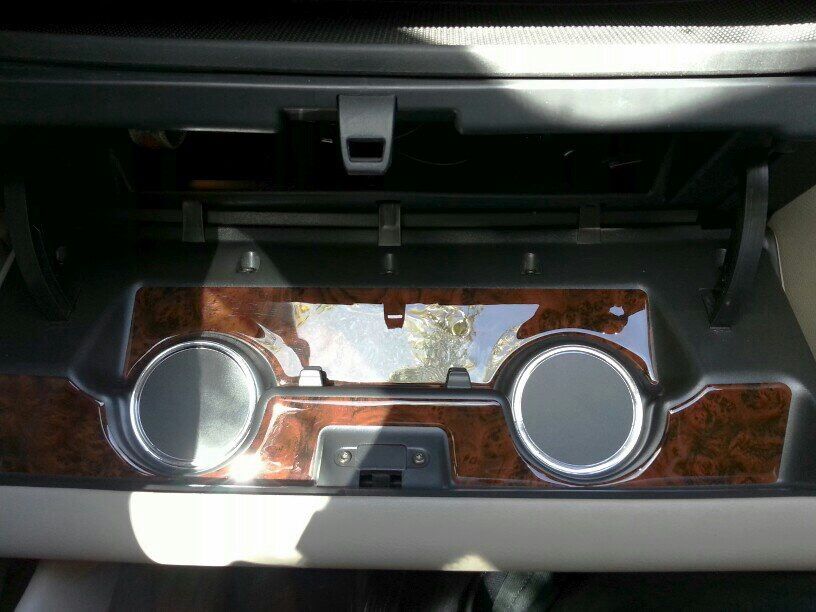
 Glovebox
In Walnut
Glovebox
In Walnut
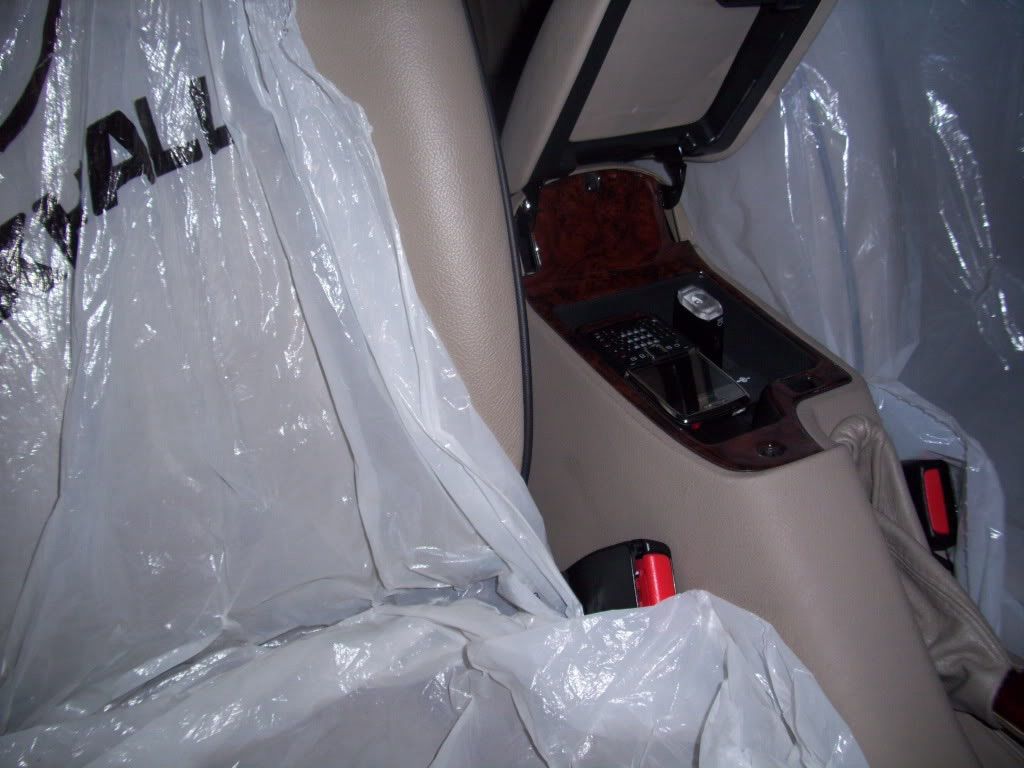
 Rear Armrest/ Cubby insert
In Walnut
Rear Armrest/ Cubby insert
In Walnut
 Chrome surrounds for the cubby cup holders
 Front armrest inside cover
In Walnut
Front armrest inside cover
In Walnut
 Seat badge holders
In Walnut
Seat badge holders
In Walnut
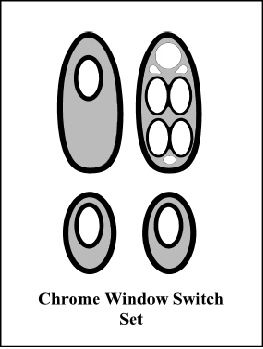
 Chrome Window Switch Set
*
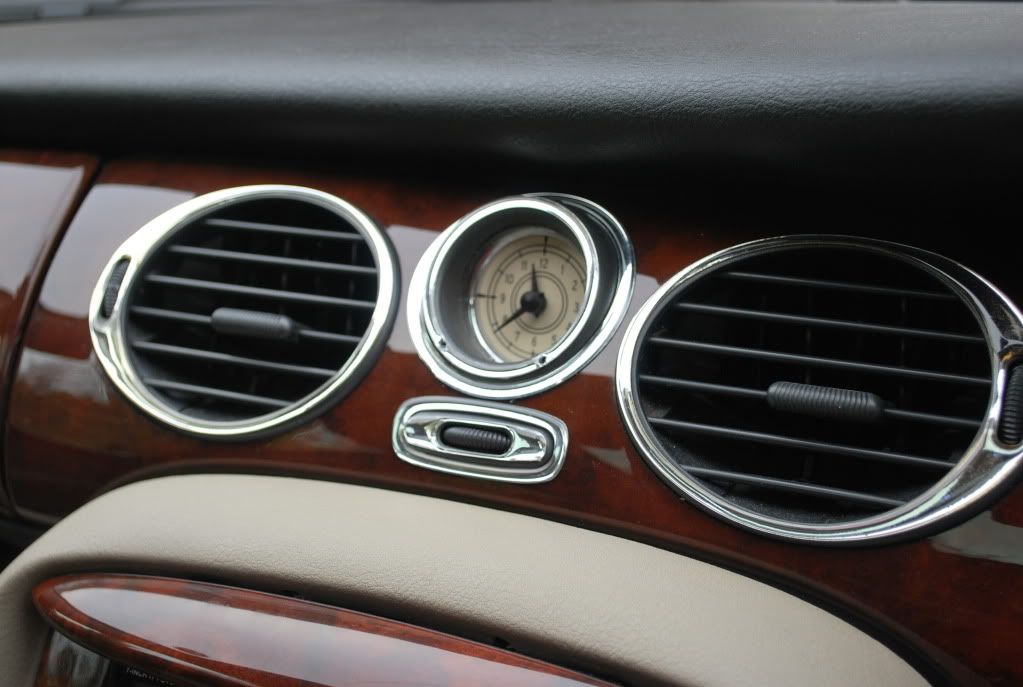
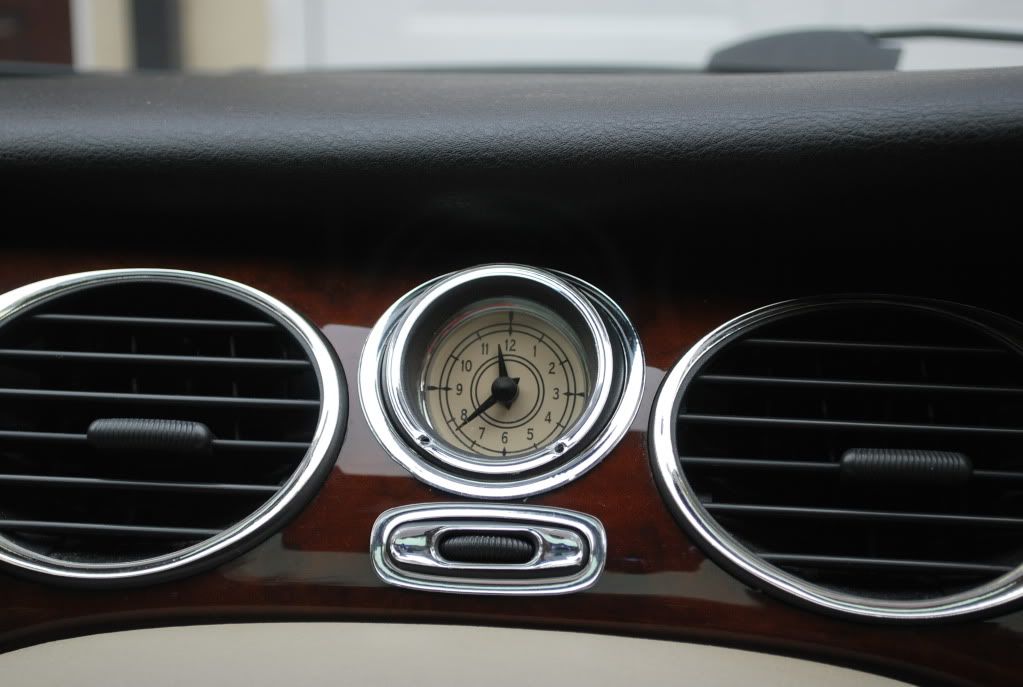
Chrome Main Dash Vents
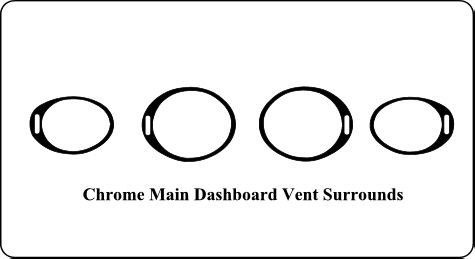 Chrome vents as fitted
 Chrome surrounds for clock and thumbwheel
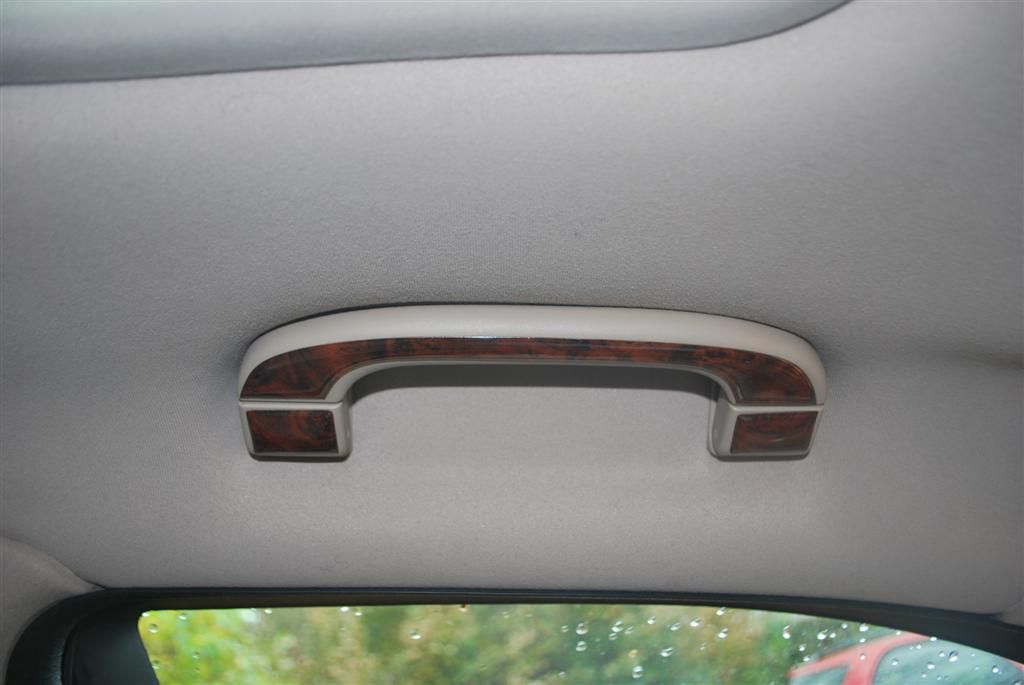
 Grab handle trims
In Walnut
Grab handle trims
In Walnut
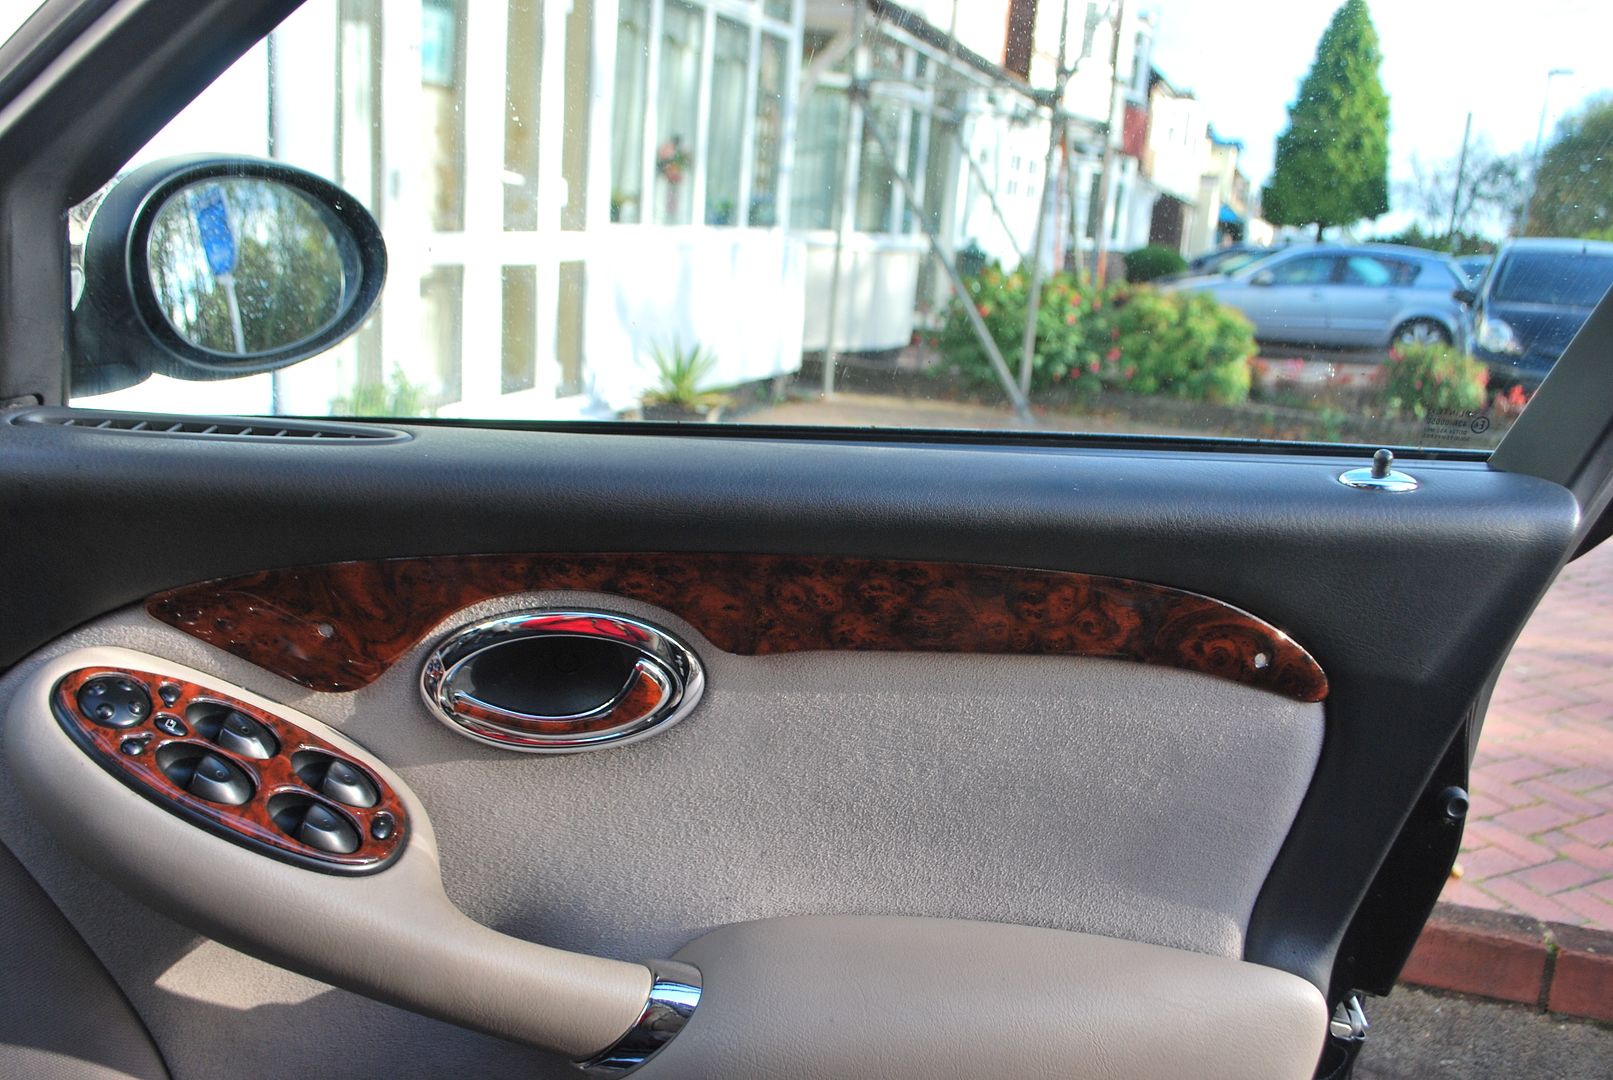
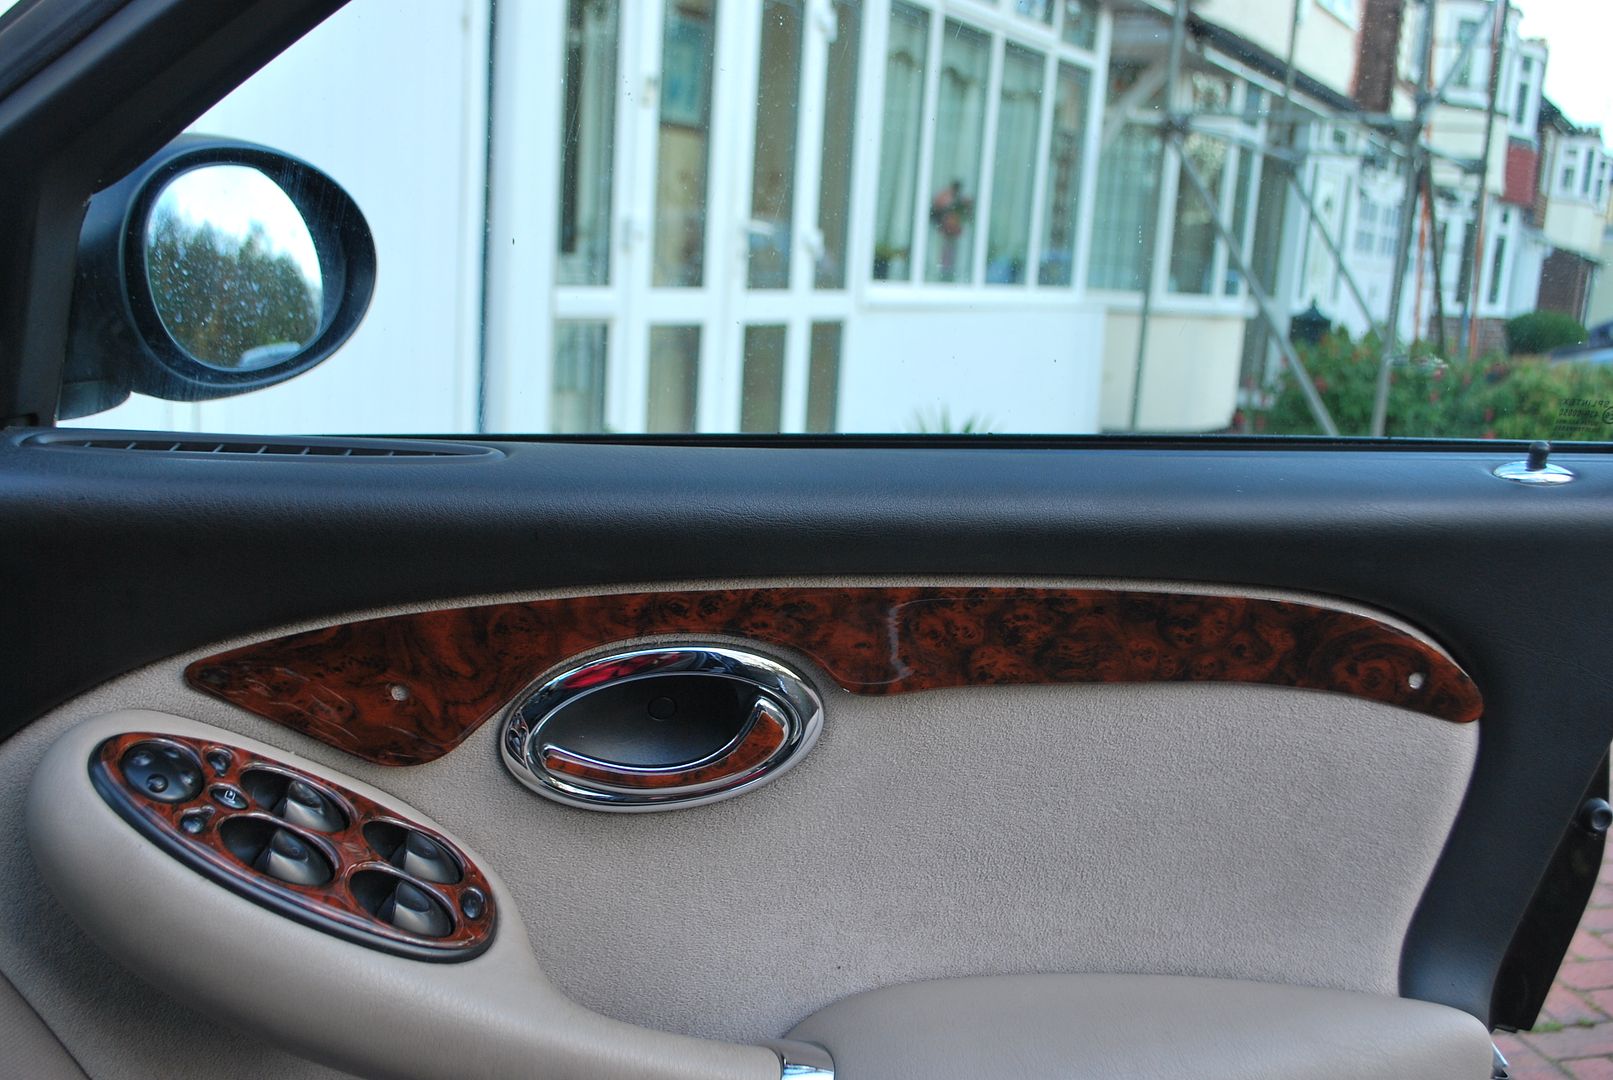
 Door pull trims
In Walnut
Door pull trims
In Walnut
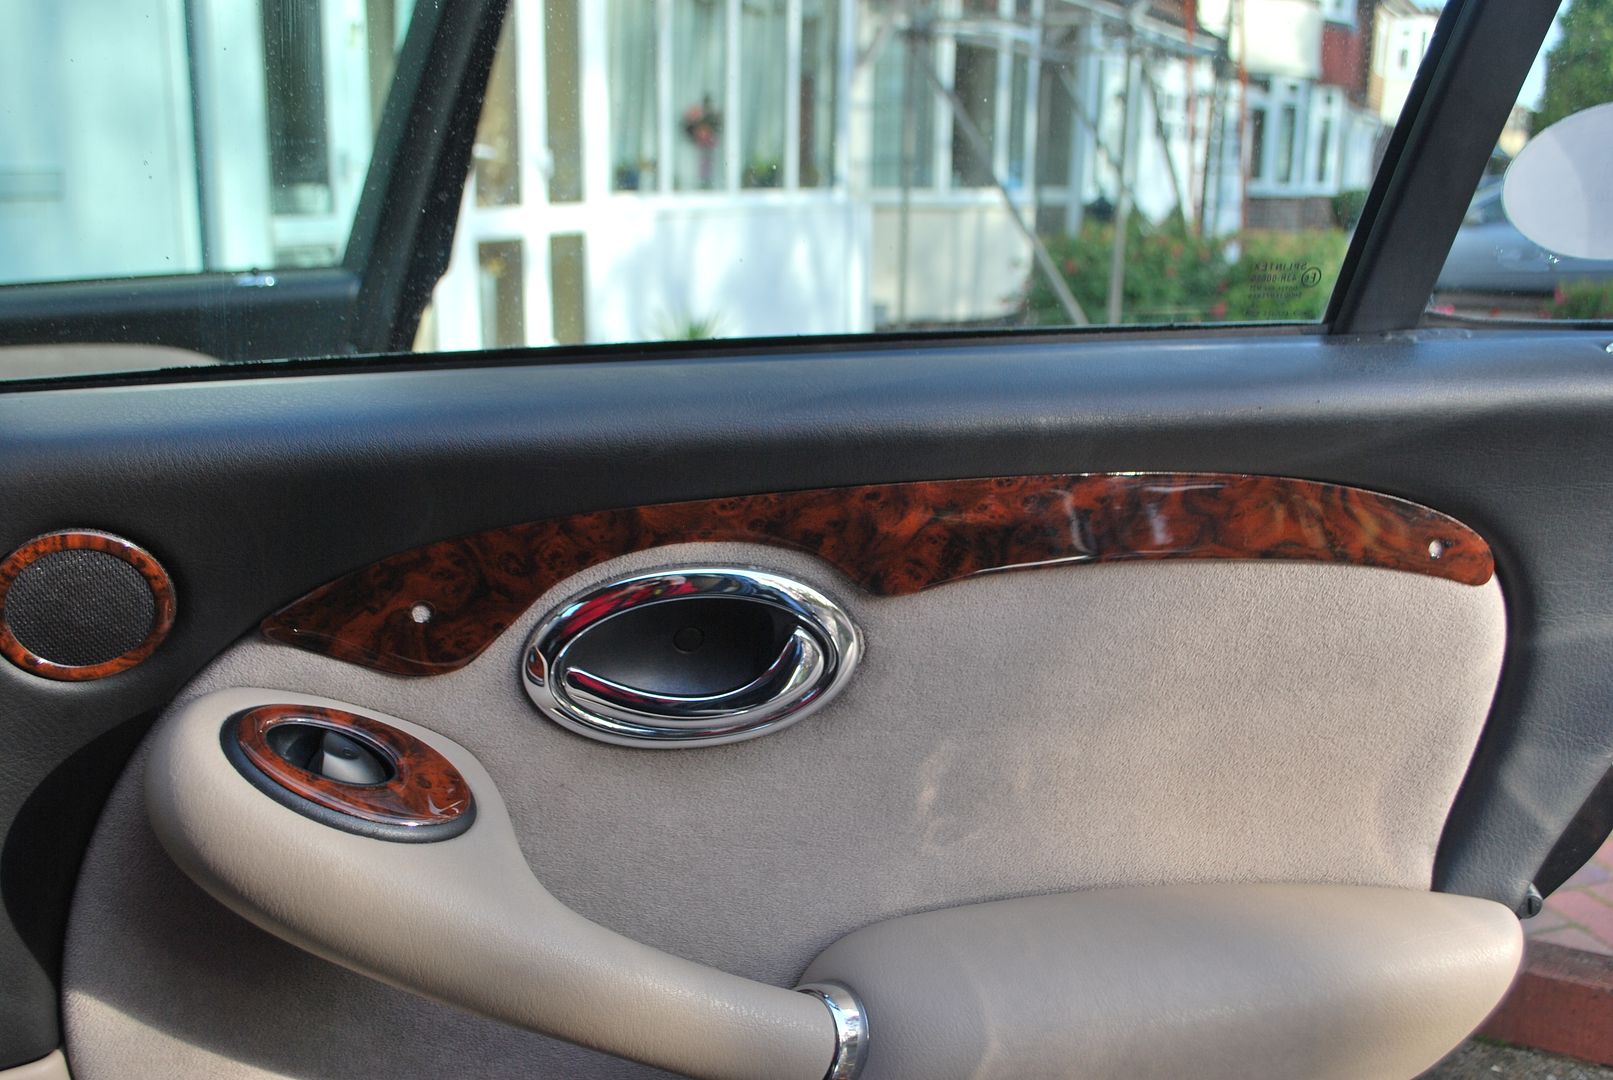
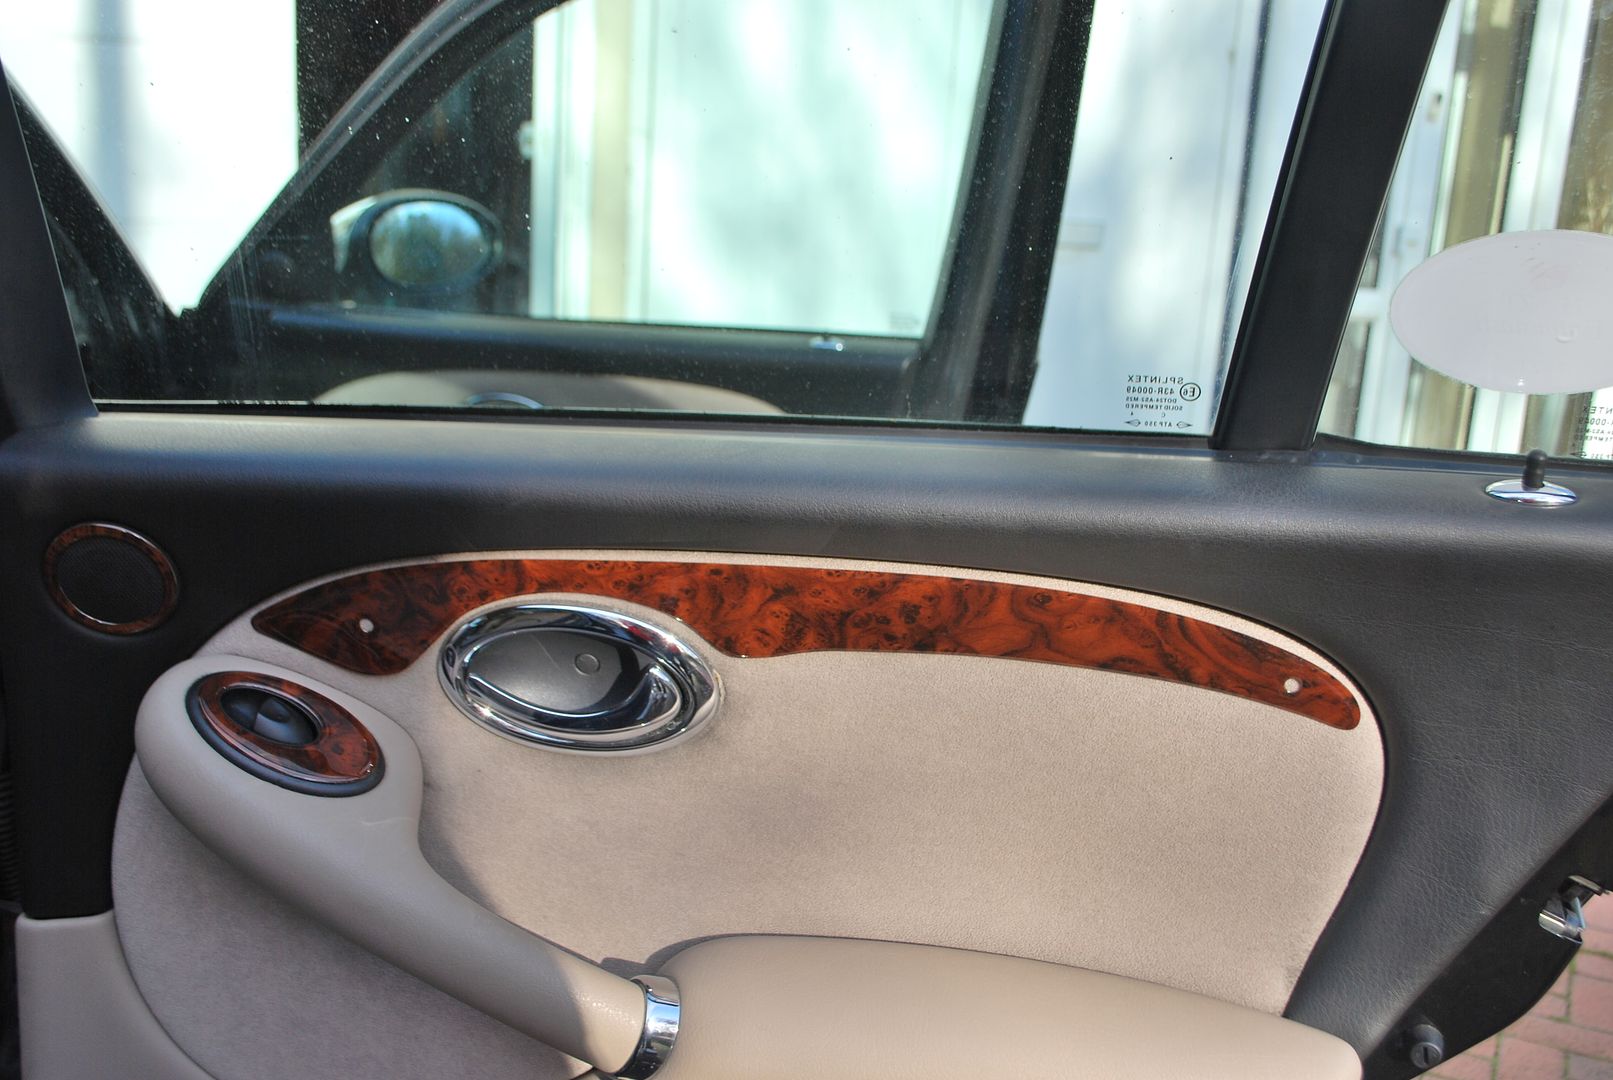
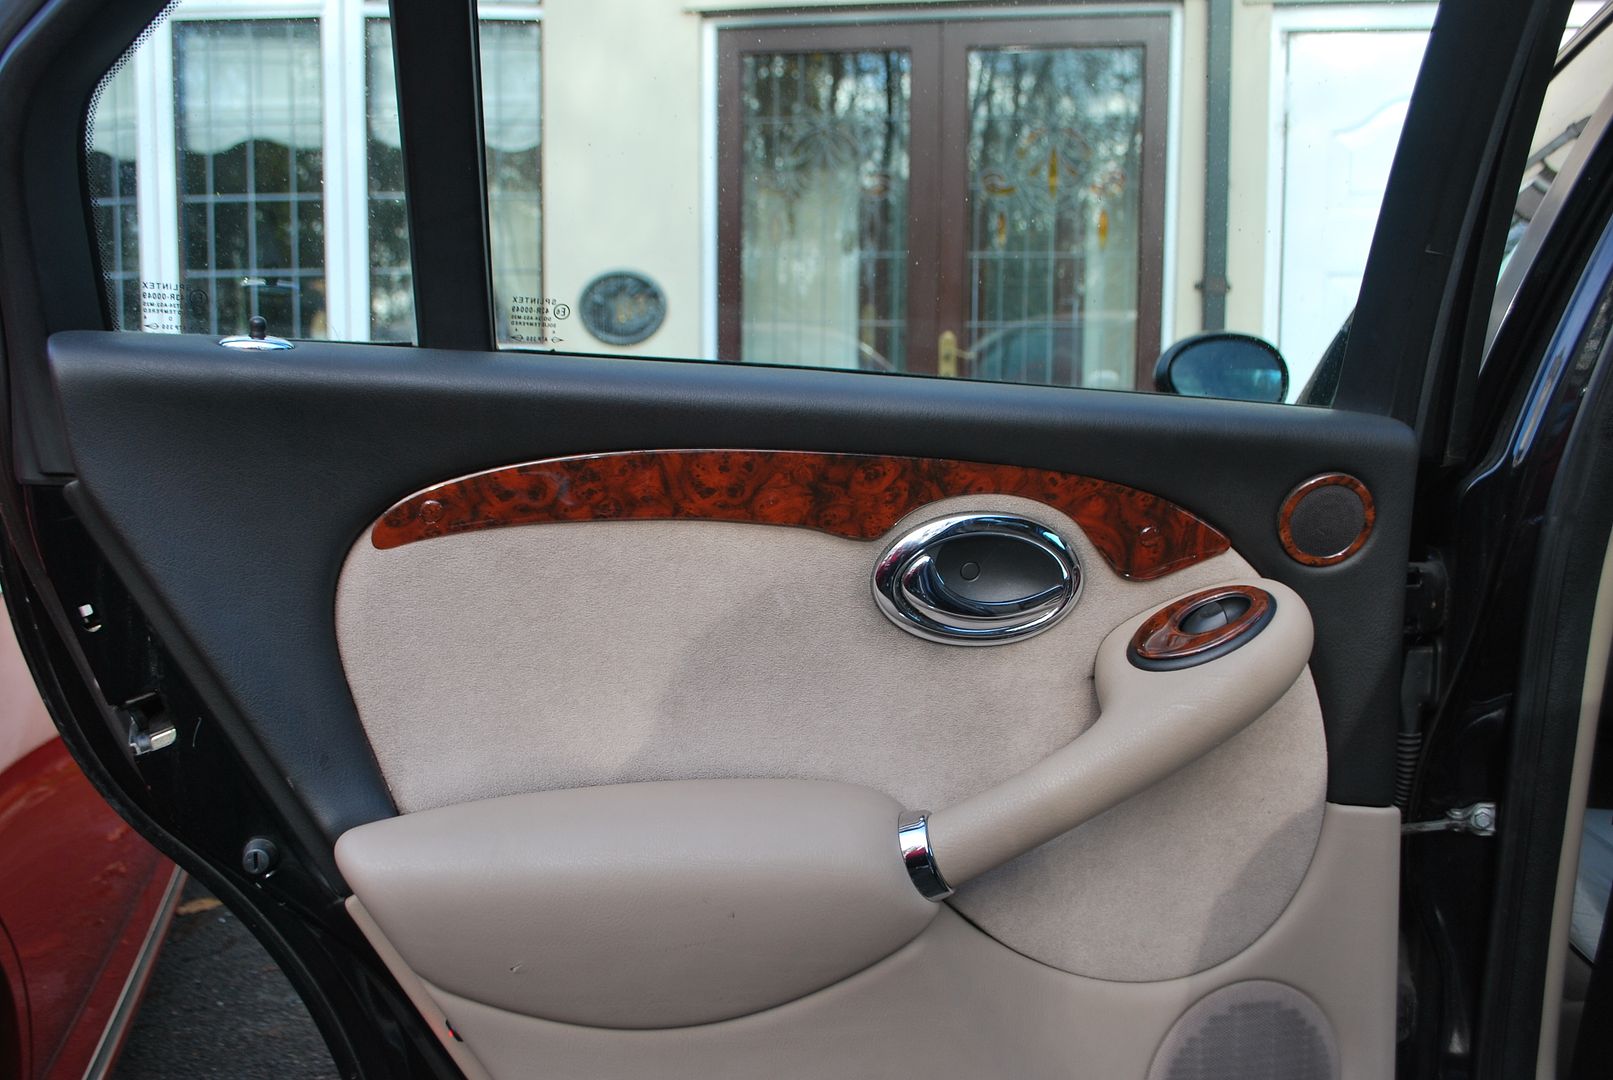
 Door Cappings
If you do not want the holes, Simon will make them without for you if you ask him but you will then definitely need adhesive on the capping.
The first picture shows the capping placed right against the top of the door card which is where I think it looks at its best, however if you place it there note that there is a small recess where the top of the doorcard meets the “ velour “ and you may well have to put either adhesive or double sided tape into the recess to hold the top of the capping in place because when you stick down the bottom part of the capping it tends to pull the top out slightly due to the curve on the doorcard
In Walnut
An option is to fit it just below the recess to avoid the above issue
Back door fitted at top
Back door fitted below recess
And finally one with holes and cappings to hide the screws
As with all Simons products the price is reflected by the amount of resin used and these are larger than average pieces and work out at approx £15 each, but he will sell the front and back as separate items should you want to buy the front only and maybe add the back at a later date
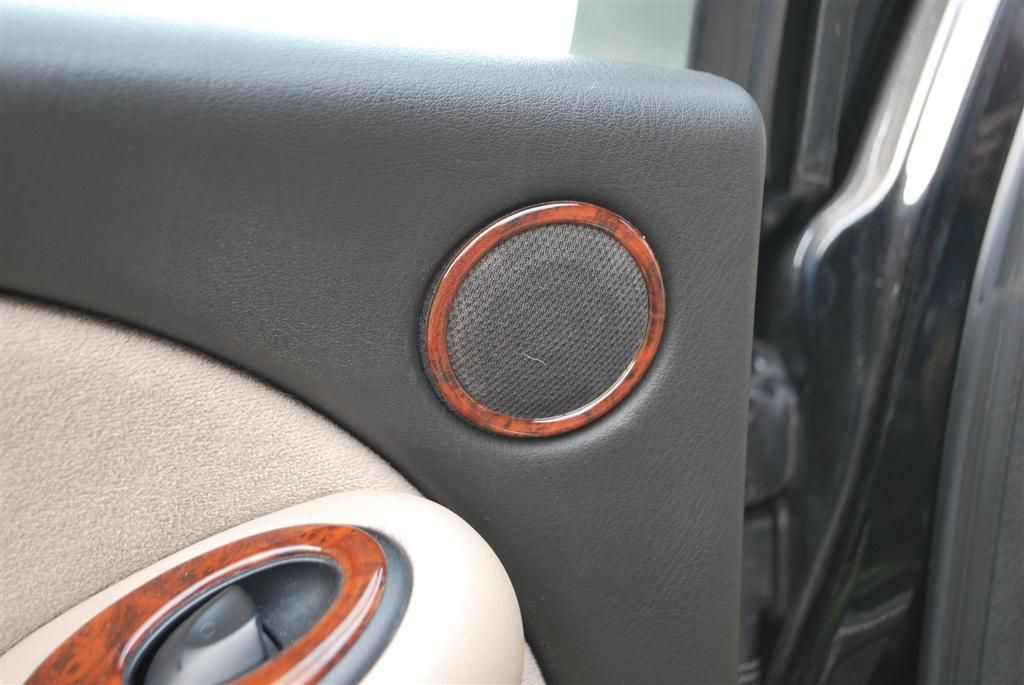
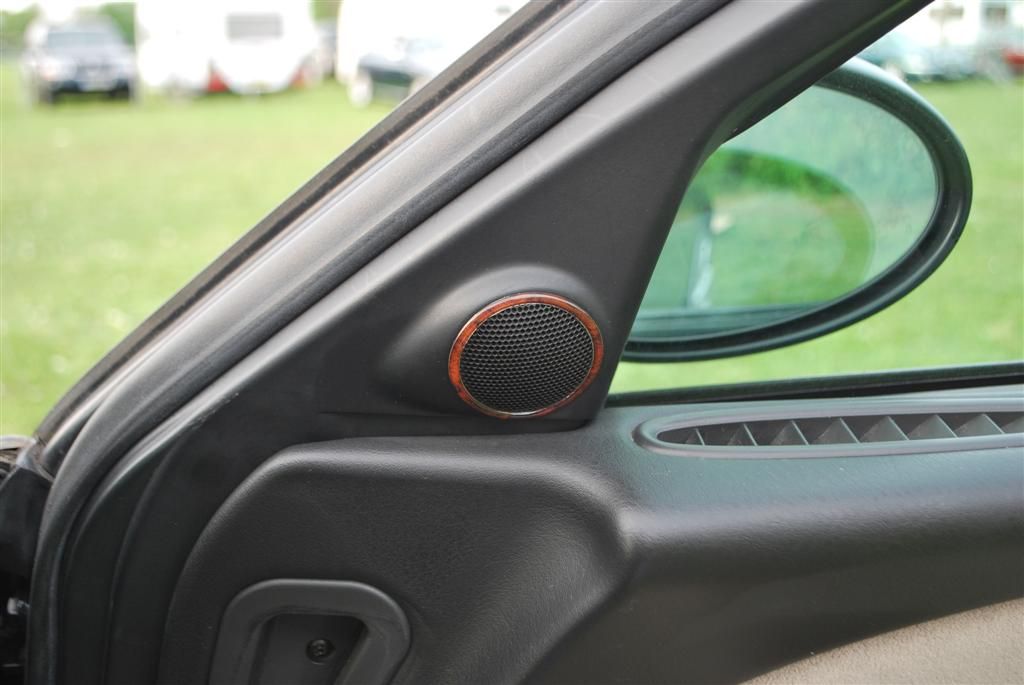
Speaker tweeters (4)
In Walnut
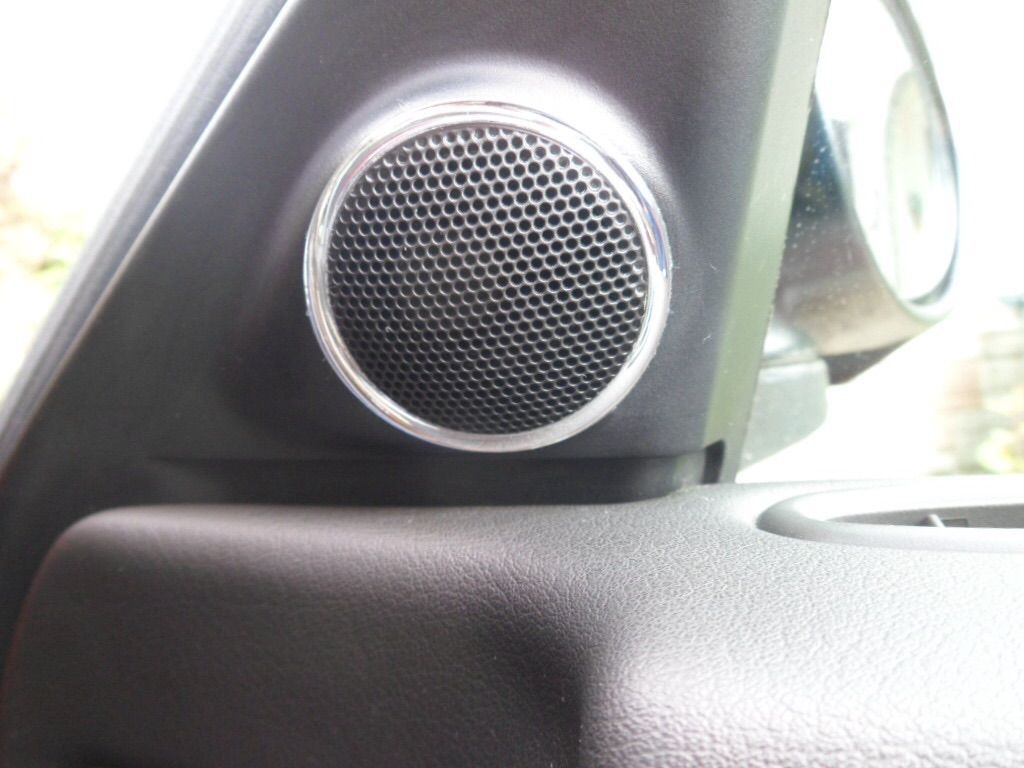
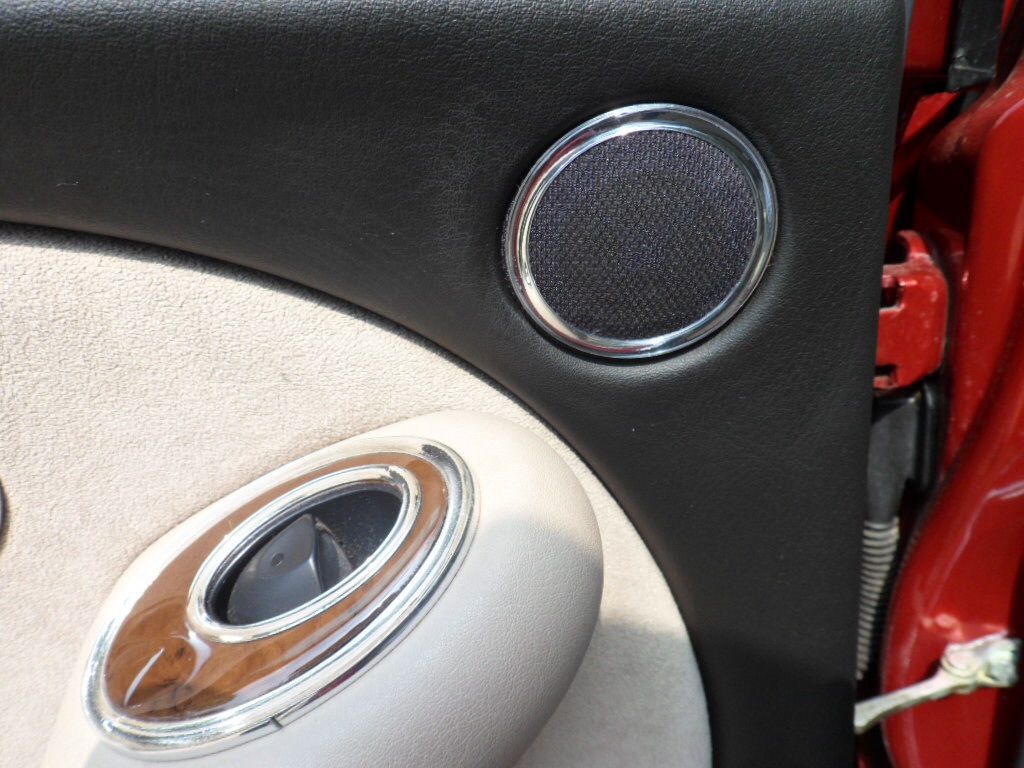
 Speaker tweeters in chrome
 Hazard switch chrome ( inner )