
|
|
|
|
|
|
||
|
|
||
 23rd April 2012, 23:48
|
#1 |
|
This is my second home
Rover less ! Join Date: Jun 2011
Location: Tarbolton
Posts: 3,442
Thanks: 393
Thanked 888 Times in 542 Posts
|
Rather than tag this onto my gallery topic I thought it best to start a new topic.
I've finally started the suspension overhaul on the missus's diesel conny. At just under 118k miles it has become quite noticeable that the suspension requires attention. It has had one broken rear spring for almost 3 years with the opposite side now broken for over a year and surprisingly it passed all the MOT's during that time with no problem. To be honest although my test centre is very strict, with the 75 rear springs they seem to break right at the end of the coil and therefore cannot be seen from below. Here is the car just before I started and the ride height is normal on both sides. 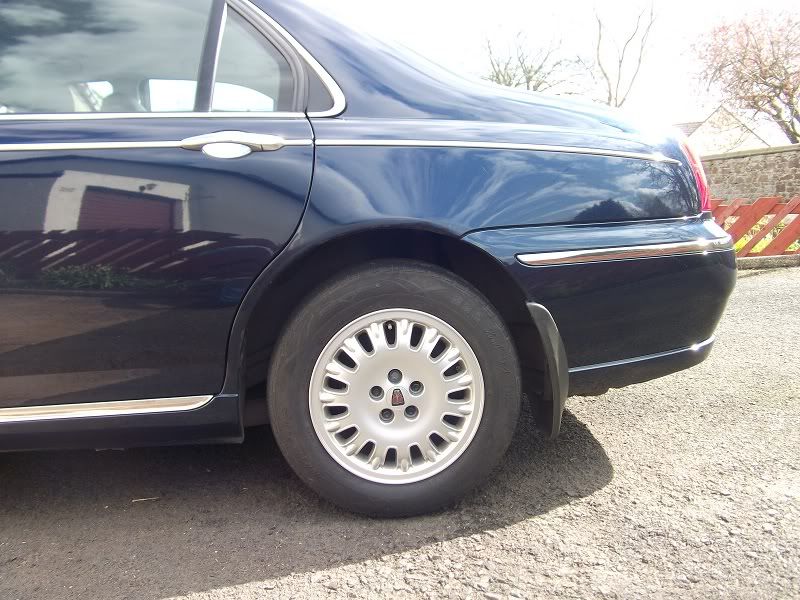 I have already purchased springs and shockers for front and rear but I am not one for simply just replacing these items without some other attention to the car so I have decided to remove the entire rear subframe assembly so that I can get it, and all other components sandblasted and painted. First off was the rear shockers. These were fairly easy to remove by first getting the car up on wooden blocks for safety and removing the rear wheels. I prefer using wooden blocks to axle stands as I find axle stands can move more easily, whereas wooden blocks will not budge. Even with my new air gun I still had to break the studs on the bottom of the shockers with a master bar then with the gun it was easy so here are the dud rear shockers.  Next to come off was the silencer. 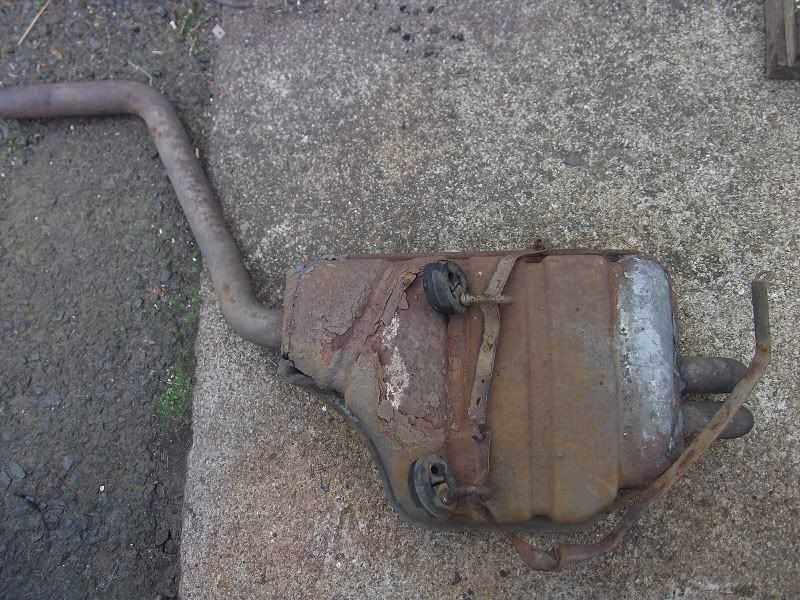 It's been needing replaced for the last two years having been welded up last year but now its off and will be replaced. With it removed I can easily get the sub frame off the car and I also intend to sand blast the fuel tank support strap which also required the exhaust off to be able to remove it from the car. Now this is what the underside looks like so you can see why I want to sandblast everything and get some decent paint on it. 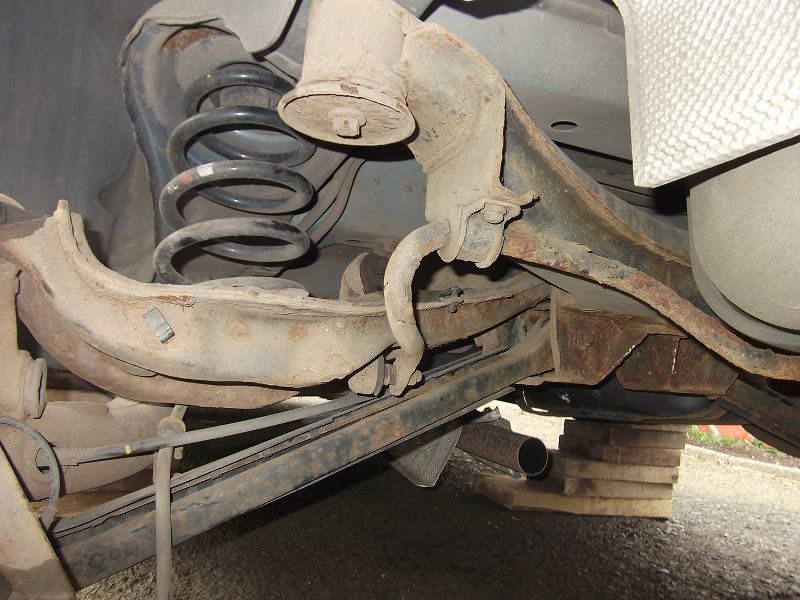 And while I'm at it, look at the bracket just above the fuel cooler for the FBH. I actually complained to the main dealer about this rusting when the car was new. It is now corroded right through so I will have to fabricate a new bracket.  Now back to the sub frame. Removal of this is not explained in the manual for some reason but removing it in my mind makes the suspension more accessible for repair, for example can you imagine attempting to replace the rear anti roll bar bushes or the drop links. Anyway after removing the brake calliper assembly,the top and bottom hub mounts, disconnecting the ABS leads and brake pad wear sensor you are now ready to remove the four subframe mounting studs. I supported the subframe on the trolley jack for this and after all the studs were removed manoeuvre the calliper assembly through between the upper and lower suspension arms. The calliper can then be placed securely on the ground and the entire subframe pulled from under the car. Here it is after four hours work and that was taking into account this was my first time and some of the studs were very awkward as they were rusty so I had to use different sized socket to account for their smaller sizes. 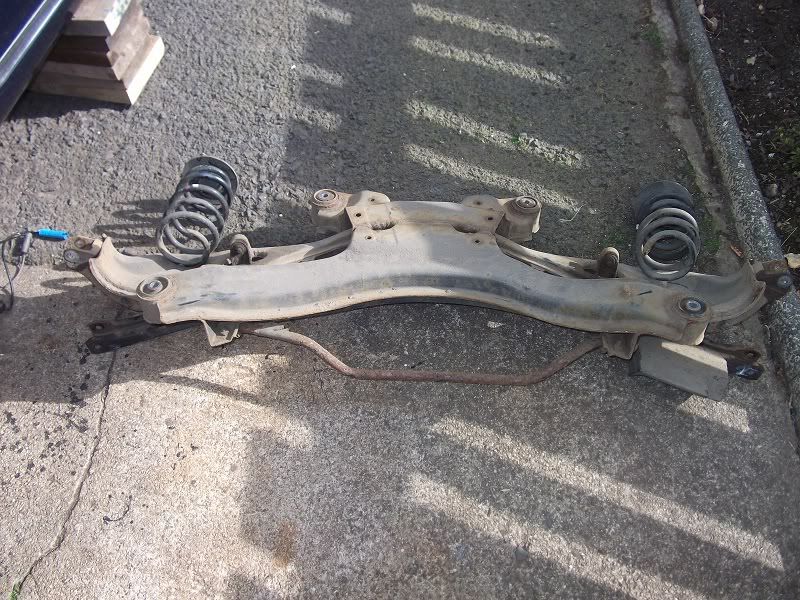 And another view 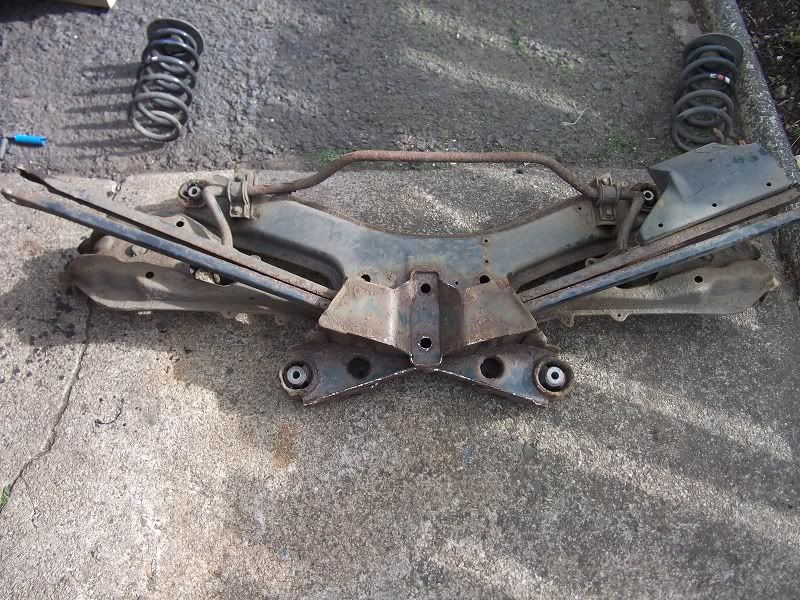 I then spent almost two hours removing the anti roll bar, drop links and upper and lower arms. Some of the studs were extremely rusty and all will be replaced. I have also removed the front brace bars on both cars and the three brace bars from the transmission tunnel to get the same treatment. Here is a shot of the front brace bars from the V6 I removed earlier in the week. You will note one of them is twisted as a result of either being jacked up or placed on a wheel free on a service ramp. This has already been straightened up. 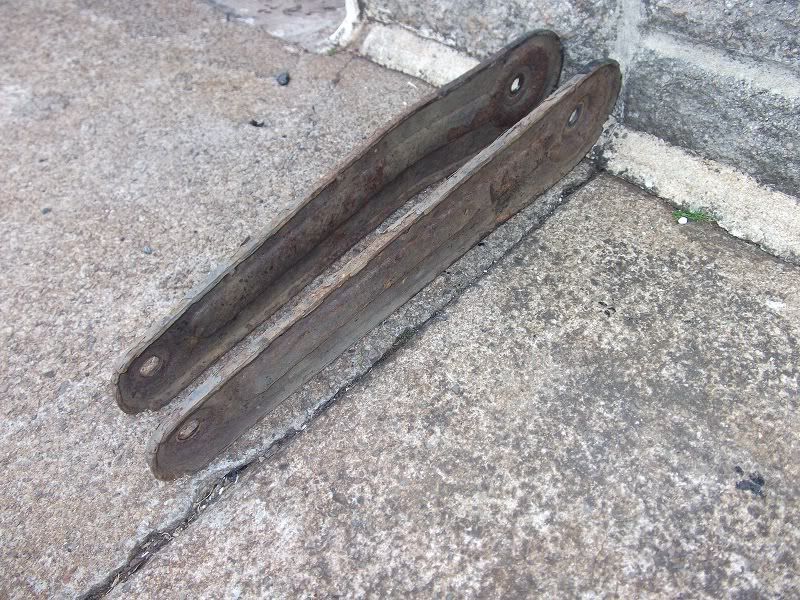 I will update this topic as I go along but I envisage this work, which will also include the front suspension will take at least 6 weeks. JYJ |

|

|
|
|


 Threaded Mode