
|
|
|
|
|
|
||
|
|
||
 17th September 2012, 06:41
|
#1 |
|
Posted a thing or two
Rover 75 2.0 V6 Auto Join Date: May 2011
Location: Sandnes - Norway
Posts: 1,560
Thanks: 64
Thanked 283 Times in 174 Posts
|
Hi all,
I have just done my second ATF flush & fluid change after a cracked reverse piston repair and decided to take a few pictures and write this how to. As many of us know, is that only 50-60% of the ATF fluid will be replaced during fluid change according to the procedure. This how to shows how to replace nearly all the 8 liters in the system. 1: Jack up the left hand front wheel and secure the car on axle stands  2: Remove the engine undershield and locate the gearbox drain plug. Its the large hex plug at the gearbox underside. 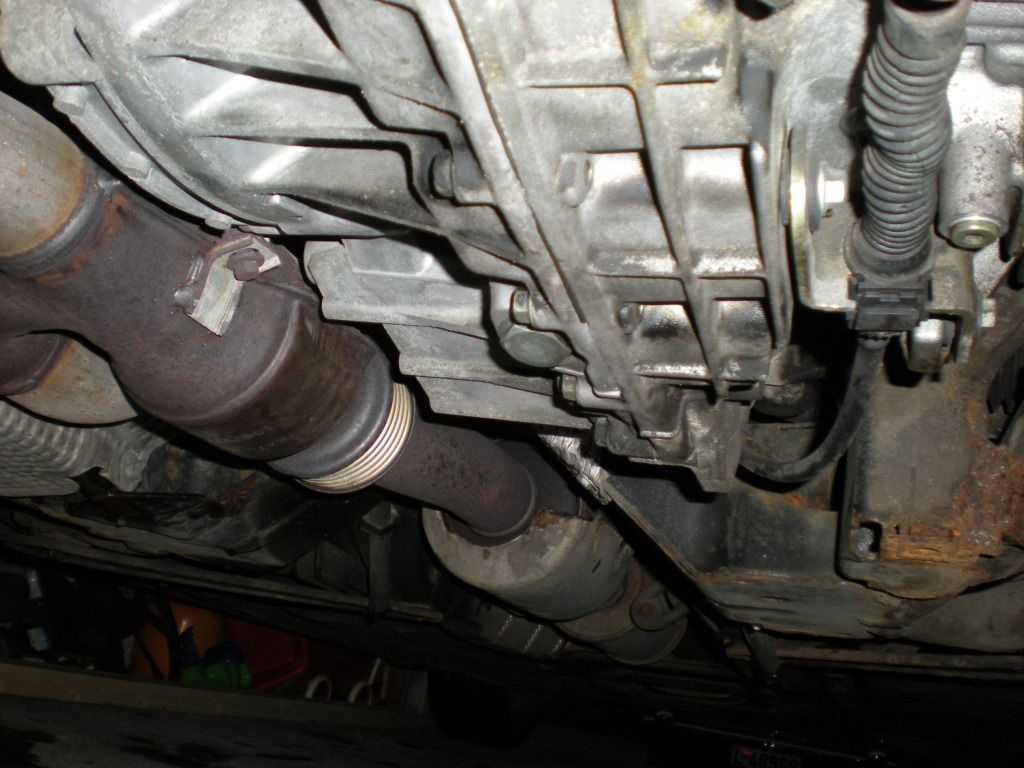 3. Place a large pan under the gearbox, remove the drain plug and let all the fluid drain out. Measure the amount drained from the box for later reference. It shall be something like 3-4 liters. Remember to use nitirle or latex gloves to avoid skin contact with the ATF fluid. 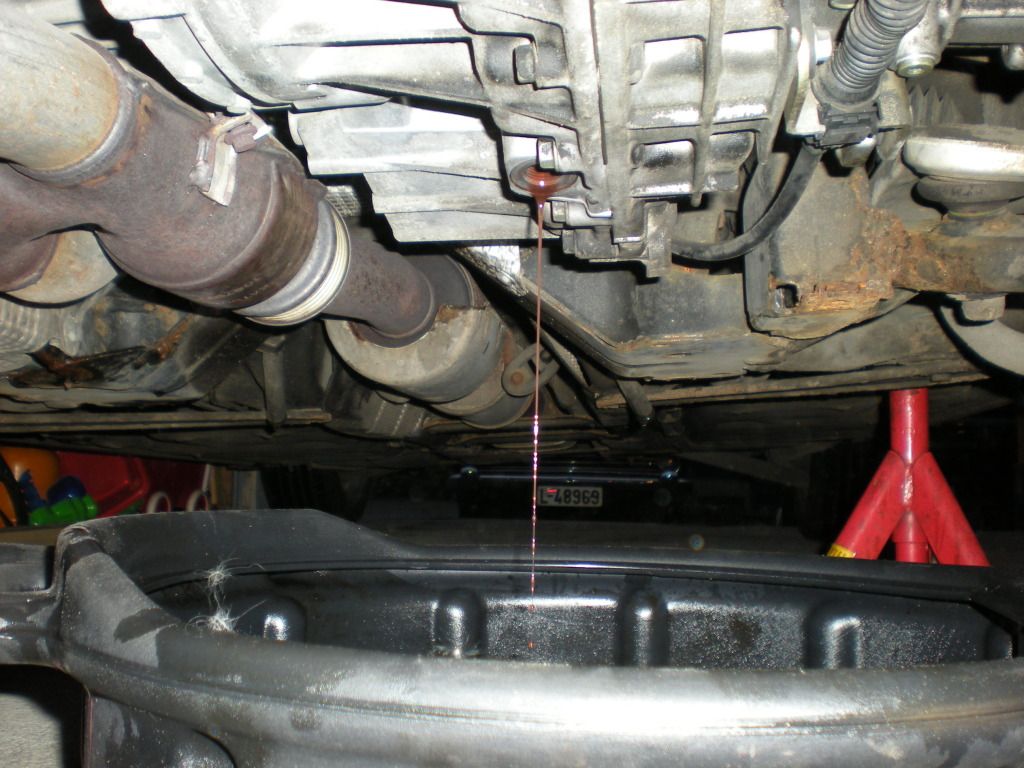 4. Inspect and clean the magnet in the drain plug. If you can find swarf here, it migth indicate gaerbox problems. Put drain plug back into place. 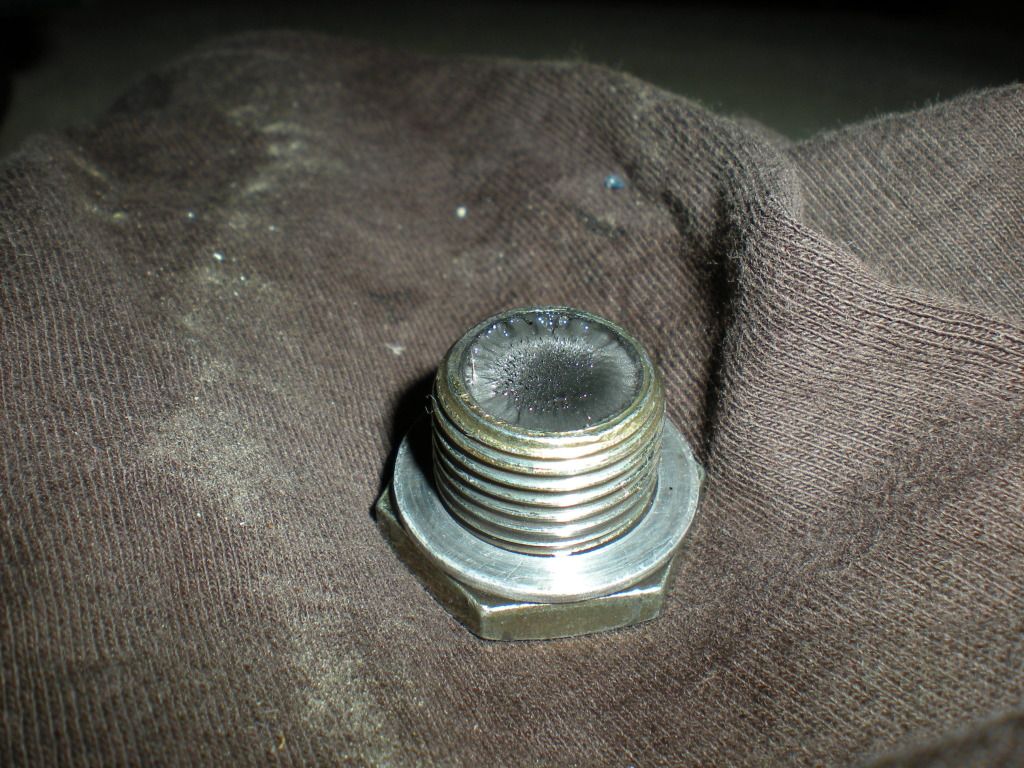 55. Now, locate the two lines between the gearbox and oil cooler. Remove the lowermost hose from the oil cooler by pushing the black collar on the inner end of the oil cooler tube into the connector to release the connector`s retainer tabs. 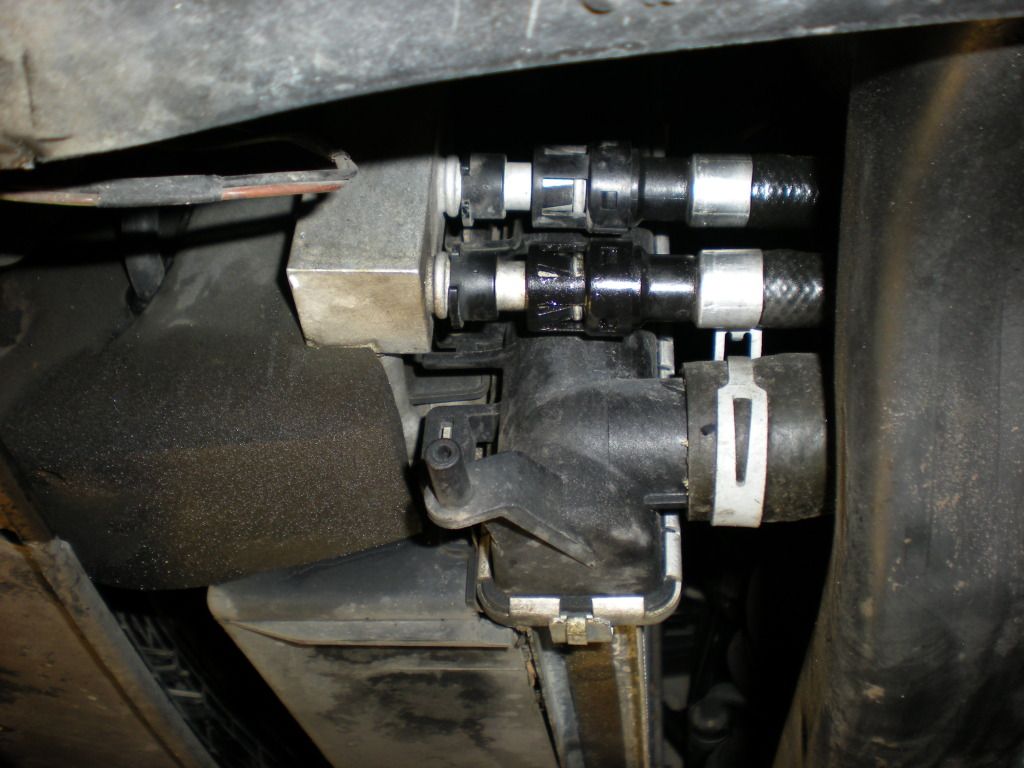 6. Put a hose on the stud on the oil cooler and put the other end into a container. Preferably one where you can measure the amount of fluid pumped out. 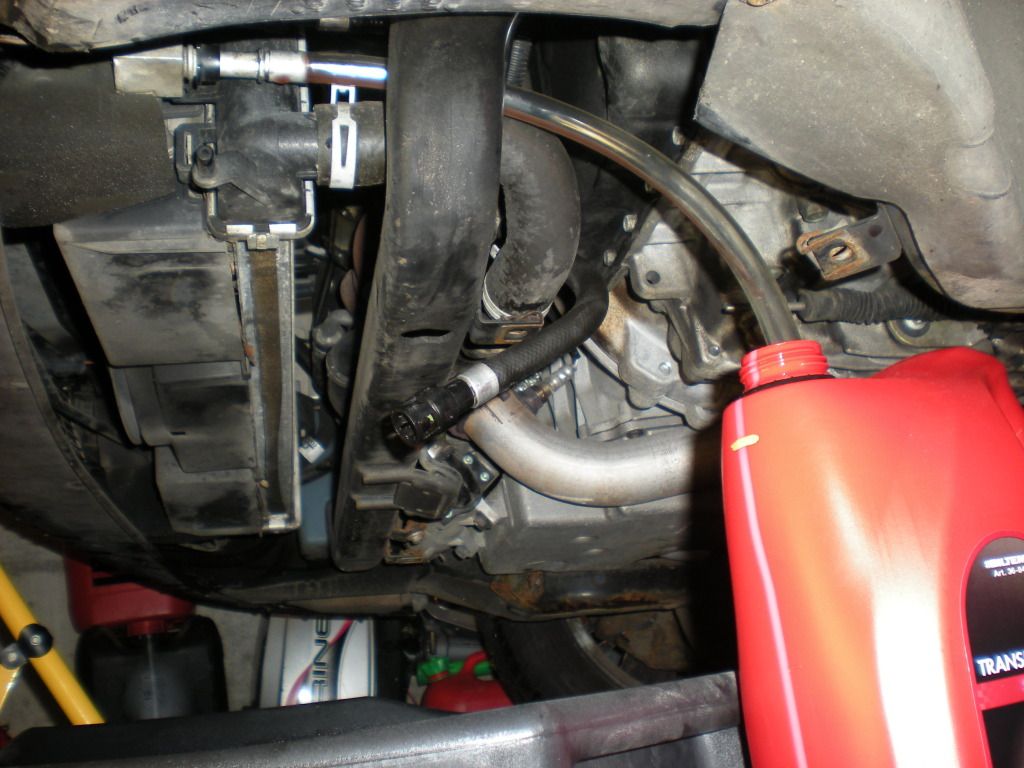 7. Remove the air filter box and locate the filler plug on the top of the gearbox. Remove filler plug by pulling it out and put a clean funnel in the filler opening. Add 4 liters of fresh ATF fluid to the gearbox. 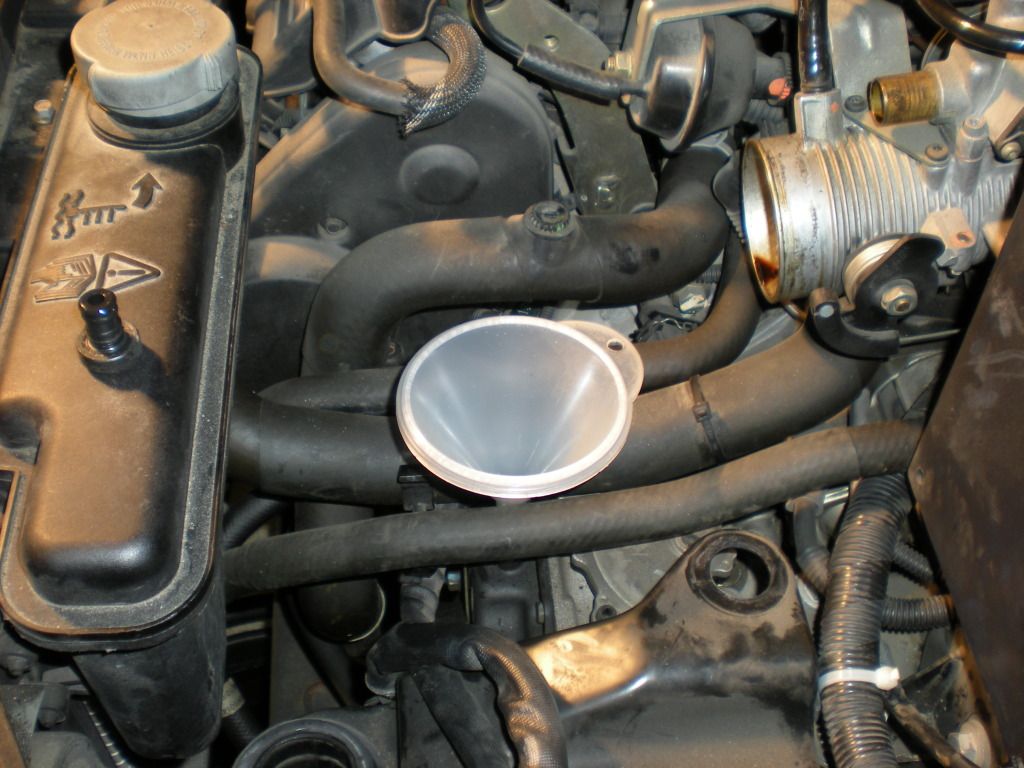 8. Here comes the trick. Get an assistant to start the engine and let it idle in Park. The gearbox will now pump out the oil in the converter and oil cooler into the container. The fresh oil in the box will displace out the old oil. Watch the level into the container and stop the engine when 3,5-4 liters are pumped out. You will only need 10-15 seconds running of the engine to do this. 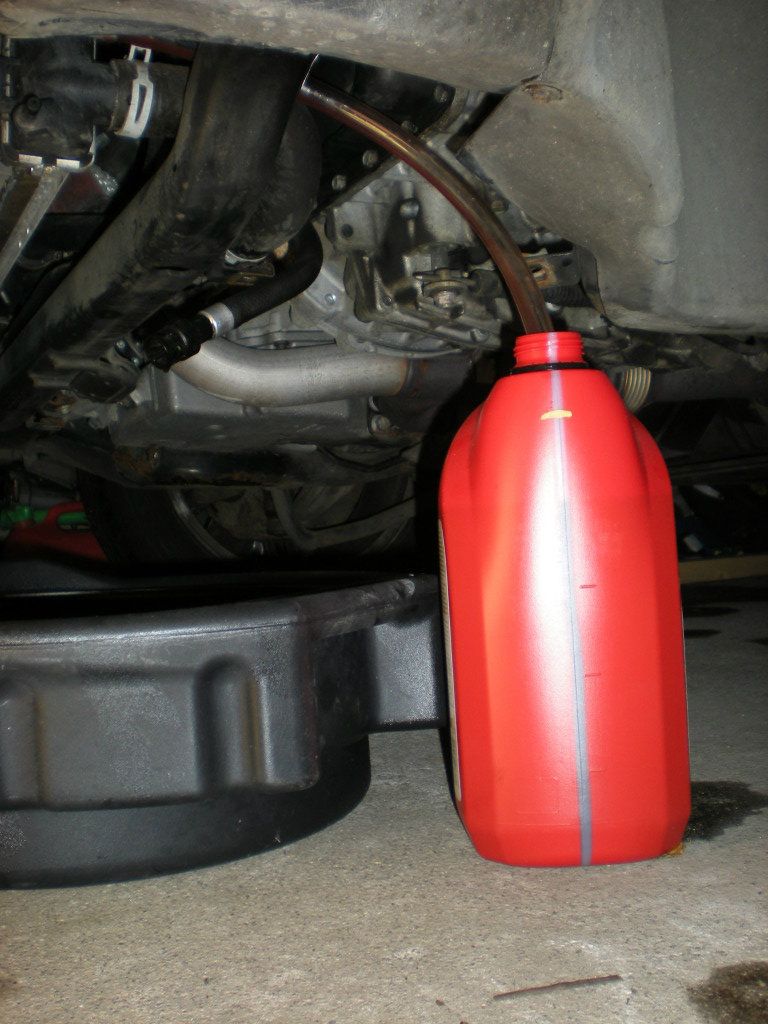 9. Remove the hose and container, put the hose from the gearbox back onto the oil cooler. Lower the car back down to the ground. Make sure it is level. 10. Measure the total volume drained and pumped out of the gearbox. It should be something like 6-8 liters. You have allready added 4 liters to the box, so add more fresh fluid to a total volume the same as the 6-8 liters drained out + approx 0,2 liters. Put the filler plug back into place. 11. Locate the small level plug under the gearbox. A 5mm allen key shall fit into this one. Place a low container under the gearbox. 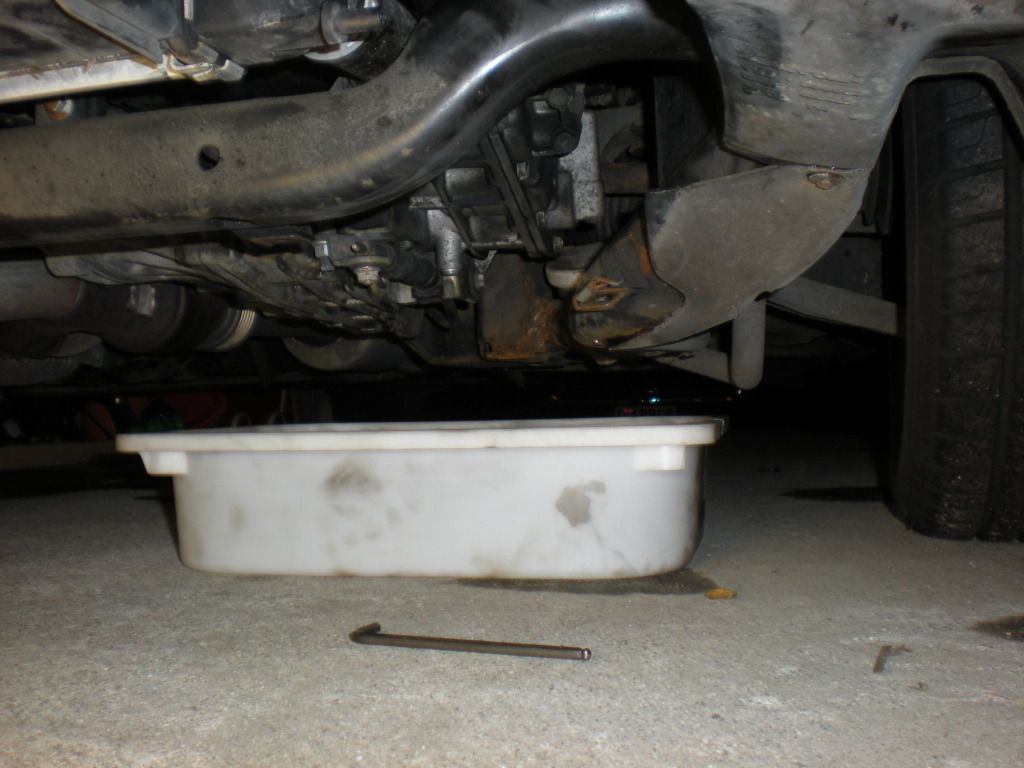 12. The fluid level shall now be set according to the Rover procedure. Start the engine, apply the brake and go through all gears/shifter positions one by one and stay in each position for minimum 3 seconds. Return to Park. Let the engine idle until the ATF fluid has reached 35-40 degrees C. The procedure calls for a T4 to check this, but I think it will be sufficient to check the temperature at the aluminium block where the hoses are connected to the oil cooler. When this feels warn, the temperature shall be OK. Remember to put the AC system to OFF when doing this so the fan does not run. Set the level by removing the level plug and let the fluid drain until it just "dribbles" out of the box. Put the plug back into place, stop the engine and put the air filter box back into place. If you take a look at the fluid drained out, it will tell you how the fluid looks/smells after the replacement. 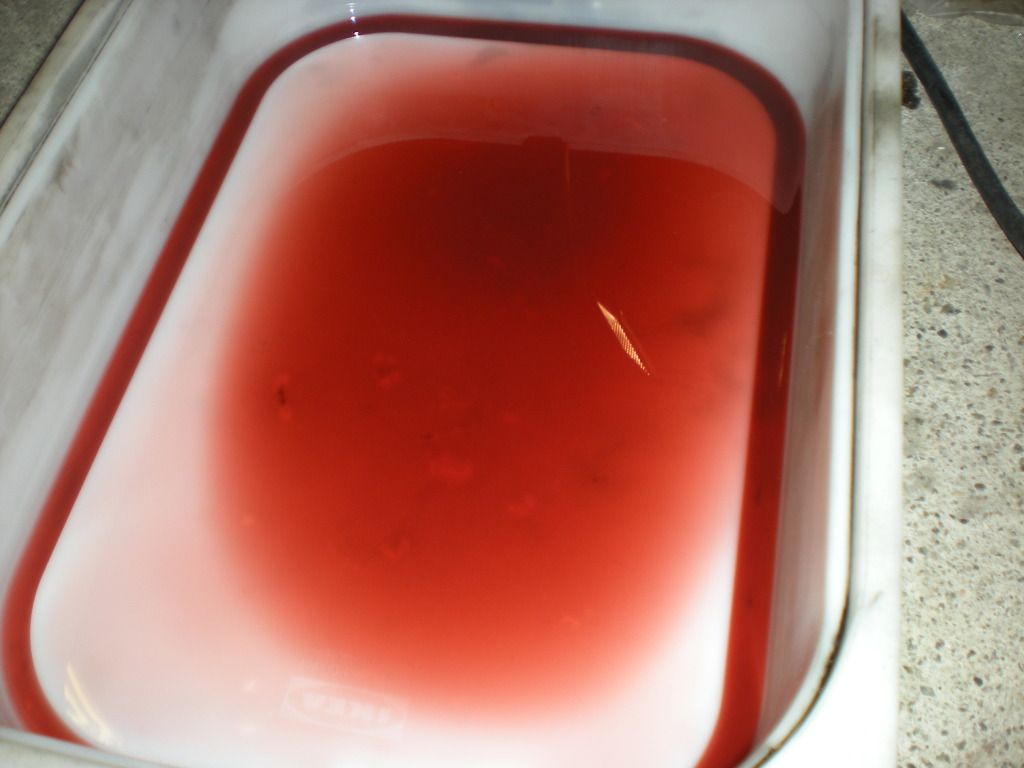 Disclaimer: You are responsible for any work or modifications carried out on your car and you undertake any such work at your own risk. The 75 and ZT Owners Club nor the original author of this How-To can be held liable for anything that may happen as a result of you following this How-To. Last edited by beinet1; 22nd November 2018 at 13:13.. Reason: Disclaimer added as per Club Policy |

|

|
|
|


 Threaded Mode