
|
|
|
|
|
|
||
|
|
||
 30th August 2015, 23:11
|
#3911 |
|
Newbie
ROVER 75 SALOON Join Date: Jul 2015
Location: Scarborough
Posts: 2
Thanks: 0
Thanked 0 Times in 0 Posts
|
After a successful day Saturday replacing clutch master cylinder. Bleeding Marvelous.
 I set to replacing interior including carpet (parts from upullit york) Stripped out old seats and started releasing the belt at the rear to take out rear seat. Under the seat waterlogged! stripped out and carried on to find the whole carpet the same. Plenums checked saturday whilst doing master cylinder no sunroof, grommets in place for old clutch master cylinder go figure! left dehumidifier doing its worst. I set to replacing interior including carpet (parts from upullit york) Stripped out old seats and started releasing the belt at the rear to take out rear seat. Under the seat waterlogged! stripped out and carried on to find the whole carpet the same. Plenums checked saturday whilst doing master cylinder no sunroof, grommets in place for old clutch master cylinder go figure! left dehumidifier doing its worst. |

|

|
|
31st August 2015, 13:51
|
#3912 |
|
Gets stuck in
Rover 75 Connie Tourer & Connie SE Saloon & Club SE Tourer Join Date: Sep 2014
Location: Leeds
Posts: 979
Thanks: 199
Thanked 71 Times in 59 Posts
|
Freed off sticking rear brake caliper piston AGAIN.
Have a long journey at the weekend (Bealieu autojumble) so will take tools to be able to do this again if necessary. Don't want to ruin another disc should it stick again. (tools needed - shortened hex key for pins, couple of Mole wrenches for turning piston, G-clamp for pushing piston in, long nosed pliers for fitting pad wear detector) |
|
|
|
|
1st September 2015, 08:23
|
#3913 |
|
Regular poster
75 and ZT-T Join Date: Mar 2010
Location: Taunton
Posts: 59
Thanks: 4
Thanked 4 Times in 4 Posts
|
Front to rear brake lines, didn't need to drop the tank. I simply cut the old line where it rises under the o/s passenger seat and at the n/s union to flexi, then secured the cut end to the new line and pulled it over the tank. Old line removed from clips etc. before starting of course.
New flexi brake hoses. New reconditioned rear calipers from Brakes. Fitted large stainless steel washers under heat shield securing nuts. Waxoyled most of the underside - makes it look better at the very least. New brake fluid. Ready for MOT. |
|
|
|
|
1st September 2015, 13:24
|
#3914 |
|
Gets stuck in
None at moment Join Date: May 2013
Location: Loughborough
Posts: 899
Thanks: 230
Thanked 125 Times in 113 Posts
|
This was actually Sunday - went to collect engine crane I won on fleebay, in preparation for the day when the V6 gkes pop. Today I managed to chip some paint off the bumper removing said crane from my ZT-T.
|
|
|
|
|
1st September 2015, 13:30
|
#3915 | |
|
Posted a thing or two
zebadee Join Date: Nov 2013
Location: Ayrshire
Posts: 1,481
Thanks: 135
Thanked 207 Times in 192 Posts
|
Quote:
|
|
|
|
|
|
1st September 2015, 21:42
|
#3916 |
|
Regular poster
75 and ZT-T Join Date: Mar 2010
Location: Taunton
Posts: 59
Thanks: 4
Thanked 4 Times in 4 Posts
|
Brakes International
http://brakeparts.co.uk/#!/shop/ROVE...el%20cylinders Fit perfectly and work well. They are actually BMW with a smaller bleed screw. Something to watch out for. I also have to send back my old ones for refund. I'll be doing the same to the front ones soon. Notes on surcharge: http://brakeparts.co.uk/#!/surcharge Price is reasonable, and I didn't want to muck about with a service kit. My calipers are not damaged and functional (just old and used), so am confident of refund. I am slowly overhauling as much of the car as possible, and figured after 15 years on the road it was about time. I don't want to go back to the same areas of the car to repeat work either (accessing parts). The back end has been serviced, time to move onto the front. I am going to keep car on the road for as long as financially viable. Edit: Received full refund from Brakes. Good service. Do use a tracked service to return, avoid yodel and the likes. I sent mine using Parcel2go and a drop of UPS service, cheaper than post. Sorted. Last edited by biggles2000; 8th September 2015 at 23:25.. Reason: Confirmed refund from Brakes |
|
|
|
|
6th September 2015, 14:16
|
#3917 |
|
Loves to post
Rover 2.5V6 Connie SE (White Gold) Join Date: Oct 2013
Location: Rushden
Posts: 378
Thanks: 166
Thanked 70 Times in 53 Posts
|
Hi All
Having aquired a set of torpedoes for my 2.5 from Phil T4 I thought it rude not to attach them in the required location. Decent auto DS tape and a template from an old card (50mm in 25mm up). Soon sorted. Having also commented to SWMBO the other night that the cubby under the front ashtray was a bit on the dim side I filed a small semicircular groove to half the depth of the chosen LED into the adjacent edge of the Auto knob surround. As the LED is quite small (3mm) and the console has a nice bit of give in it. This was all that was needed to let it in. Dab of Glue attached the LED (Green!). Breaking into the R/W (Illumination feed) and Black (Ground Return) with soldered joints. With the darker nights getting ever closer I thought this make a nice little addition or focal point Will add a couple of images when I get the chance. What I do find is that the Mod is quite discreet and unobtrusive, as such you wouldn't know it was there unless you were looking for it. ATB
__________________
[SIGPIC][/SIGPIC] My own true Constance Boot Release Mod Walnut trims, Tail Light Seals & Torpedoes T4 Health check done (Thanks Mr T4 ) Real Walnut Dash (Thanks Paul D) Power Folds (one down one to go) Timing Belts Pump and Matrix Replaced (Phil T4) Bonnet release mod (Thanks Paul D) IPK De-lined (Thanks klarzy) New wheels (Thanks Paul D) Compensator, LED bulbs ABS Sensor and more(Thanks John H) Projectors (Thanks Paul D) Puddle light LED Strips Mods to do: Rear Spoiler? Last edited by Paulym; 6th September 2015 at 15:13.. |
|
|
|
|
6th September 2015, 16:41
|
#3918 |
|
Nemo Me Impune Lacessit
None at the moment Join Date: Nov 2007
Location: Glasgow's HMP Barlinnie, 'A' Hall, 2nd Flat
Posts: 5,192
Thanks: 493
Thanked 1,094 Times in 666 Posts
|
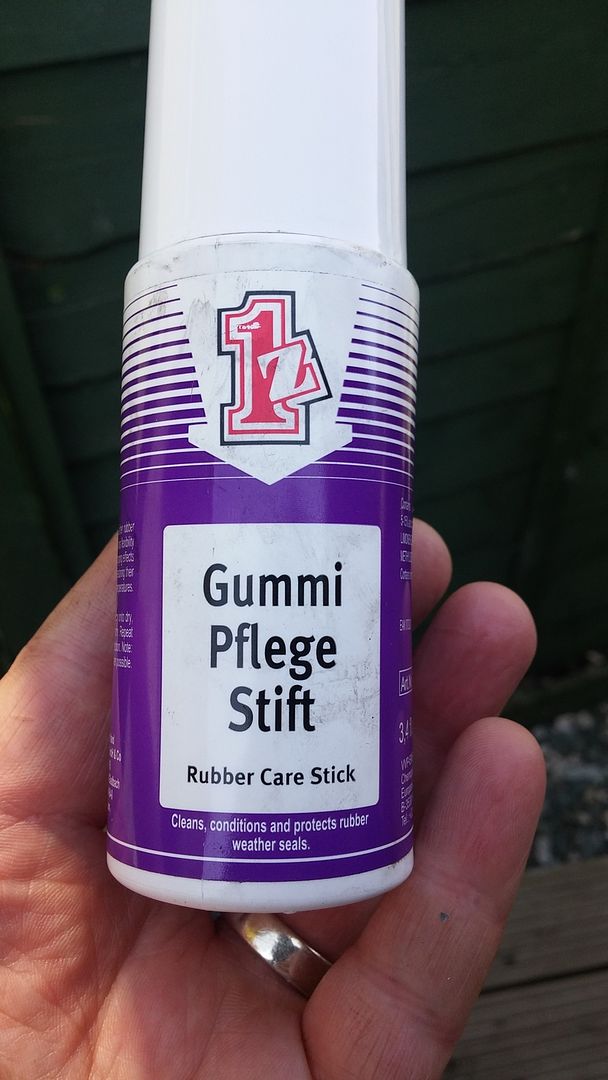
I gave the rubbers some food . . .
__________________
[SIGPIC][/SIGPIC]
|
|
|
|
|
6th September 2015, 18:00
|
#3919 |
|
Newbie
2003 CDTi Club SE Join Date: Jul 2015
Location: Portsmouth
Posts: 23
Thanks: 2
Thanked 0 Times in 0 Posts
|
tried to get my bonnet open. got ****** off. gave up. went to pub.
|
|
|
|
|
6th September 2015, 18:02
|
#3920 |
|
Newbie
2003 CDTi Club SE Join Date: Jul 2015
Location: Portsmouth
Posts: 23
Thanks: 2
Thanked 0 Times in 0 Posts
|
feeling much less stressed now
|
|
|
|
 |
|
|


 Linear Mode

