
|
|
|
|
|
|
||
|
|
||
 29th September 2011, 23:04
|
#1 |
|
This is my second home
Roverless & now carless Join Date: Dec 2008
Location: Wilmslow
Posts: 15,583
Thanks: 2,457
Thanked 2,428 Times in 1,301 Posts
|
A few weeks ago as I'd organised to have the V8's vortex wheels refurbished I thought I'd better do something about the tatty wheel centres, especially the condition of the Rover badges. I do note the quality of the facelift style badges is rather poor when compared with the ones that were on my previous 51plate. As the wheel centre part number DTC000150 is NLA so I decided that I'd have a go at a diy refurb project. The problem was where to source the correct facelift badge - had a lateral thought and checked the size of the badge on the wheel centres for the 25/45, DTC000170 and found even though the centres were smaller the badges were in fact indentical, so I picked up a new set from eBay for £10.00.
This was the best of the centres - and somebody had already replaced the badge - not very well as it was proud of the centre. 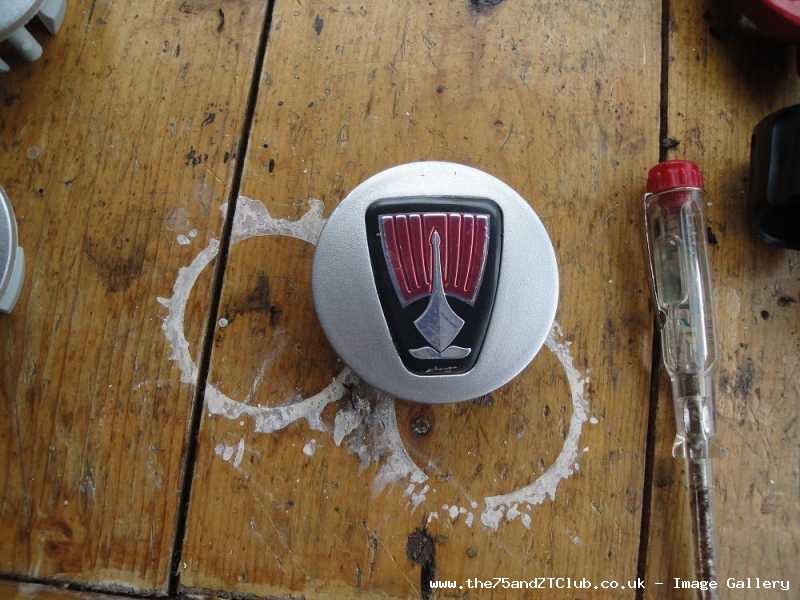 Using a hot gun I warmed the back of the centre to release the badge 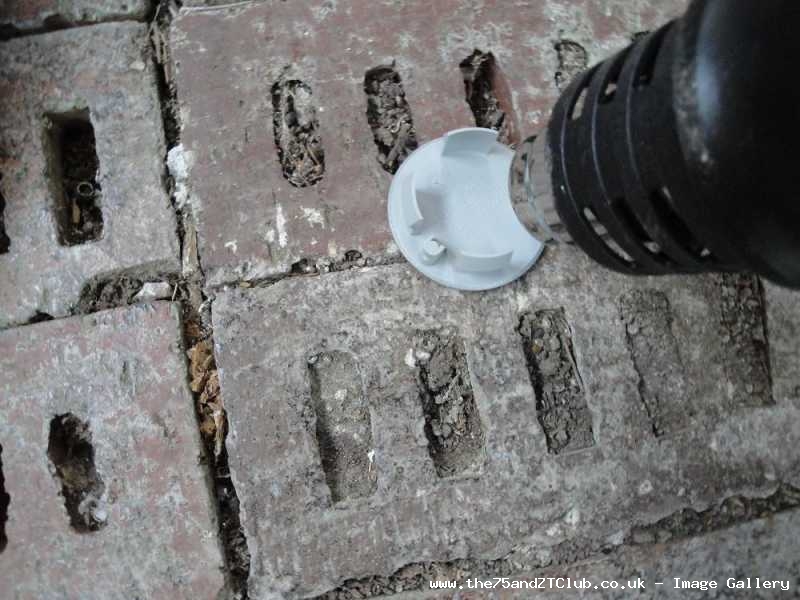 Then using a thin blade I lifted out the badge - nb didn't take a photo whilst doing the old ones, this is as I removed one of the donor badges.  Badges removed from old centres. The centre with the hole drilled in it was the one that already had a replacement badge fitted to it, I reckon it had been used to lever off the old badge. 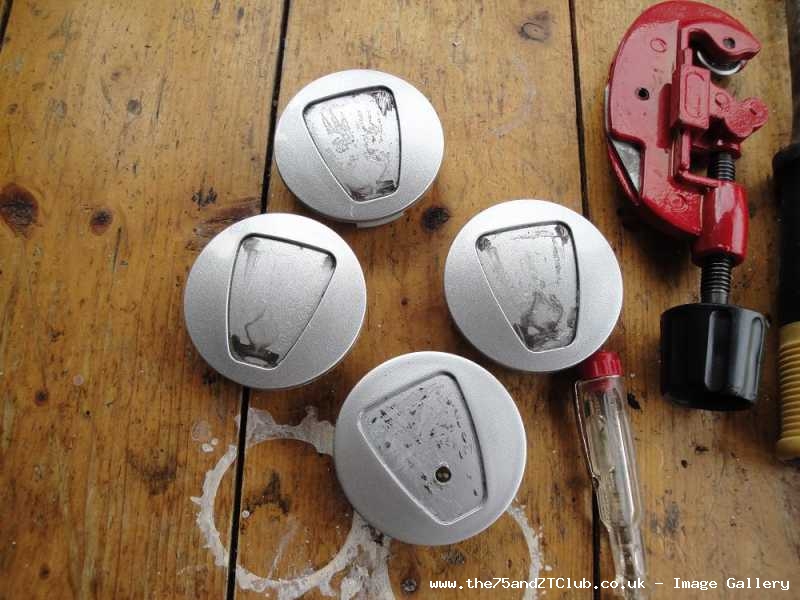 The old badges removed - as you can see they have faded badly 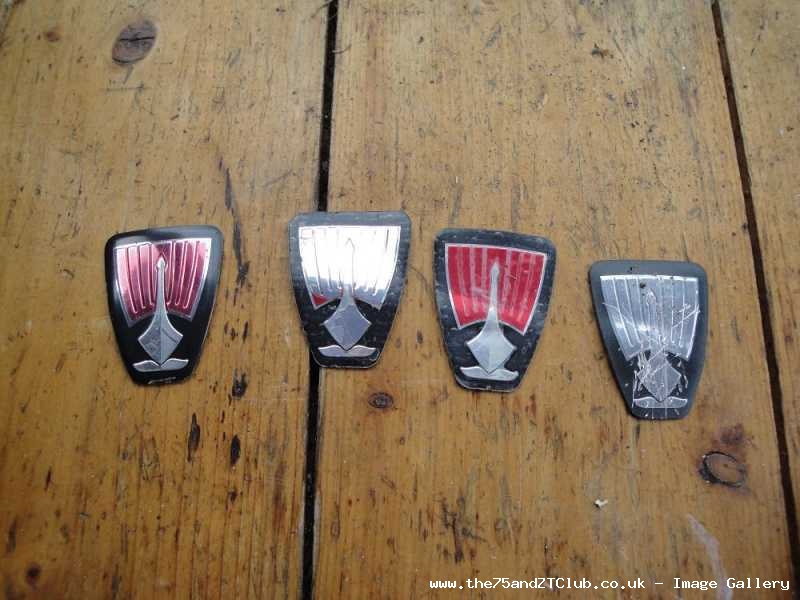 The donor wheel centres 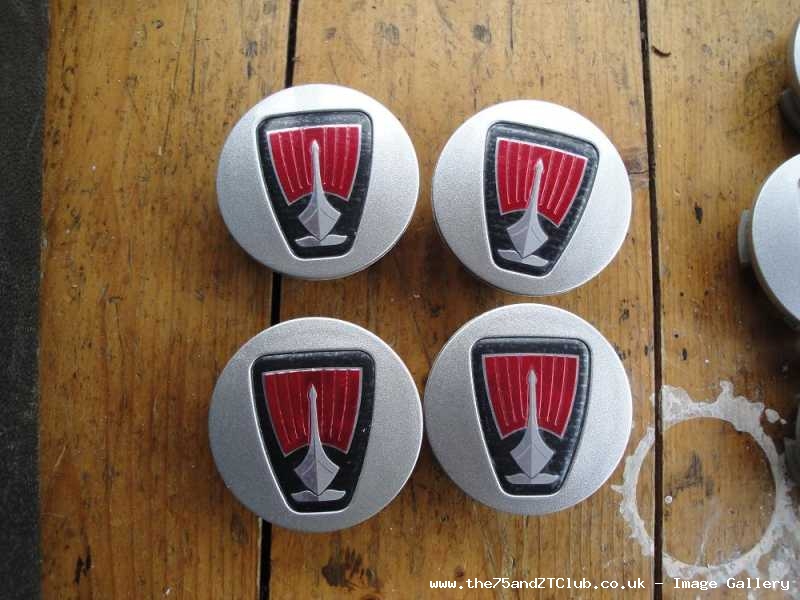 Starting to remove the donor badges  The donor badges - note the reason they fade is they only have a thin plastic covering that is heat shrunk on to them and as soon as the weather starts to lift it the finish will deteriorate.  I decided to remove it using a heat gun on low - badges then looked a lot better - I also removed the glue from the rear of the badges. 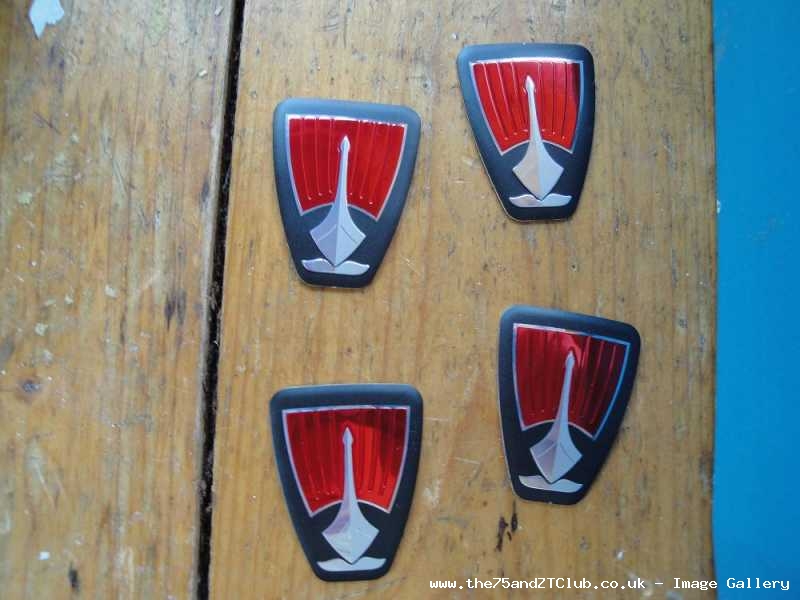 Now the centres were rubbed down and a couple of coats of primer applied - note I used cardboard tubes to mount the centres onto made them a lot easier to handle.  Then rubbed down with 1200 grade and the the silver basecoat was applied, again rubbing down with 1200 grade before the final coat. 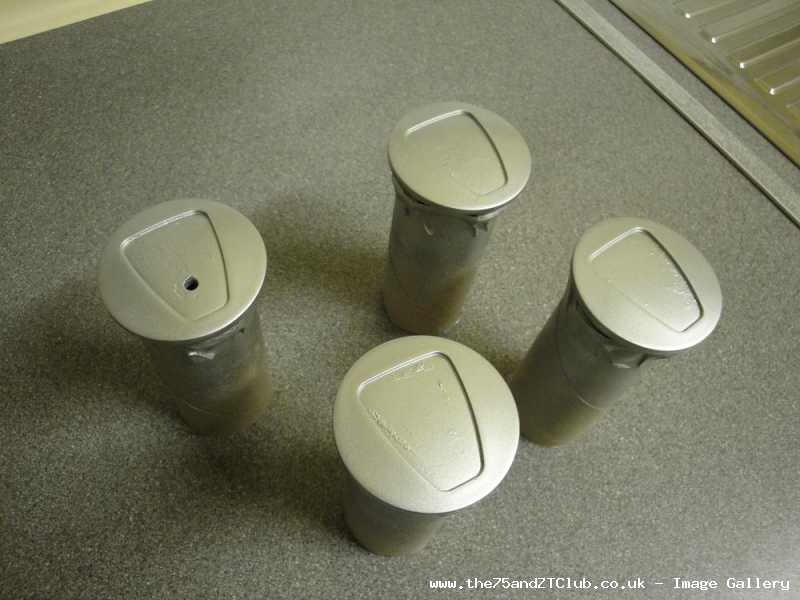 I then glued the new badges into place. 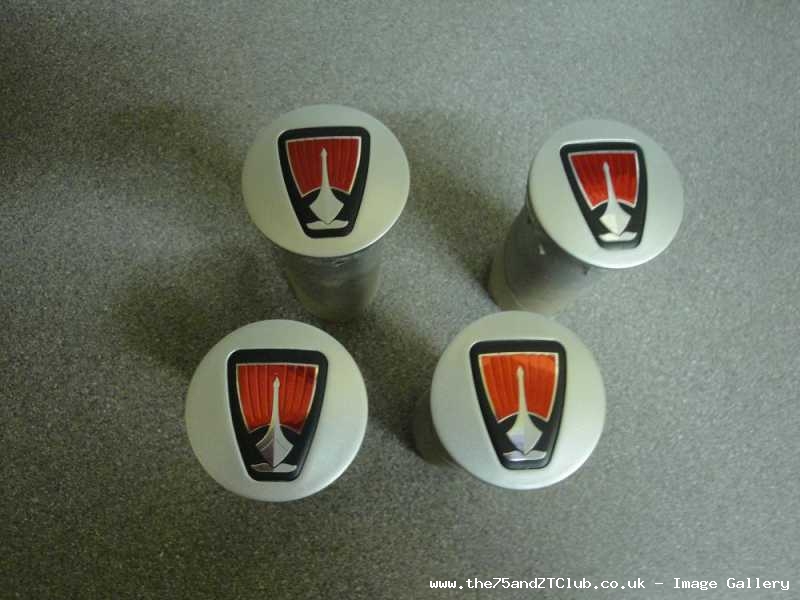 And then applied three coats of laquer - hopefully this will also protect the badges and stop them fading. 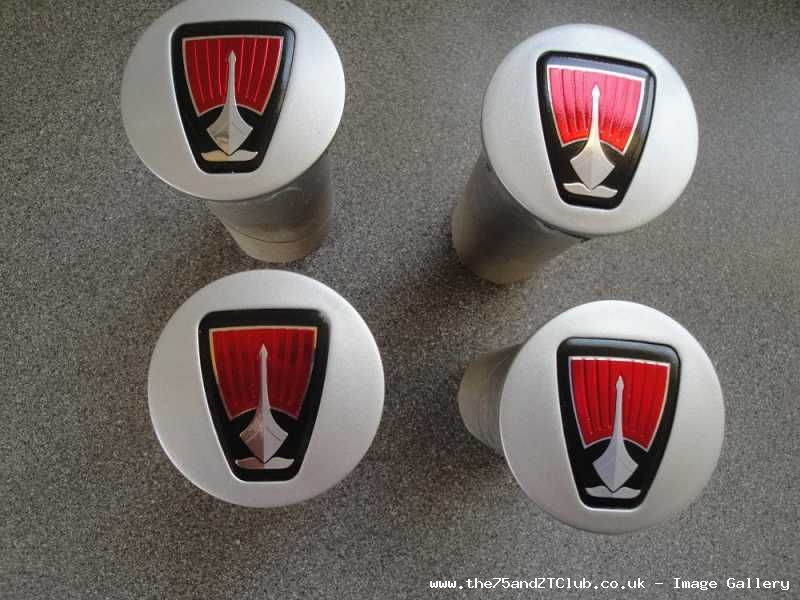 It wasn't possible to rub them down now because of the high points on the badge - it's basically a thin piece of painted pressed alloy - so I left it a couple of days and very lightly used a rubbing compound.  Quite pleased with the result at a cost of around £30 as I already had the primer, wet & dry and rubbing compound. |

|

|
|
|


 Threaded Mode