
|
|
|
|
|
|
||
|
|
||
|
|
 1st May 2014, 10:27
|
#1 |
|
Passed Away
ROVER 75 V6 2Ltr 2001 AUTO / EMERALD MOTORBILITY SCOOTER Join Date: Apr 2011
Location: Poole Quay
Posts: 3,180
Thanks: 2,051
Thanked 570 Times in 311 Posts
|
Hi everybody
I am just about to have a 'Kaiser's' metal bodied thermostat fitted to my 2 ltr V6 petrol. Is it a very big job to have it fitted by my local garage ? At the same time I am having the engine breather hose pipes being changed with complete kit supplied by Rimmers.. Again is that a big job ? The original thermostat was leaking slightly, and the garage also mentioned the 'T' piece was leaking. I not sure which 'T' piece they were referring to. Would it be the same 'T' piece that Rimmers have supplied with the engine breather hose kit? I'm a bit out my depth here so can any one help. Thankyou trimani (Alf) |

|

|
|
1st May 2014, 10:48
|
#2 | |
|
Give to Learn

Freelander 2 Join Date: Aug 2010
Location: West Midlands
Posts: 18,708
Thanks: 1,155
Thanked 6,407 Times in 3,874 Posts
|
Quote:
The T piece would be the top breather pipe it is just unplug and push part easy to fit, check out my link below and you will get a drift of what is what, but I should imagine the garage will take off the manifold etc when they do yours. http://www.the75andztclub.co.uk/foru...1&postcount=27 
__________________
Arctic Givology Learn to Give Everything is Achievable  ad altiora tendo. Check out our Nano meet dates http://www.midlandsnanomeets.co.uk/ http://www.the75andztclub.co.uk/index.php?thepage=howto " You do the work , we supply the expertise " Last edited by Arctic; 1st May 2014 at 13:38.. |
|
|
|
|
|
1st May 2014, 10:58
|
#3 |
|
This is my second home
75 Tourer CDT Join Date: Dec 2011
Location: Enfield
Posts: 3,925
Thanks: 63
Thanked 431 Times in 237 Posts
|
The breather pipes live under here, a 10 min job to replace.
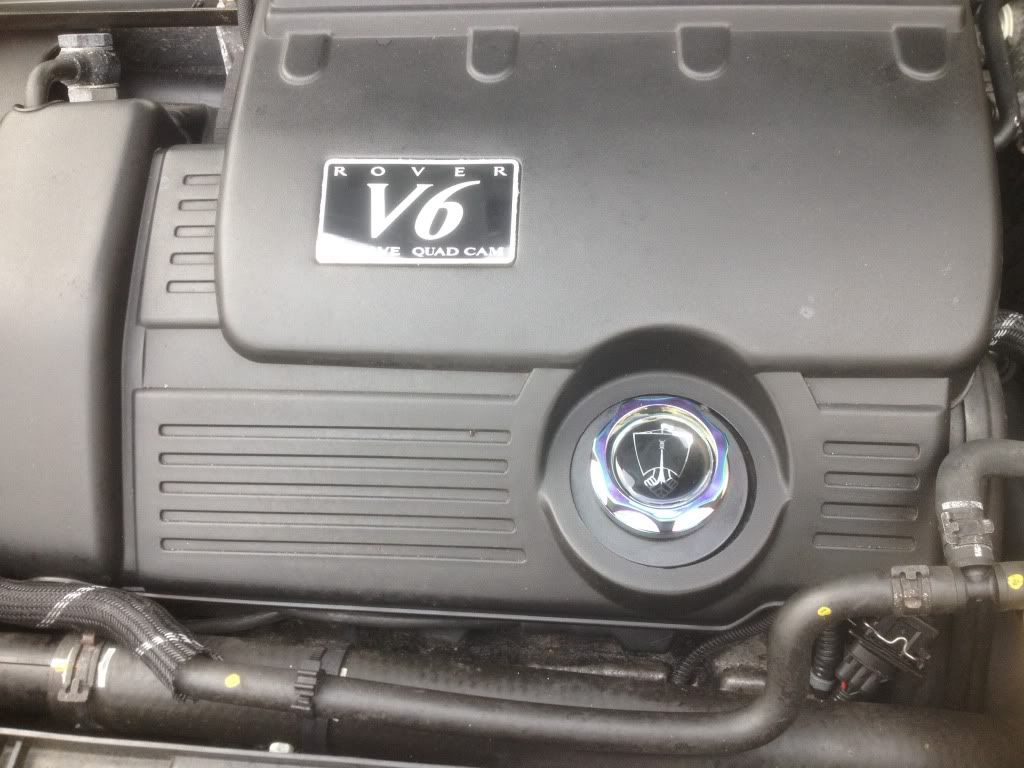 The thermostat is here... 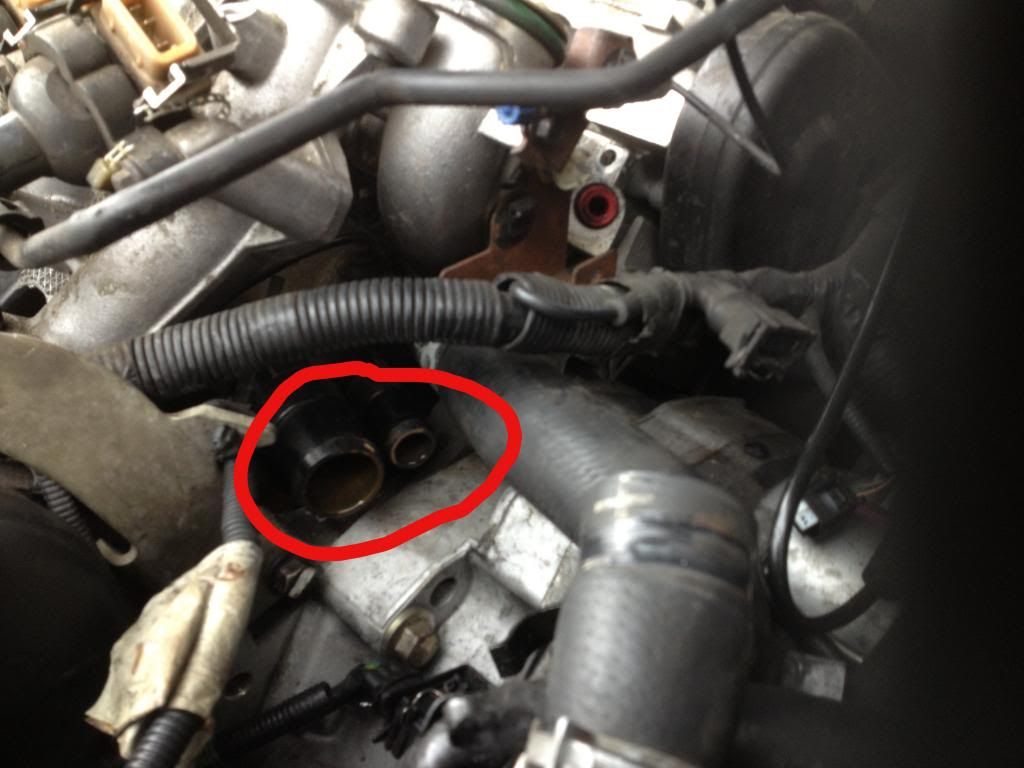 ...and the garage will most likely remove the inlet manifolds etc to reveal the engine V, which is where the thermostat is located. 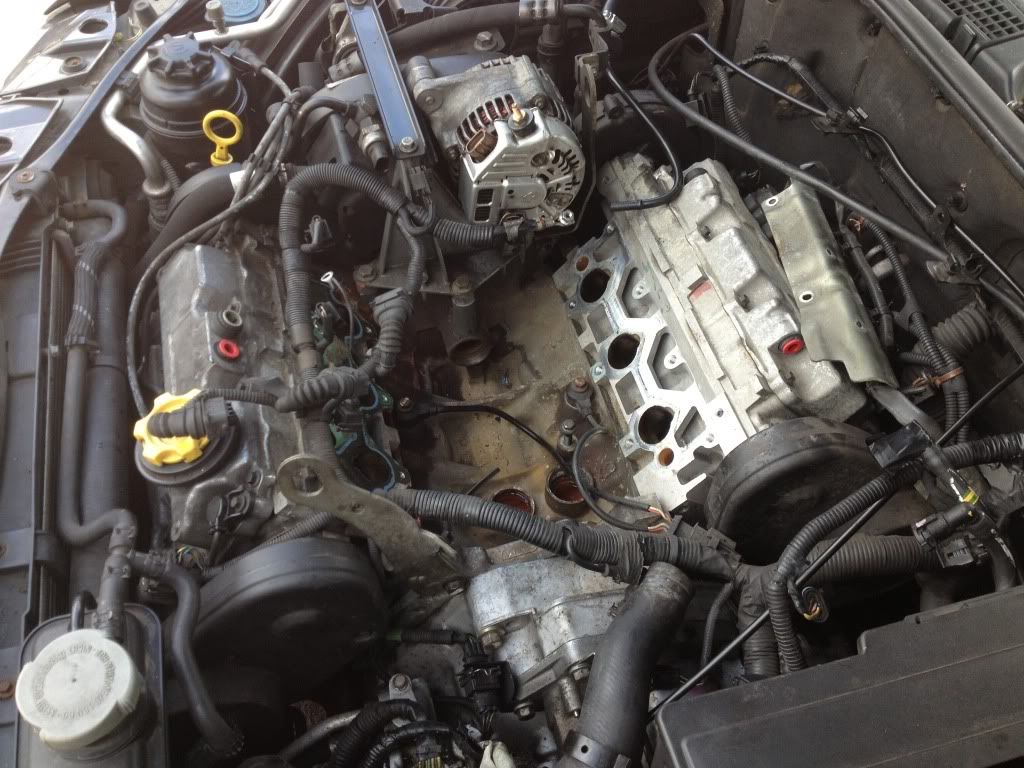 |
|
|
|
|
1st May 2014, 12:11
|
#4 |
|
Gets stuck in
MG ZT SE 180 V6 Sports Auto Join Date: Dec 2006
Location: Newcastle upon Tyne
Posts: 938
Thanks: 74
Thanked 37 Times in 36 Posts
|
Make sure they change the two paper inlet manifold gaskets !
John |
|
|
|
|
1st May 2014, 13:35
|
#5 | |
|
Give to Learn
Freelander 2 Join Date: Aug 2010
Location: West Midlands
Posts: 18,708
Thanks: 1,155
Thanked 6,407 Times in 3,874 Posts
|
Quote:
__________________
Arctic Givology Learn to Give Everything is Achievable ad altiora tendo. Check out our Nano meet dates http://www.midlandsnanomeets.co.uk/ http://www.the75andztclub.co.uk/index.php?thepage=howto " You do the work , we supply the expertise " |
|
|
|
|
|
2nd May 2014, 13:12
|
#6 |
|
Passed Away
ROVER 75 V6 2Ltr 2001 AUTO / EMERALD MOTORBILITY SCOOTER Join Date: Apr 2011
Location: Poole Quay
Posts: 3,180
Thanks: 2,051
Thanked 570 Times in 311 Posts
|
Biggy Thanks every one for the piccies and advice. I did consider trying it myself, but with your submissions have decided that's a no-no, so the garage gets the job ( With appropriate comments from you to him via me
 ). I will be very diplomatic ). I will be very diplomatic trimani (Alf) |
|
|
|
|
3rd May 2014, 03:36
|
#7 | |
|
Gets stuck in
Rover 75 Saloon 2.5 Join Date: Jul 2012
Location: Melbourne
Posts: 563
Thanks: 52
Thanked 96 Times in 80 Posts
|
Quote:
My advice is to find someone who has replaced a 75/ZT thermostat before. Putting in the metal thermostat is basically the same however I have a few points. 1) The old bent pipe will probably be corroded in place. Probably has to be broken and taken out in pieces. Then the holes need a very good clean/scrape and perhaps some use of wet and dry sandpaper or similar to ensure the surface is very smooth for the new O ring. Failure to do this will likely mean you waste your money. 2) Kaiser has used fat O rings and you have to be VERY careful not to pinch them when installing them. As per his instructions you need rubber grease or similar. I pinched the one for the thermostat housing but stopped before it did damage. A small mirror helps to see the back as it is inserted and I used a flat blade screwdriver to push in O ring as I pushed down. The O ring for the bent pipe wasn't as hard and the straight pipe to thermostat also has to be done carefully. 3) As per Kaiser's instructions I used jubilee clips rather than the original MGR clips. For the middle one I decided that it was best to have the screw/bolt accessed from the rear below the back pipe. So in other words, do this one first (Should be common sense for a mechanic) 4) I bought two new clips for the straight pipe rather than trying to salvage the old ones or use cable ties. I think the original clips are best as they should be rated for the heat etc. once again I think poor investment not to do this. 5) As per other comments, replace the inlet manifold gasket(s). You can see in the photo I had not yet replaced mine but I did that as the next step after the photo 6) I found taking both inlet manifolds off worthwhile. The job can be done by just taking off the front one but with both off you have clear access and it is also an opportunity to replace both gaskets. I took them off together, ie: I did not disturb the fuel rail. Was a little tricky getting to 3 of the bolts inside the void but I have read reports of people otherwise having O ring leaks in the fuel rail when disturbed. 7) Upper manifold removal is not hard if you know what you are doing, I found some of the clips a bit tricky but if I were to do it again it would be a piece of cake. I hope this is of use to you. ps: You may want to consider having his job done.https://www.the75andztclub.co.uk/forum/showthread.php?t=182338 Perhaps you just get them to do the back cover while the upper manifold is off and you could do the front one. Last edited by Stag>75; 2nd June 2014 at 09:26.. |
|
|
|
|
|
3rd May 2014, 10:55
|
#8 |
|
This is my second home
75 Tourer 2.5 Auto, 1.8T, 75V8ZT Join Date: Jun 2007
Location: Johannesburg ZA
Posts: 6,200
Thanks: 1
Thanked 859 Times in 613 Posts
|
Glad everything went according to plan.
 http://www.youtube.com/watch?v=wyz_2DEah4o It is well worth having a look at the inlet manifold gaskets in the picture. If you install new ones, I would seal with a bit of Victor Rinz's Rinzoseal. It is quite apparent that the bead of silicone applied from the gasket maker is insufficient, and will allow cooling water to penetrate from the cooling system and entering the cylinders (see the dark patches where water has penetrated the seals), causing water in the oil and exhaust. With time and further degradation, the problem will become intrusive. If sealant is used, do so sparingly, nip the manifolds in place evenly, leave them to cure 24 hours, and then tighten and torque. That will leave a film of silicone as a firm substance and prevent the squeezing of silicone over the edges into oil, water and air ways. After a week or two, you can expect the seals to have set, and a re-torque would be sensible. Last edited by kaiser; 3rd May 2014 at 11:11.. Reason: link added |
|
|
|
|
3rd May 2014, 20:56
|
#9 |
|
This is my second home
Rover 75 2.5 V6 Connoisseur SE 4dr manual Wedgewood Blue 2 04-05/06/2001 Join Date: Nov 2006
Location: N.E. Hampshire
Posts: 4,617
Thanks: 289
Thanked 308 Times in 243 Posts
|
Alf, I was going to let you know what clips I had used. I forgot! They were stainless steel genuine Jubilee clips, excellent quality, and I used three different sizes. I think I bought one pack of each size and that was about right, with a couple spare left over.
Definitely better than those rubbish OEM spring clips - of mine, either a fifth or a quarter of the total of the original clips had signs of having leaked at some point.
__________________
"...the new Rover 75, which is a fabulous car......I think it looks fabulous....It's like sitting in a Rolls Royce......For me, this is the star of the show.....it looks so good" - J. Clarkson, motoring journalist on the launch of the Rover 75 in 1998. |
|
|
|
 |
|
|


 Hybrid Mode
