
|
|
|
|
|
|
||
|
|
||
 21st February 2017, 05:58
|
#31 |
|
Newbie
Rover 75 saloon Join Date: Feb 2017
Location: Madrid
Posts: 25
Thanks: 25
Thanked 2 Times in 2 Posts
|
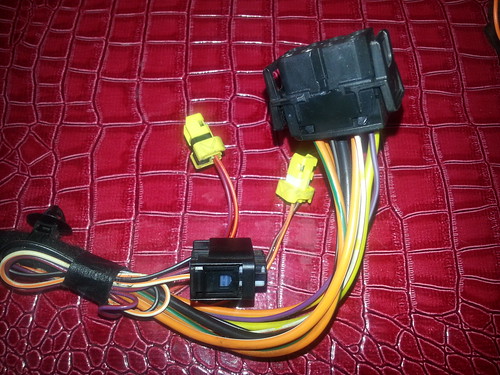
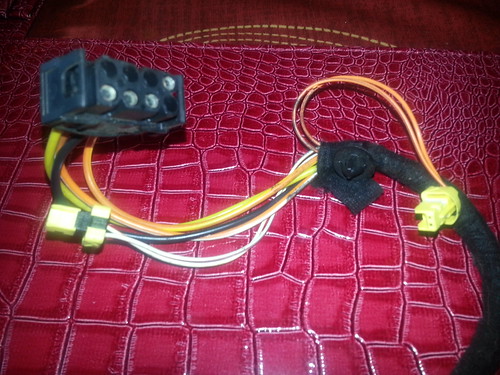
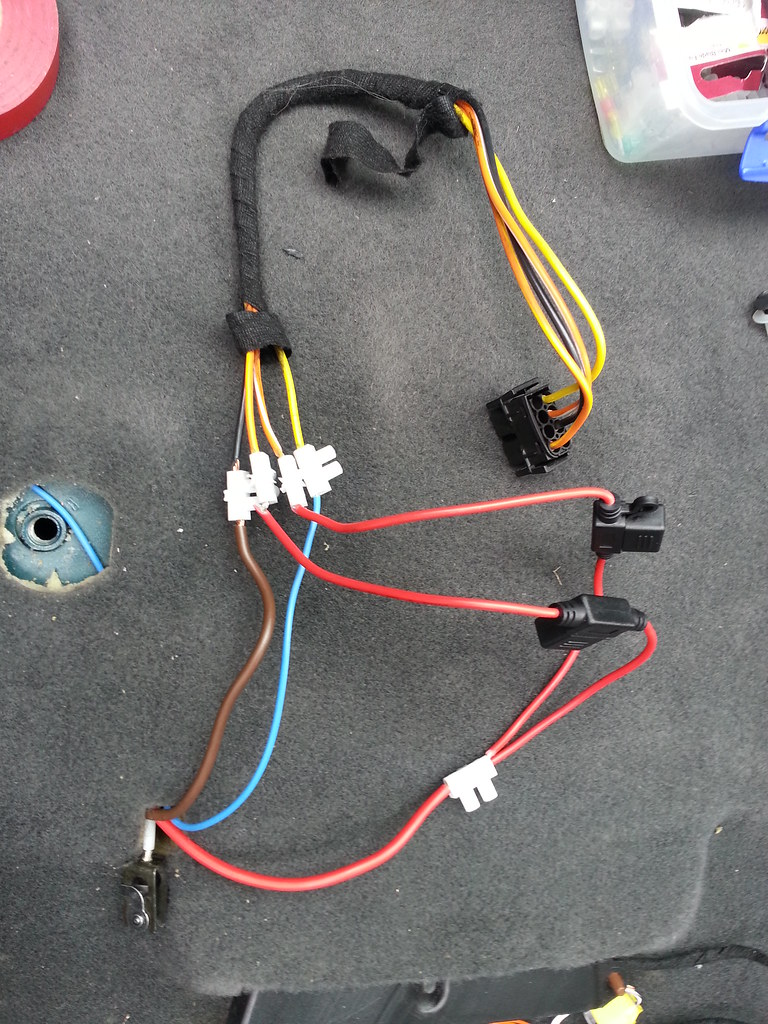
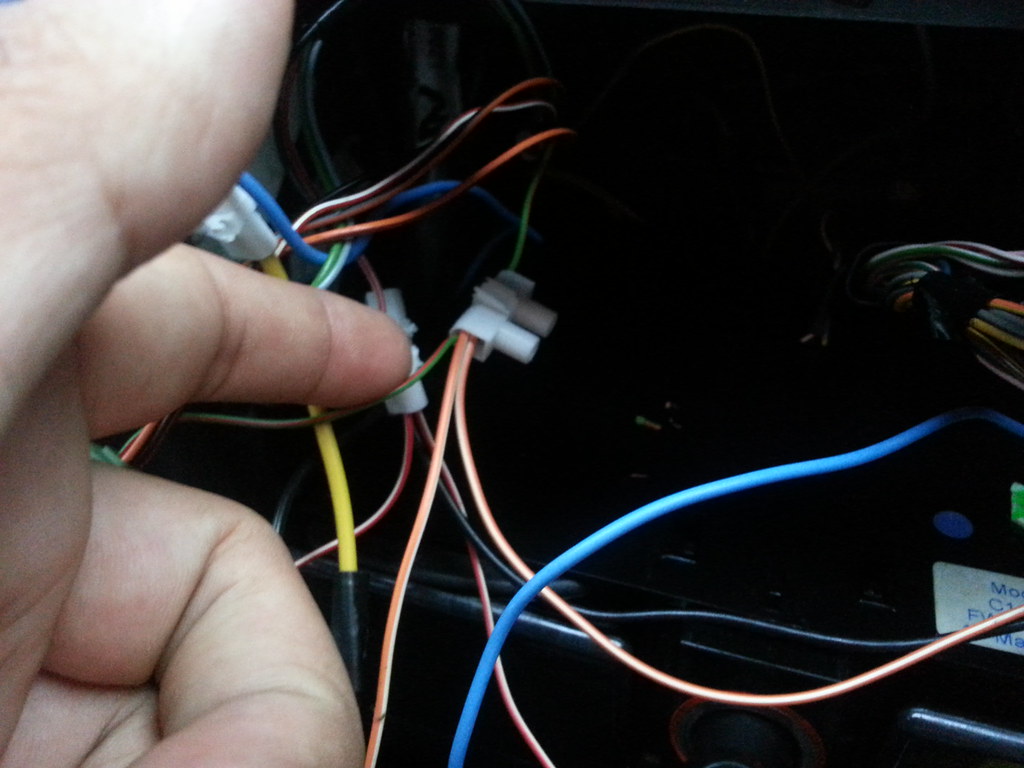
Have mu swap project on hold but will certainly have this issue as my 75 is mk2 and leather seats from an mk1... when you guys say "hardwire" what do you mean exactly? (Changing wires for new ones or just connect the wires doing whatever is necessary on them?)... pictures very much welcomed!!
Enviado desde mi iPhone utilizando Tapatalk
__________________
General Information This vehicle was the 98,770th 75 to run off the production line, out of 112,381 This vehicle was the 6,689th 75 CDT Connoisseur (135) to be made out of 8,746 This vehicle was the 12,822nd 75 in Royal Blue (code: JFM) to be made out of 14,420 Royal Blue 75s |

|

|
|
21st February 2017, 11:15
|
#32 | ||
|
This is my second home

MG ZT 2.0 CDTI+ in Typhoon, MG TF 135 in Typhoon & Rover 75 Connoisseur CDTI SE in Pearl Black Join Date: Oct 2012
Location: Norfolk
Posts: 7,534
Thanks: 2,718
Thanked 2,827 Times in 1,462 Posts
|
Quote:
Quote:
http://www.the75andztclub.co.uk/foru...d.php?t=145087 That way you can still disconnect them if you ever need to remove the front seats in the future. If you do hard wire them make sure they're soldiered together  |
||
|
|
|
|
11th June 2017, 18:37
|
#33 |
|
Regular poster
Rover 75 Saloon Join Date: Aug 2016
Location: Liverpool
Posts: 40
Thanks: 27
Thanked 10 Times in 7 Posts
|
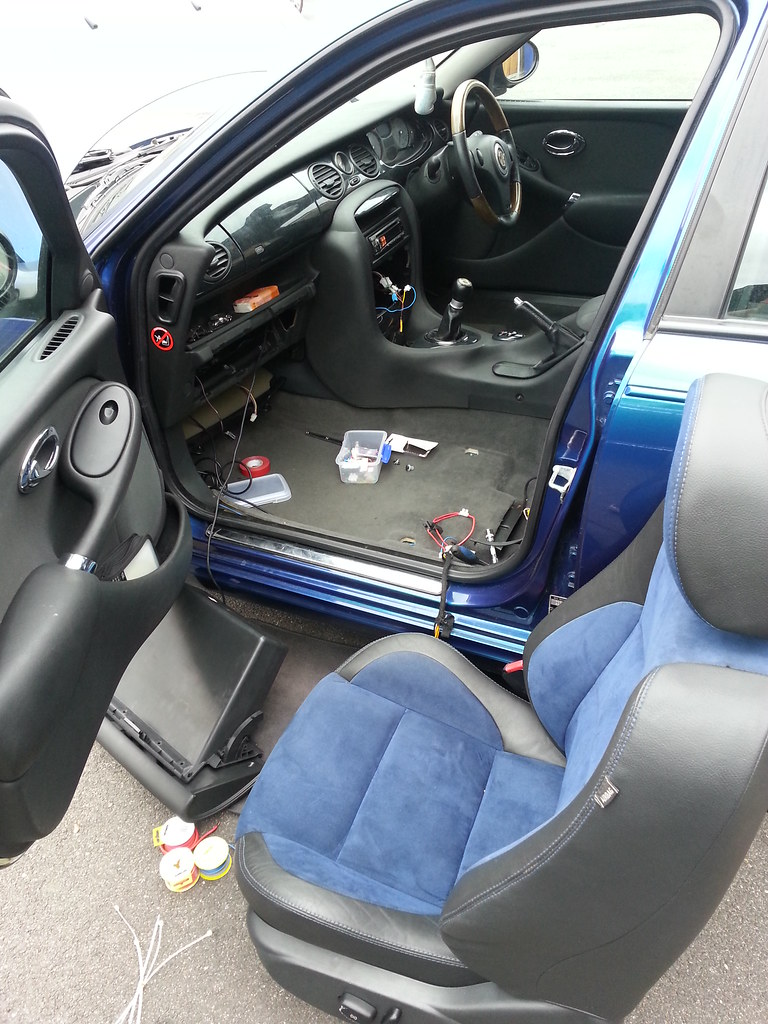
Well thanks to this excellent how to, I now have electric leather seats in my 75, replacing the manual cloth ones that came with the car
 It's posts like this, which make the £10 subscription fee, worth every penny  Massive thanks Rick. Last edited by Roverpip; 11th June 2017 at 18:43.. |
|
|
|
|
24th June 2017, 10:08
|
#34 | |
|
Newbie
MG ZT Join Date: Jun 2017
Location: VALENCIA
Posts: 2
Thanks: 0
Thanked 3 Times in 2 Posts
|
 Quote:
|
|
|
|
|
|
4th October 2017, 20:32
|
#35 |
|
Regular poster
MG ZT-T Join Date: Dec 2016
Location: Boston
Posts: 30
Thanks: 0
Thanked 6 Times in 5 Posts
|
Hi,
I have fitted memory seats to my 2004 ZT-T which had normal non powered seats fitted. Using your excellent 'How to' I made up a loom and fitted the seats. Only difference to your wiring guide was I fitted a relay to a switched live. First the good news - the passenger seat works as advertised. The problem is that the driver's moves forwards and back (in a jerky motion) but the seat will not recline or raise/lower. I have not wired in the K-bus in your experience could this be the problem or is it because the unit is not permanently powered? Any advice would be appreciated because I'm driving around at the moment hunched over the steering wheel |
|
|
|
|
9th October 2017, 19:21
|
#36 |
|
Regular poster
MG ZT-T Join Date: Dec 2016
Location: Boston
Posts: 30
Thanks: 0
Thanked 6 Times in 5 Posts
|
Further to my last I have now wired in the K-Bus and when I press the memory button I get a ping noise but unfortunately the driver's still only goes backwards and forwards (still jerky) but does not go up or down or recline or raise itself.
Could the problem be the switch? Help Thanks, Simon  |
|
|
|
|
27th November 2017, 11:33
|
#37 |
|
This is my second home
MG ZT 2.0 CDTI+ in Typhoon, MG TF 135 in Typhoon & Rover 75 Connoisseur CDTI SE in Pearl Black Join Date: Oct 2012
Location: Norfolk
Posts: 7,534
Thanks: 2,718
Thanked 2,827 Times in 1,462 Posts
|
Hi Simon,
Sorry only just seen your replies to this thread. To me it sounds lie either an issue with your wiring or the motors on your seat are faulty. Try testing the seat directly to a car battery first. If the seat works fine when tested directly to a battery then you'll know its an issue with the wiring |
|
|
|
|
27th November 2017, 11:34
|
#38 |
|
This is my second home
MG ZT 2.0 CDTI+ in Typhoon, MG TF 135 in Typhoon & Rover 75 Connoisseur CDTI SE in Pearl Black Join Date: Oct 2012
Location: Norfolk
Posts: 7,534
Thanks: 2,718
Thanked 2,827 Times in 1,462 Posts
|
The k-bus is only for registering the memory function, it doesn't affect the operation of the seat. I hadnt connectrd5my kbus wire at first and the seats worked fine
|
|
|
|
|
21st July 2018, 11:57
|
#39 |
|
Regular poster
Rover 75 Tourer Join Date: Mar 2018
Location: Helensburgh
Posts: 45
Thanks: 6
Thanked 11 Times in 8 Posts
|
Successfully used the instructions here to get my electric seats up and running - thanks!
But I seem to have introduced a K-bus error - no indicator tell-tales, aircon Er reading, central locking not working, etc. As I had included the pin 6 connection to a K-bus wire behind the centre console, my first thought was that I must have made a mistake there, so I tried breaking the connection to pin 6. Unfortunately this hasnt made any difference! I appreciate Im probably getting into crystal ball territory, but any ideas what I could have done wrong?? Theres been minimal disturbance to the existing wiring and Im really not sure where to start looking. |
|
|
|
|
21st July 2018, 21:51
|
#40 |
|
Gets stuck in
Rover 75 Tourer, Rover 75 Saloon Join Date: May 2018
Location: Castleford
Posts: 974
Thanks: 237
Thanked 185 Times in 113 Posts
|
Is there a how to guide to just for the heated seats as someone has fitted the heated seats but they have manual adjustment.
__________________
Too many Rovers to count 
|
|
|
|
 |
|
|


 Linear Mode

